
One of the things I love is the personal touch custom coloring adds to anything I do. Recently, I tried my hand at a fun technique of dyeing fabric called Ice Dyeing. I followed the instructions that can be found on the Dharma Trading website, and in fact, my dyes and soda ash are from there as well. (Christmas present from The Muscle!) **Please note that I don’t give exact measurements for dyes because that is subjective and comes with practice!**
For my first attempt, I used one yard of white cotton velour that is 80% cotton, 20% polyester and a yard of an OLD thermal fabric that I have been traveling the world with for the better part of 24 years. I’m not sure what exactly its fabric content is, but it was a “natural” color, so I went with it. The first step was a soak in a soda wash solution of about one cup of soda ash per gallon of water, and it needs to be enough water that the fabric absorbs it, and is completely saturated and covered in it. The soda ash changes the pH of fiber reactive dyes and plant-based fibers so that the dye actually reacts with the fiber in such a way that a chemical bond is formed on a molecular level between the dye and the fabric. Nerdy enough for ya? Ha!
First things first, and that’s safety! Make sure you wear gloves, eye protection and dust mask when handling the chemicals!
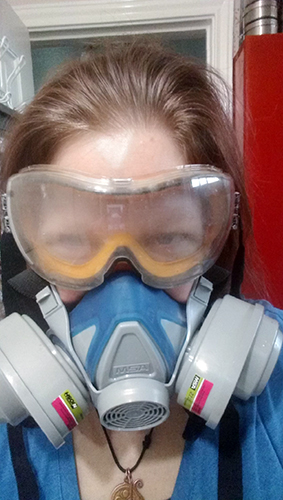
NOT a good look for me!
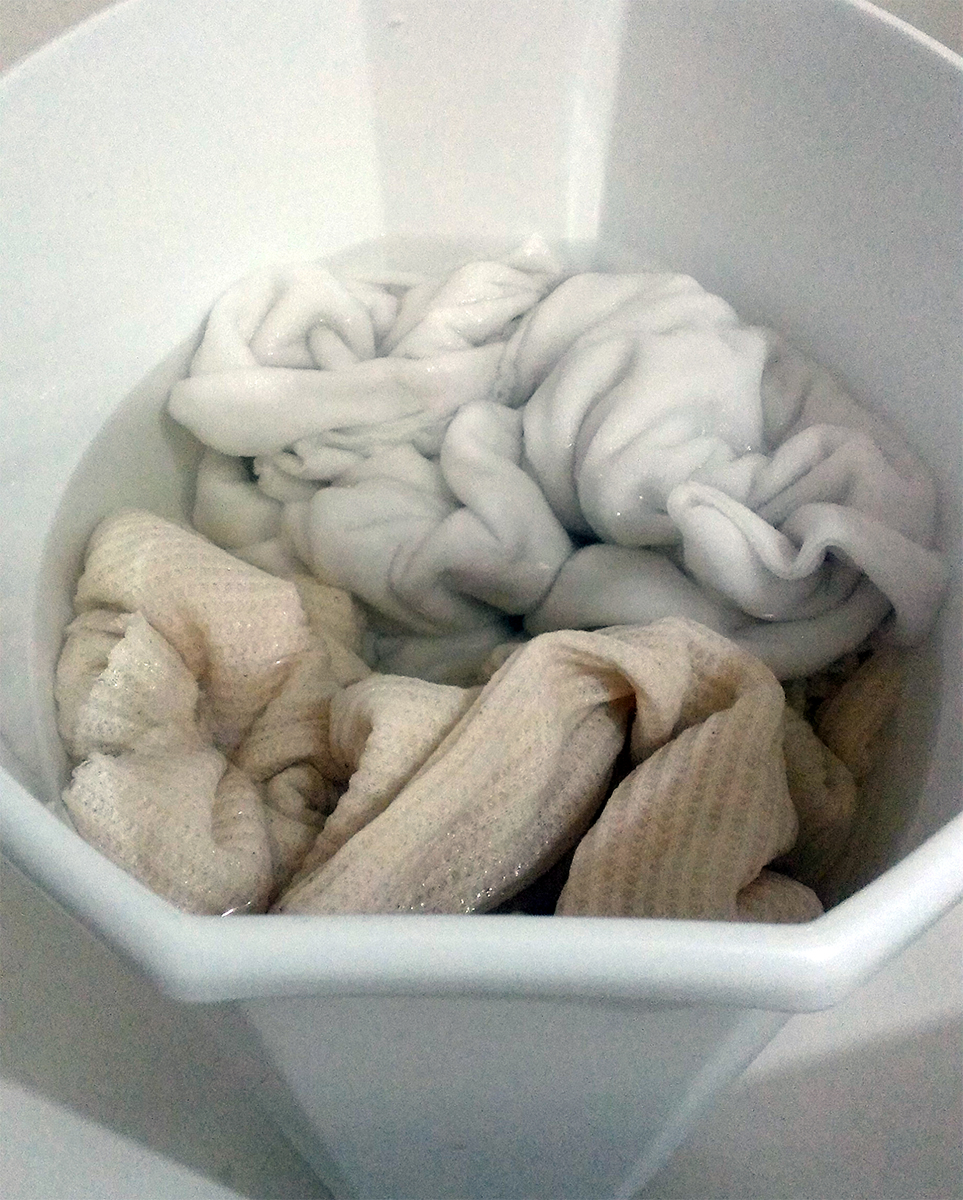
The soda ash is mixed with water in a plastic bucket (or in my case, small, unused trash can-2 cups in 2 gallons) and the fabric is added and left to soak for at least 30 minutes. These fabrics were washed first, to remove any factory greases or protective treatments that are often put on fabrics during the manufacturing process. I let it soak for an hour, as the baby decided he needed attention just when I was ready to move on to the next step. Fortunately, that doesn’t cause any problems with the process.
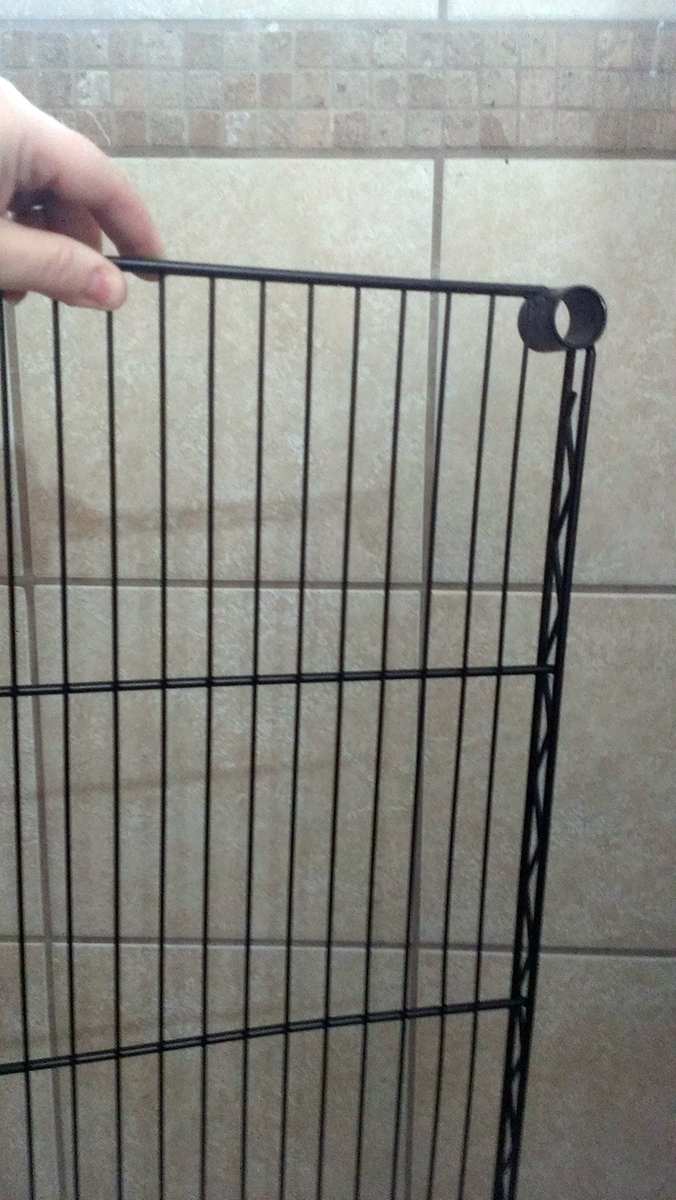
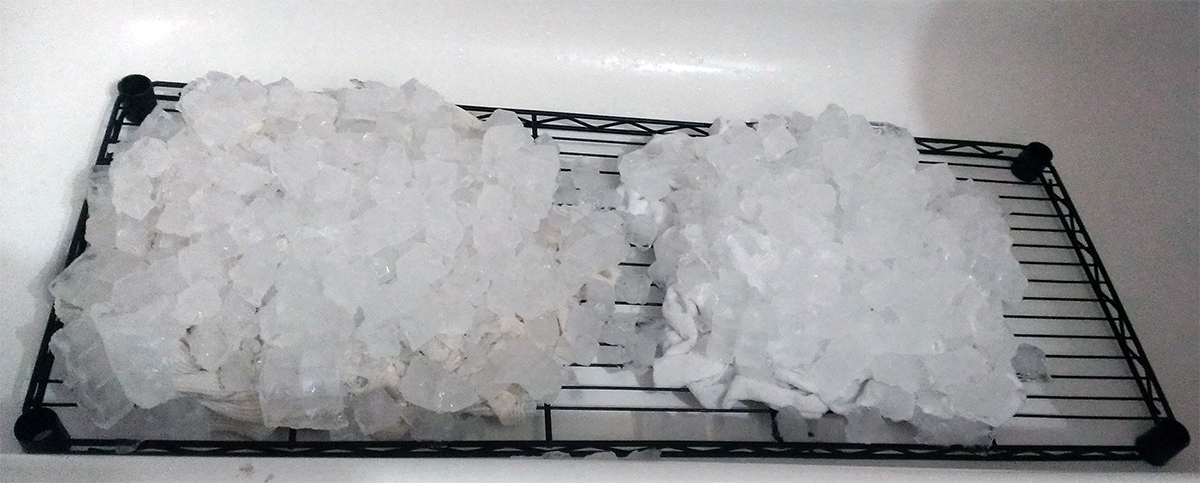
When the time was up, I simply pulled the fabrics out, squeezed them, and then arranged them on my rack. Now, the rack I ended up using is actually a shelf from one of those wire racks you can get at a big-box store. You know the ones I’m talking about? They have pole legs that you screw together, then snap the plastic parts onto the grooves at the level you want the shelf to be, then slide the shelf down the pole legs til it reaches the plastic stops? Yes, one of those. I have one that I needed an exceptionally tall shelf on, so I had an extra one. Other people have used “drying racks”, or even “cooling racks” that you use to cool baked goods after removing them from the oven. The point of the rack is to support the fabric up off the bottom of the tub or basin that you set it in with the ice and dye so that as the ice melts and soaks through the fabric, it has a place to drip and run off, rather than all pooling under the fabric, causing muddy colored fabric. Since I was dyeing in my Craft Room bathtub rather than smaller, plastic dish tubs, I took advantage of the size.
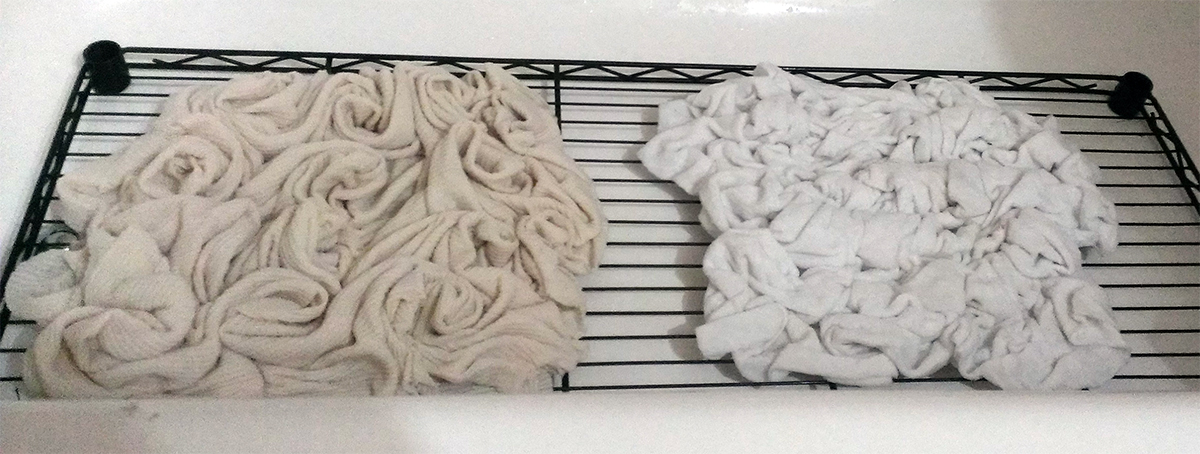
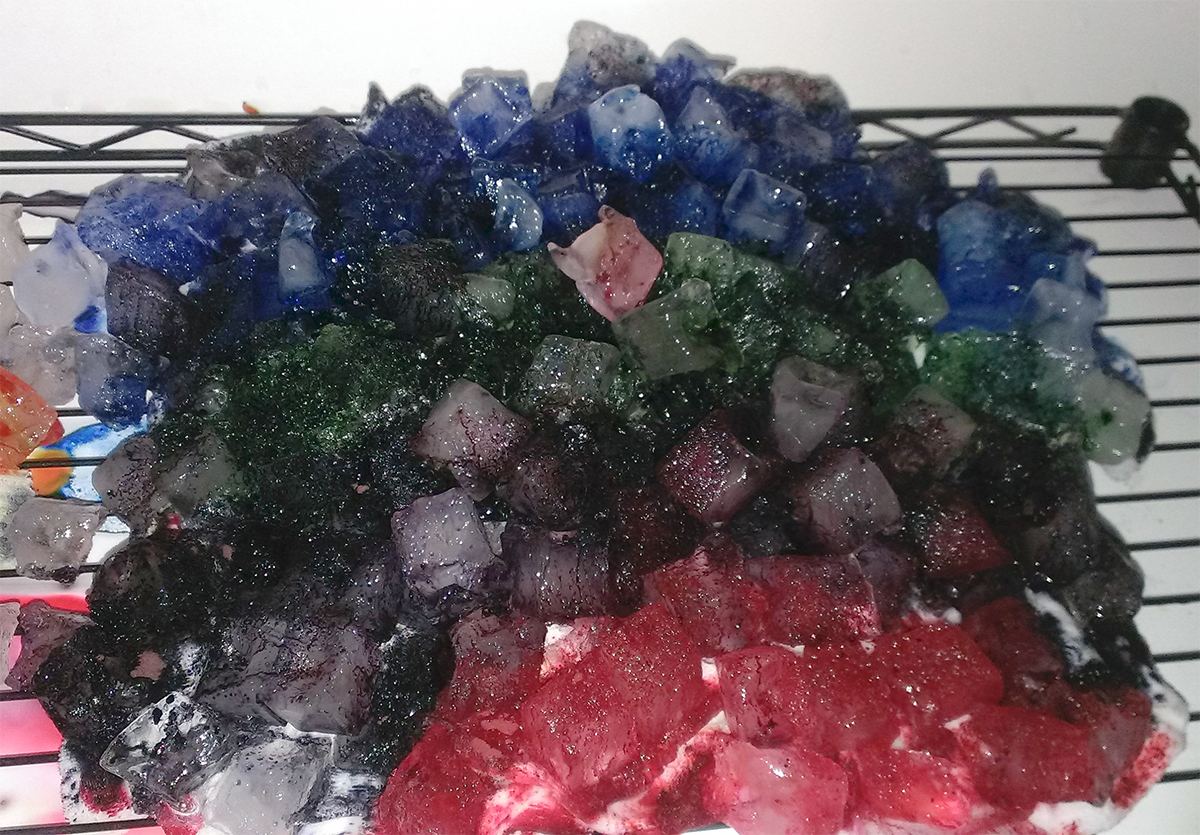
The thermal fabric is on the left, the cotton velour on the right. I arranged them in different bunched formations to get different effects. Next, The ice is piled on top. I used about 5lbs of ice (from a 10lb bag of ice) to each yard. Basically, you want every inch of the fabric to be covered with ice. Up north, some peeps have used snow right out of their backyard. I’m so jealous! When I win the lottery and move up north, that is exactly what I will be doing.
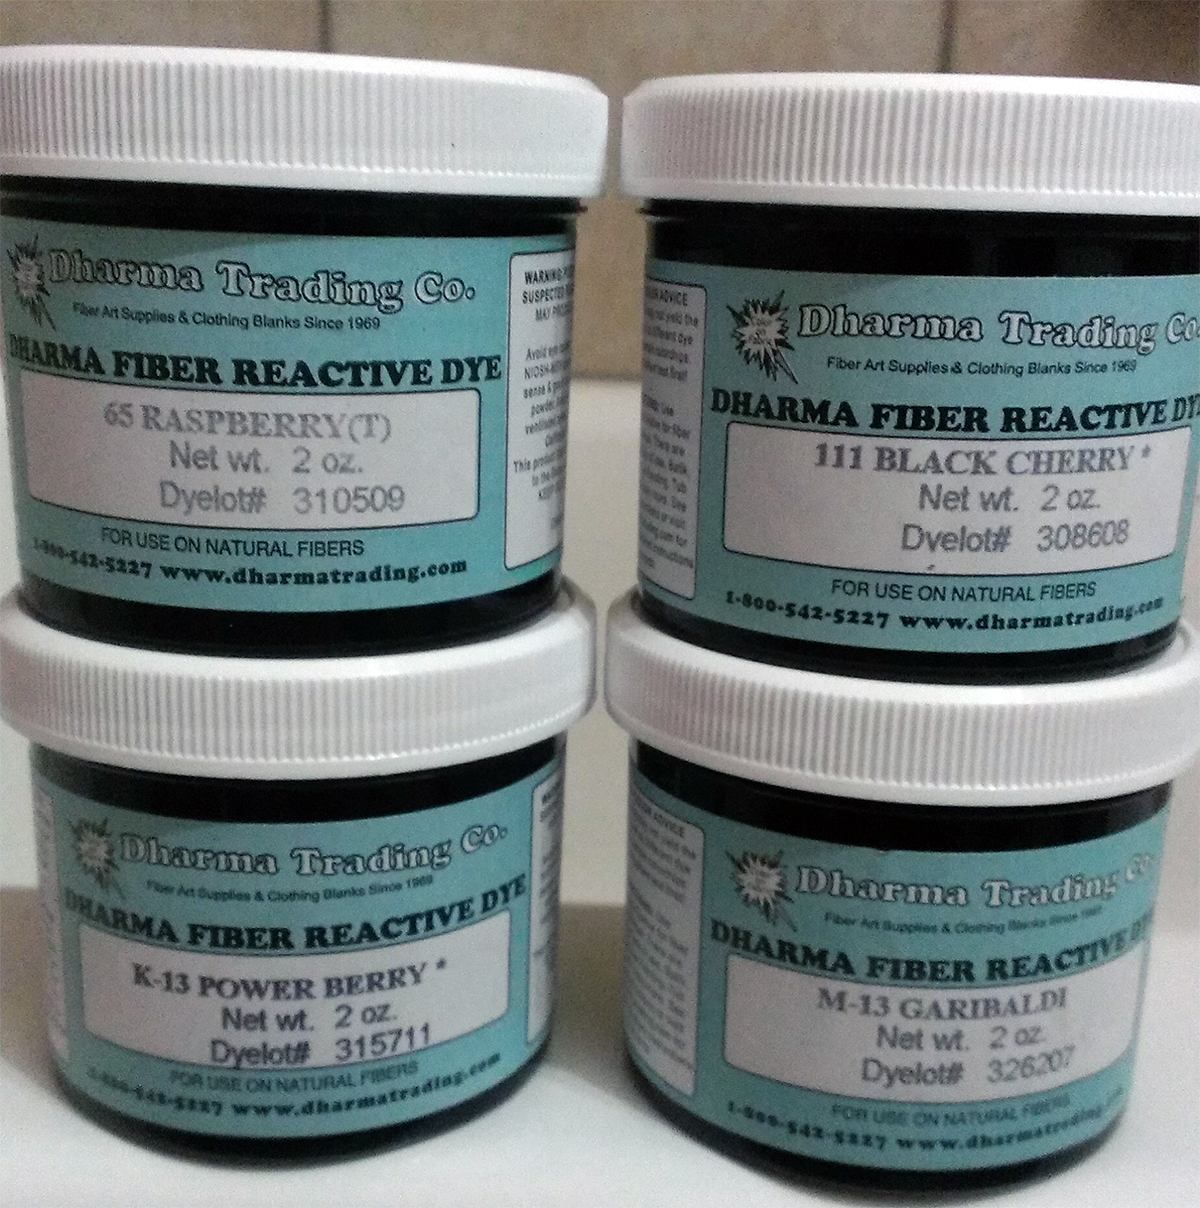
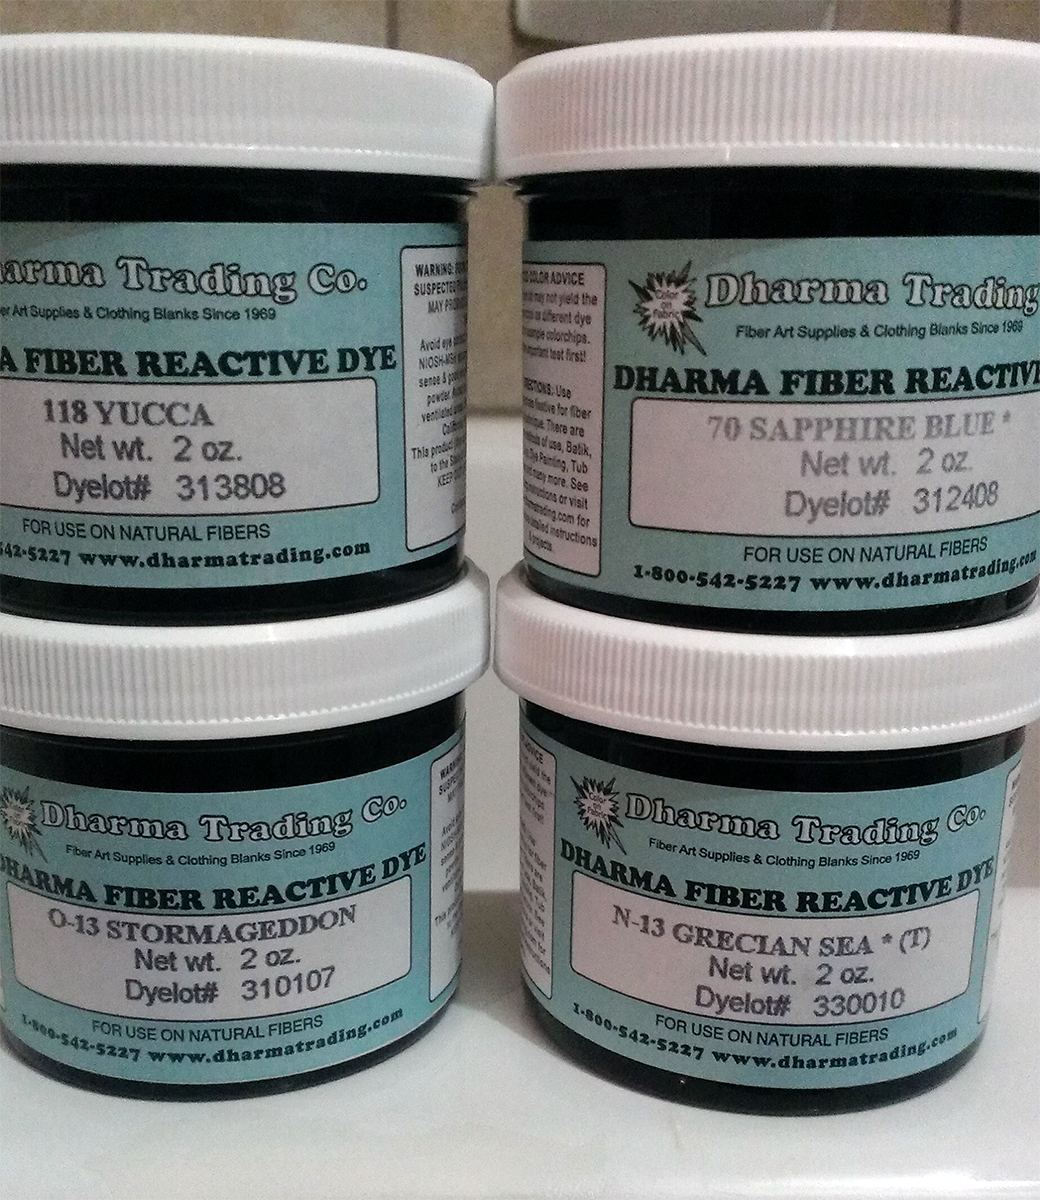
Next, you sprinkle on the dye(s). Select anywhere from 2-4 colors. If you’re feeling particularly adventurous, you can do far more than four colors, but remember, since water is involved, there will be color blending, and the more you have, the more you risk everything turning a muddy brown. This is when you don your respirator mask, goggles and gloves. I used a stainless steel spoon that is kept in my Craft Room at all times, and used exclusively for crafting. On the thermal, I used Raspberry, Black Cherry, Power Berry and Garibaldi. On the cotton velour, I used Yucca, Sapphire Blue, Stormageddon, and Grecian Sea.
I sprinkled perhaps a little too generously, but I wanted to make sure the colors stayed as bold as they could in the end.
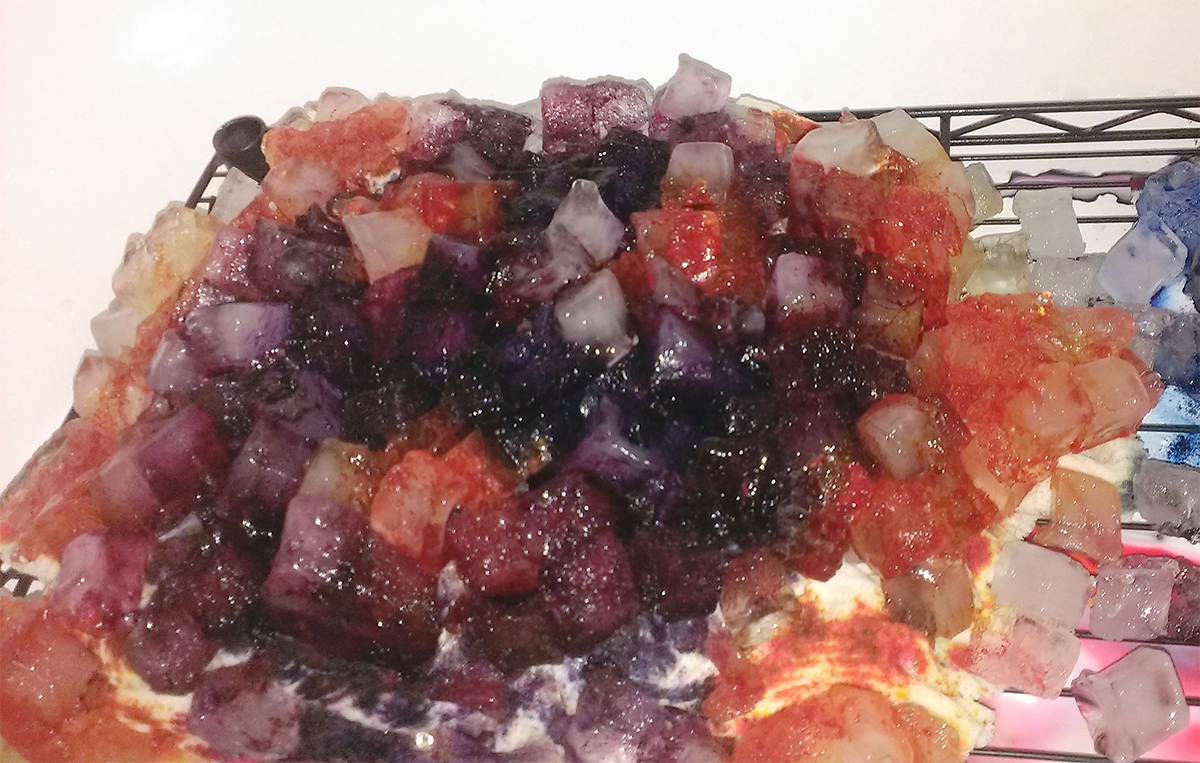
Not the prettiest looking, but in person, I couldn’t stop staring at the colors. Now it’s time to wait. It must sit for 24 hours. That was the hardest part. Naturally, I checked on it the next morning, knowing full well it needed to continue sitting before the rinse and wash, but I also knew the ice would be all melted and would give me some clue of how awesome it was going to look at the end.

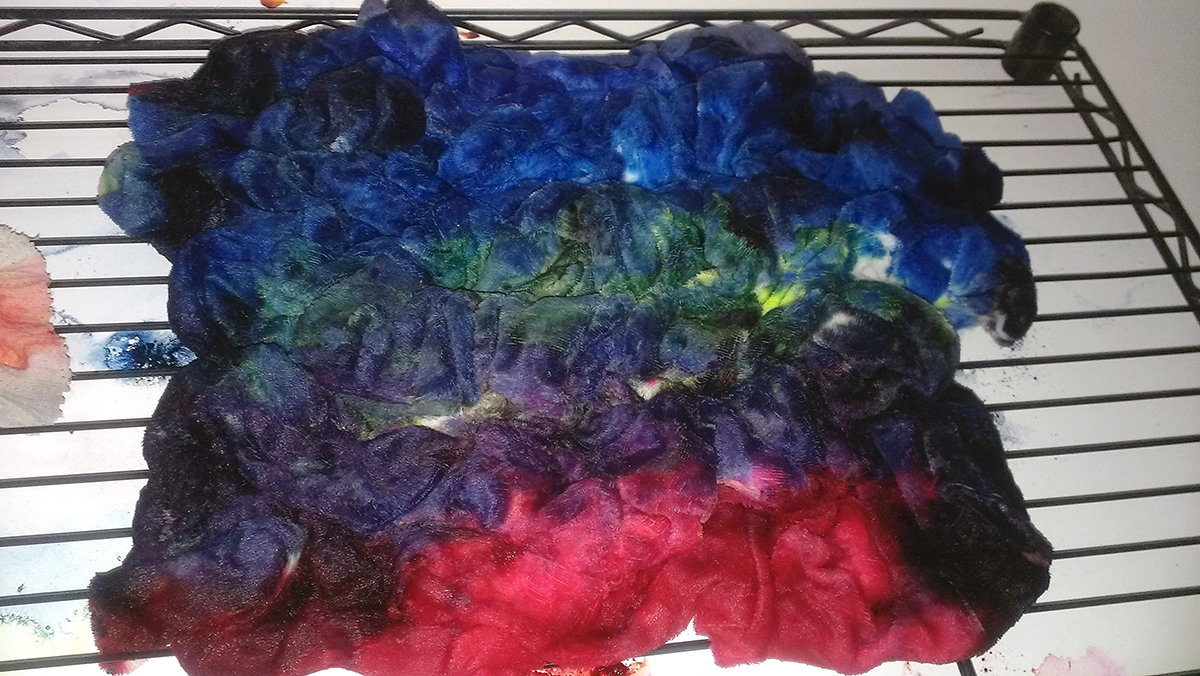
At last, 24 hours had past. Literally, I think it was to the MINUTE. I was so excited to see how the colors looked and kept my fingers and toes crossed that they stayed that bold. I donned gloves again for my protection, and rinsed in cold water until the water mostly ran clear.
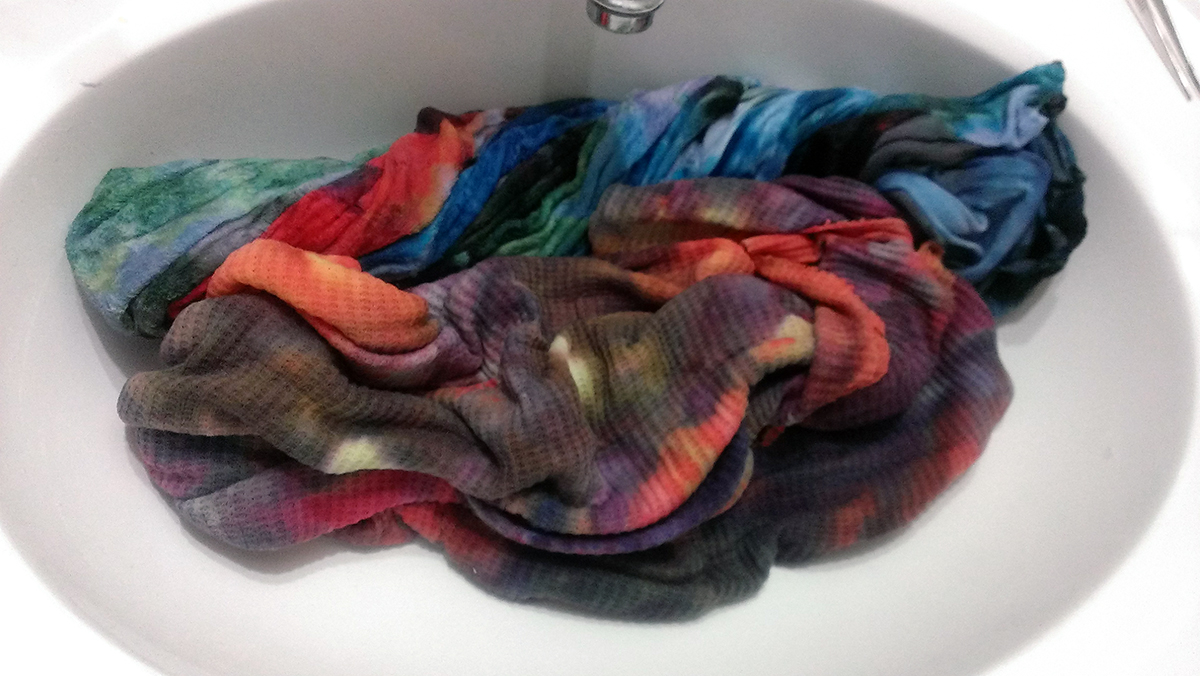
Then it was time for a washing machine wash. I didn’t have any “Professional Textile Detergent”, but I had read extensively on the internet on various blogs that many ice dyers use a drop of blue Dawn dishsoap for this part, so that is exactly what I did. Into a hot water wash, and double cold water rinse it went. Then I tumbled dry low, and when all was said and done, I was quite pleased with how this experiment came out.

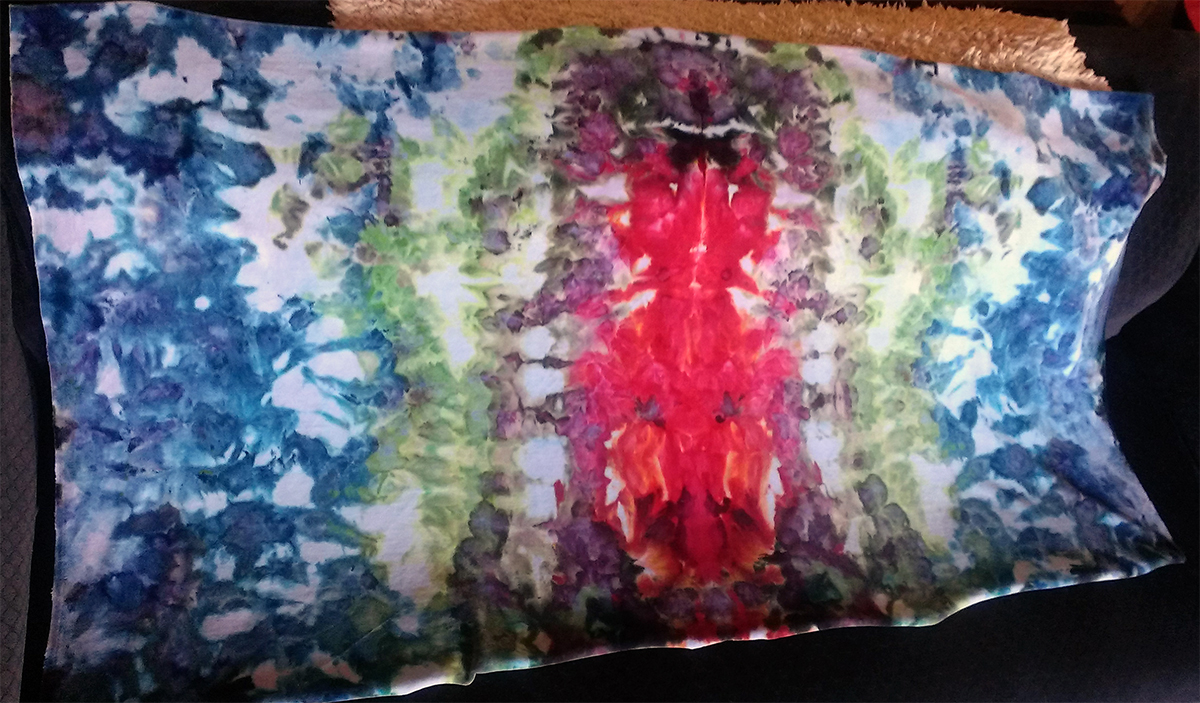
I kept my fabric folded in half and then bunched up, so it came out like an ink blot, especially the cotton velour. I absolutely LOVE the muted tones in the thermal fabric. I am willing to bet it has more than 20% polyester in it, causing the more muted colors, but that is fine by me. On the other hand, I am just thrilled with how bold the cotton velour turned out, and cannot WAIT to dye again. The ideas are welling up inside my head, and the possibilities are limitless. Stay tuned for more adventures in color. Til next time, Keep calm and Dye on! =^..^=
WoW! Love the effect, and your photos are wonderfully clear!
Thanks! It was great fun and yes, I am very glad my phone takes such clear pictures. It really saves time for me-just snap the pic, email it to myself and download it from email onto my computer. Having to drag out a USB cord, finding a free spot on my computer to plug it in, etc, was just too much so I avoided my normal camera 🙂
Very cool project! I would like to try this out in the icy snow that keeps on coming!!! Enjoying the blog party! Aloha
Thank you for stopping by! Definitely give it a try, it’s loads of fun. Have a great weekend!
Very cool effect! Love it!
Thank you, I’m about to sew it up into some fun things for the kids 🙂