
Lately, I’ve been researching cloth diapers. I have found a plethora of information-an OVERLOAD in fact! They sure have come a LONG way since I last cloth-diapered!! But what an adorable, fun way to provide absolute necessary care for your little one, and yet do a part in keeping your carbon footprint just that much smaller. I mean, almost everyone uses diapers, right? At some point in time of their child’s life. Even those practicing elimination communication need some type of waste collection system for when they are traveling about or have to spend the day away from home or acceptable facilities. The last time I cloth diapered, I made my own diapers then as well. I took yards and yards of flannel fabric, cut and plied them to form a thicker absorbent padding where it was needed most, keeping the side trimmer and more custom fitted to keep baby more comfortable, and to fit better under clothes. I used simple, pull up style waterproof pants, aka “plastic pants” though they weren’t plastic-nylon maybe? Some type of thing vinyl? I’m really not sure! The entire “investment” probably cost me around $50 total for the first year. Fast forward many years, and now you can find diapers with every imaginable cartoon character on the butt, ruffles, and all sorts of printed patterns. There are “All in one” or “AIO” diapers that are just as trim and just as absorbent as national name brand disposables! There are “plastic pants” that open and close with either snaps or hook and loop tape, with some being “one size fits all” by utilizing snaps in the front to scrunch it up smaller, or unsnap to make it bigger and longer. Some have pockets you “stuff” with a “doubler” or “soaker”, and some are a combo of a thinner diaper with a pocket for stuffing when you need extra absorbancy such as overnight. I could go on and on about the intricacies and massive variety of options, but I won’t bore you any longer.
I chose microfiber terry as my absorbent part. This is one of the most important aspects of cloth diapering. If it isn’t absorbent, then what’s the use? Another main feature that I feel is very important is a layer of wicking, stay dry material. I have two options for that-microsuede, and “Minky” fabric. Both wick moisture and wetness quickly away from baby’s skin, and yet to the touch, stay relatively “dry”. In disposable diapers these days, there is an additive-a polymer called sodium polyarcrylate- that solidifies wetness into a gel of sorts and by doing so, hold wetness in the core of the diaper, preventing it from flowing back against baby’s skin. And finally, the cute outer part. I went with PUL fabric-polyurethane laminate-as it is both breathable AND waterproof! Some people think PUL isn’t a breathable fabric, and doesn’t allow for enough air to skin, but I have seen in person how it works, and feel that if baby’s bottom needs more air than that, then naked time will be scheduled. (If you’d like to see a video a mom did to investigate and compare the “breathability” of PUL versus disposables, click here: http://www.youtube.com/watch?v=IKpCcUznbaI )
First I came up with a pattern, based off a sweet little AIO diaper made and sold by a mom. Unfortunately, she has recently retired her business due to health issues, and I can no longer find Blissful Booty diapers, but if you are in the market for some, and come across an authorized retailer that still carries them, lucky you!
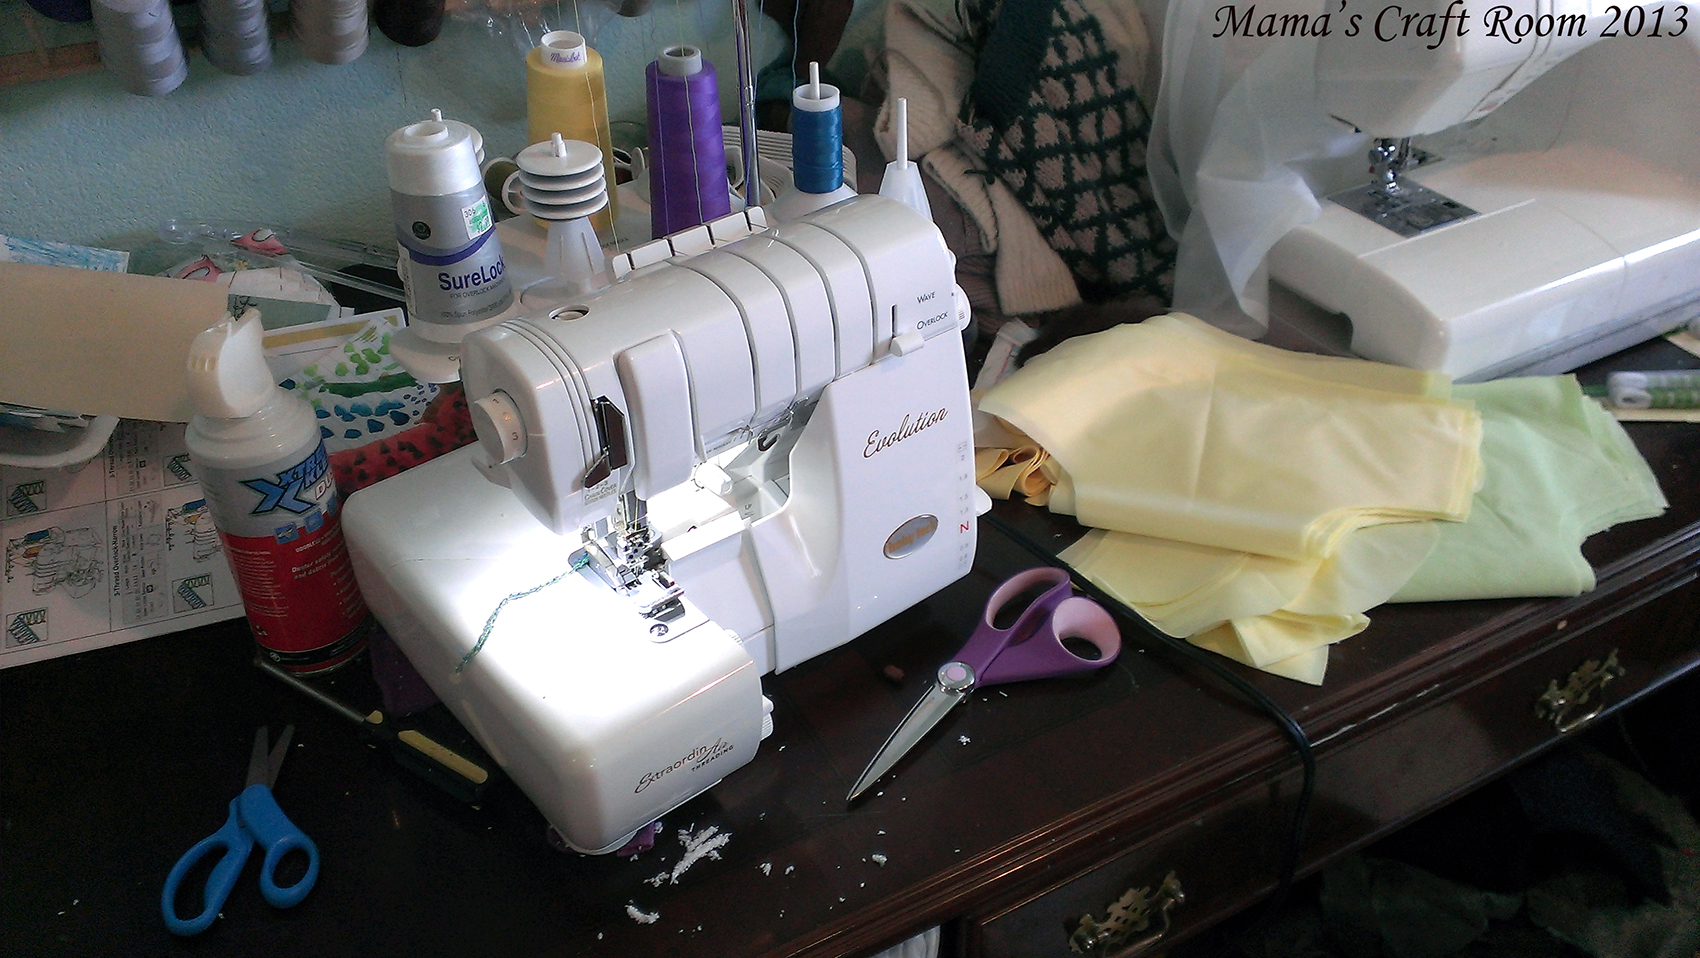
I cut out a dozen diapers. One dozen layers of microsuede, of microfiber terry, and of PUL. Then I shaped and cut out the extra inner absorbent part for down the middle-two layers per diaper of the same microfiber terry. I have a fabulous serger-the Baby Lock Evolution, and it is a work horse. I serged the edges of my microfiber terry parts, layering the soaker in a two layer separate part while I pondered assembly.
(Click on any picture to see it full-sized)
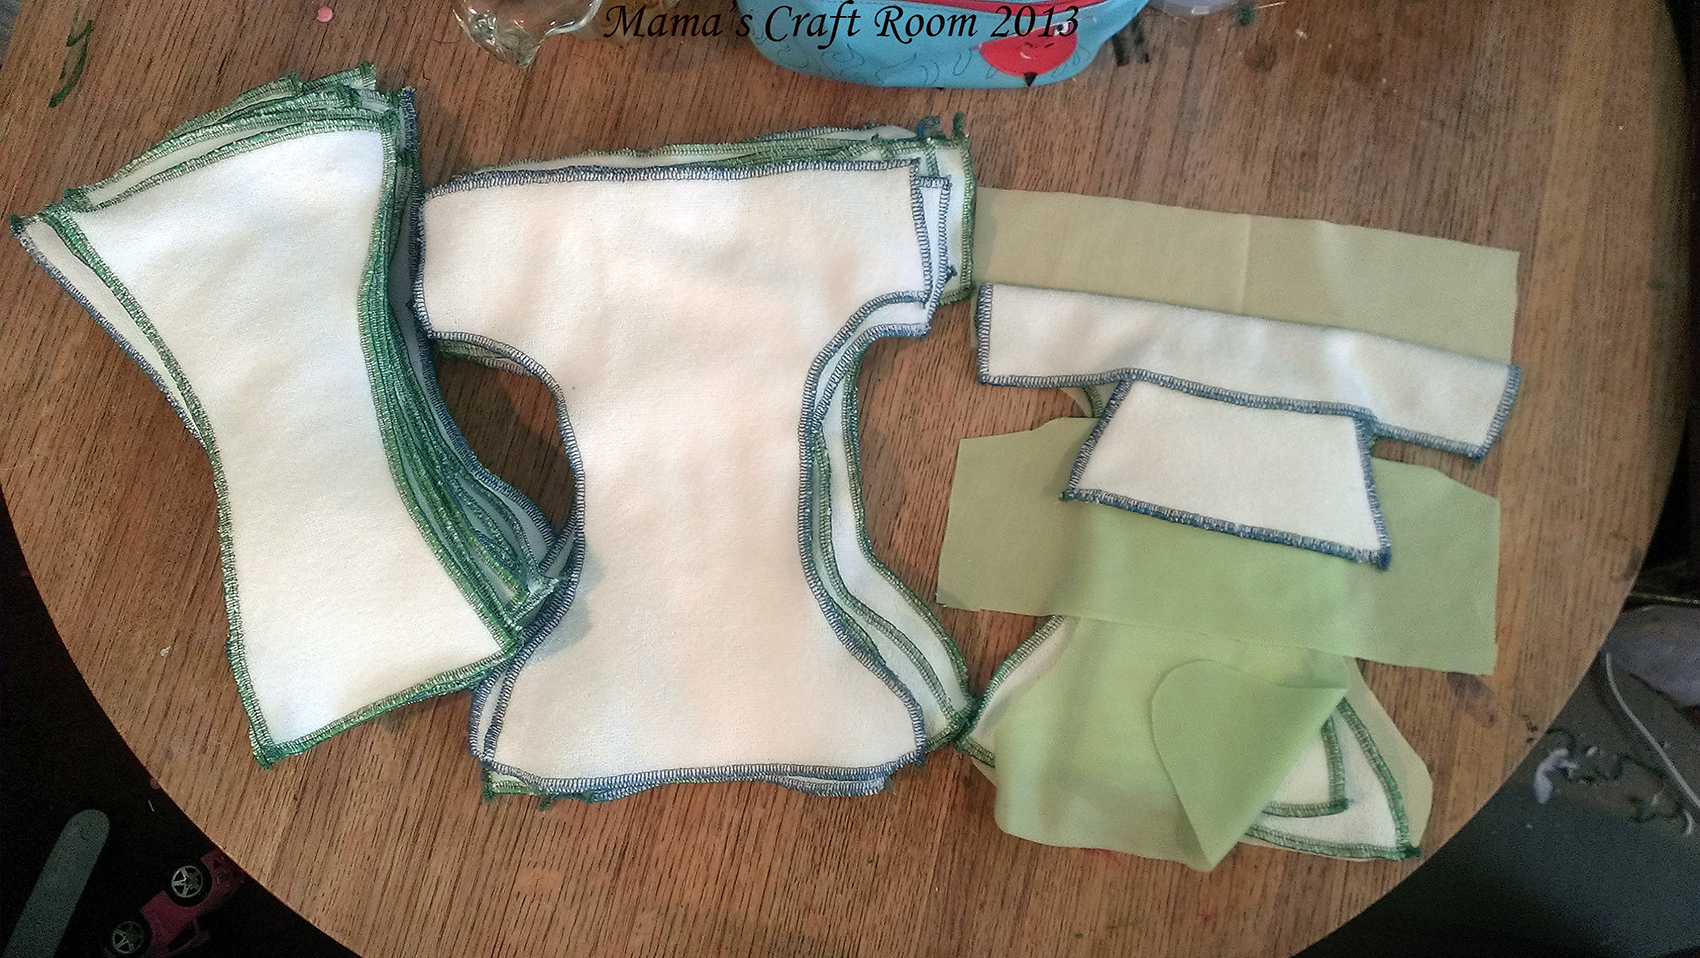 Left to right- two layer soaker, extra layer of absorbent microfiber terry, and then the order I decided to assemble them-Yellow PUL outer cover, then full size microfiber terry, soaker, then microsuede wicking fabric.
I would add the tabs for the hook tape separately. I fumbled a bit at this point, experimenting with the exact method of execution of assembly. I had the order in which they were to go, but not the “what attaches to what” part down. I also wanted to add elastic inner gussets, and experimented with one microsuede liner first. It was a no-go, as I had not compensated for the fabric that would be taken up in the width of the center part of the liner, making it too narrow. I set that one aside, because I was too excited to get the first fully completed diaper done, and didn’t want to fiddle with the seam ripper at that time.
Next, I sewed the soaker to the bigger microfiber terry. That also was not helpful. I found that overall, I made the soakers and extra layer too long for the final assembly. I have to shorten them to fit between the seam allowance of the PUL and microsuede wicking layer. I then attached the PUL and the microsuede together at the very front edge and the very back, made a little casing for elastic, and secured the elastic in place. Note that the sides are all yet completely open. Then I made the tabs that the hook tape will go on, putting one little tab of loop tape on the *outside* of one tab (for very skinny babies, so the tabs can overlap and still close securely), and sewed the loop band across the outer front.

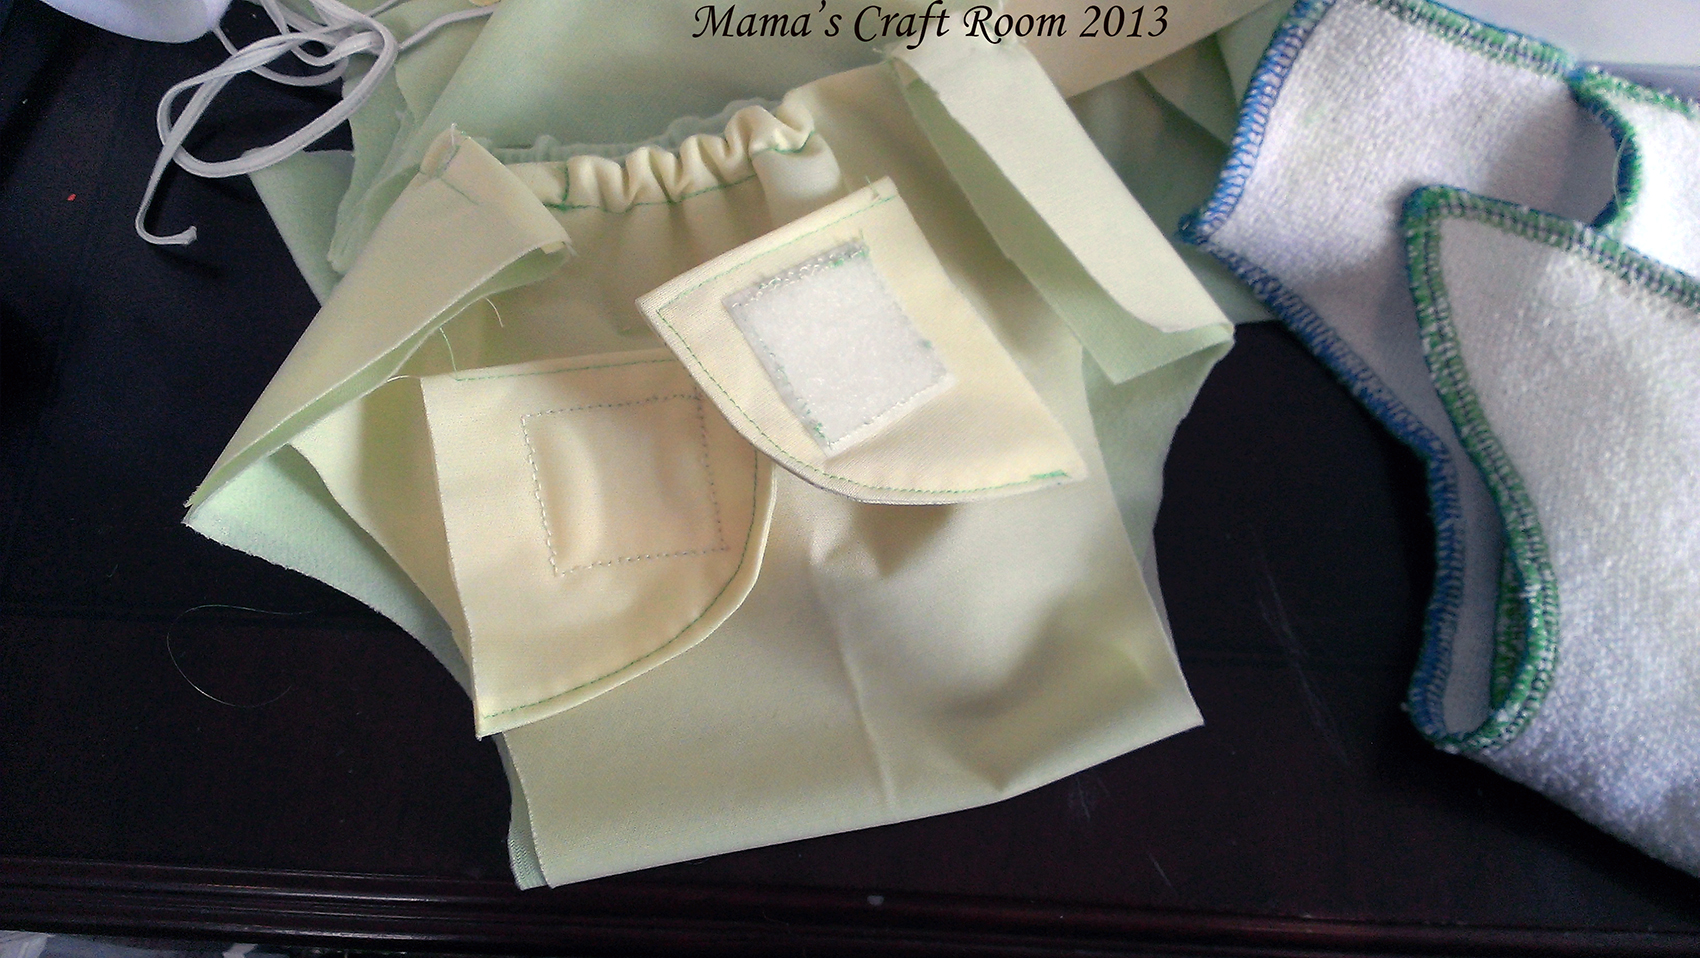
I sandwiched the tabs in the opening at the back, tucking the raw edges of the diaper part in and top stitching. Then I was ready for the fold over elastic (or FOE from here on out). I started at the edge where the added tab connects to the diaper, and brought it forward to about an inch and a half from the top front edge, stretching as I went. Then I was done! The little celery green diaper is my Blissful Booty model in newborn size that I used to make my pattern.
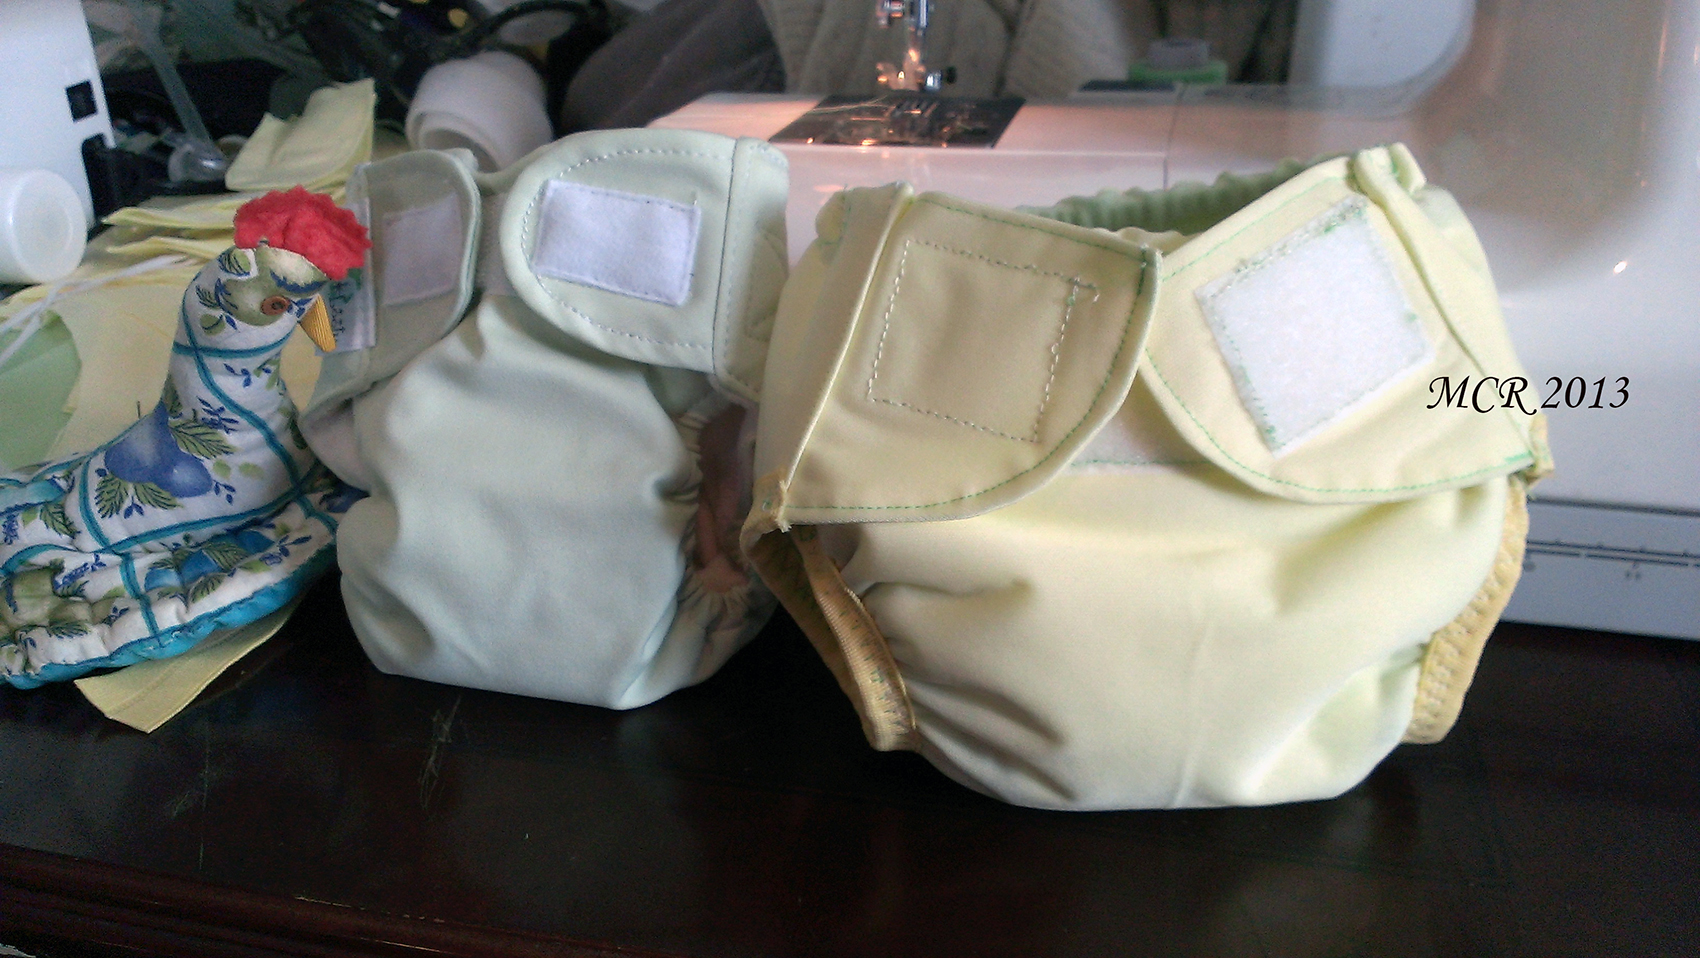
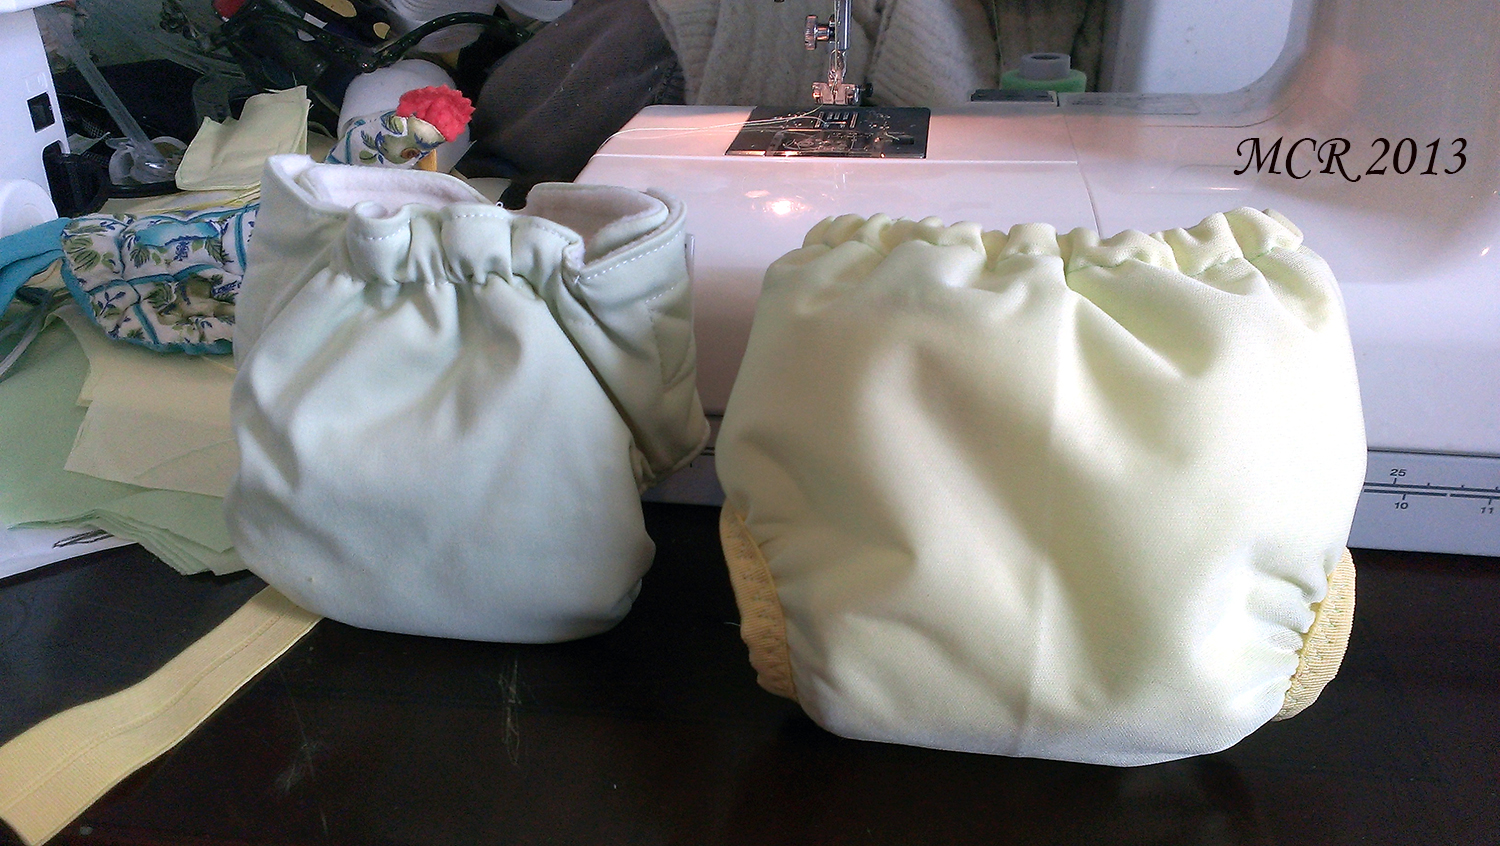
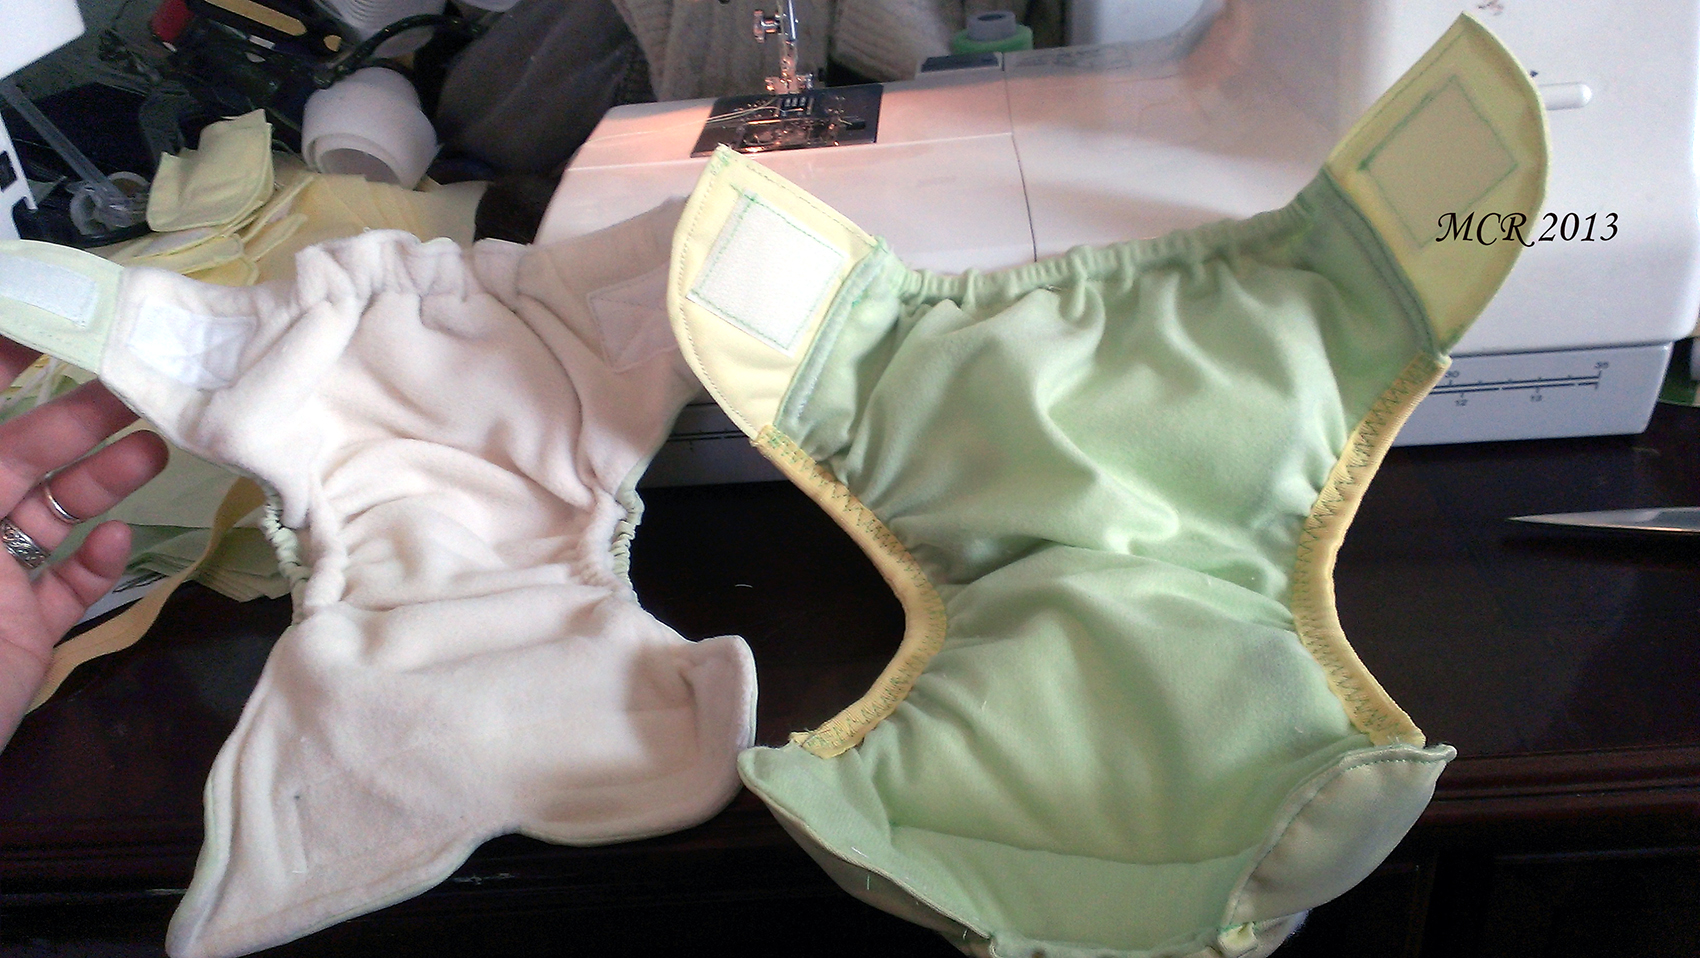
My diaper is slightly bigger-mostly in thickness, which makes it seem wider, but it really isn’t! I am very happy with it, and have now made a few more, and I have changed up my “pattern” a bit. I will share that when I get a few of the diapers made with the new pattern. I added a double gusset from the PUL fabric, as well as more leak protection by having the PUL fold over an inch into the waist band. I’m excited about it! In the meantime, here’s what I have learned:
1. Do not cut out a dozen without trying ONE first!!! I now have 10 microfiber diaper shapes that will be turned into fitted diapers (that will use a separate cover). The diaper was too bulky with the extra layer.
2. Measure twice, cut once!!
3. If not using a pattern someone else came up with, at least read their *order* of steps! It will save a lot of confusion and time in the long run.
Til next time my friends, craft on! =^..^=