
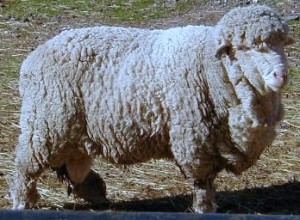
Photo courtesy of Wikipedia
So, I’ve been spinning, spindling, and spinning some more lately. I find it so incredibly relaxing in the evenings, especially since I can’t stand sitting and watching a movie if my hands aren’t being kept busy. I feel I have made great strides with what I have and finally took the plunge in purchasing some undyed but ready-to-spin excellent quality (read: super crazy next-to-your-skin soft!) It’s from a breed of sheep called Cormo:
I wanted to dye it before I started spinning any of it, and hemmed and hawed until I finally broke down and picked up a range of Rit dyes to practice with. After reading tons of websites, watched a mass of youtube videos, I decided I would attempt “crock pot” dyeing. This narrowed my search down so I focused only on those sites that offered tutorials on crock pot dyeing. Since they all said basically the same thing, with a little variation here and there, I formed a step by step game plan customized to me! I pulled about three to four ounces off the one pound roll: 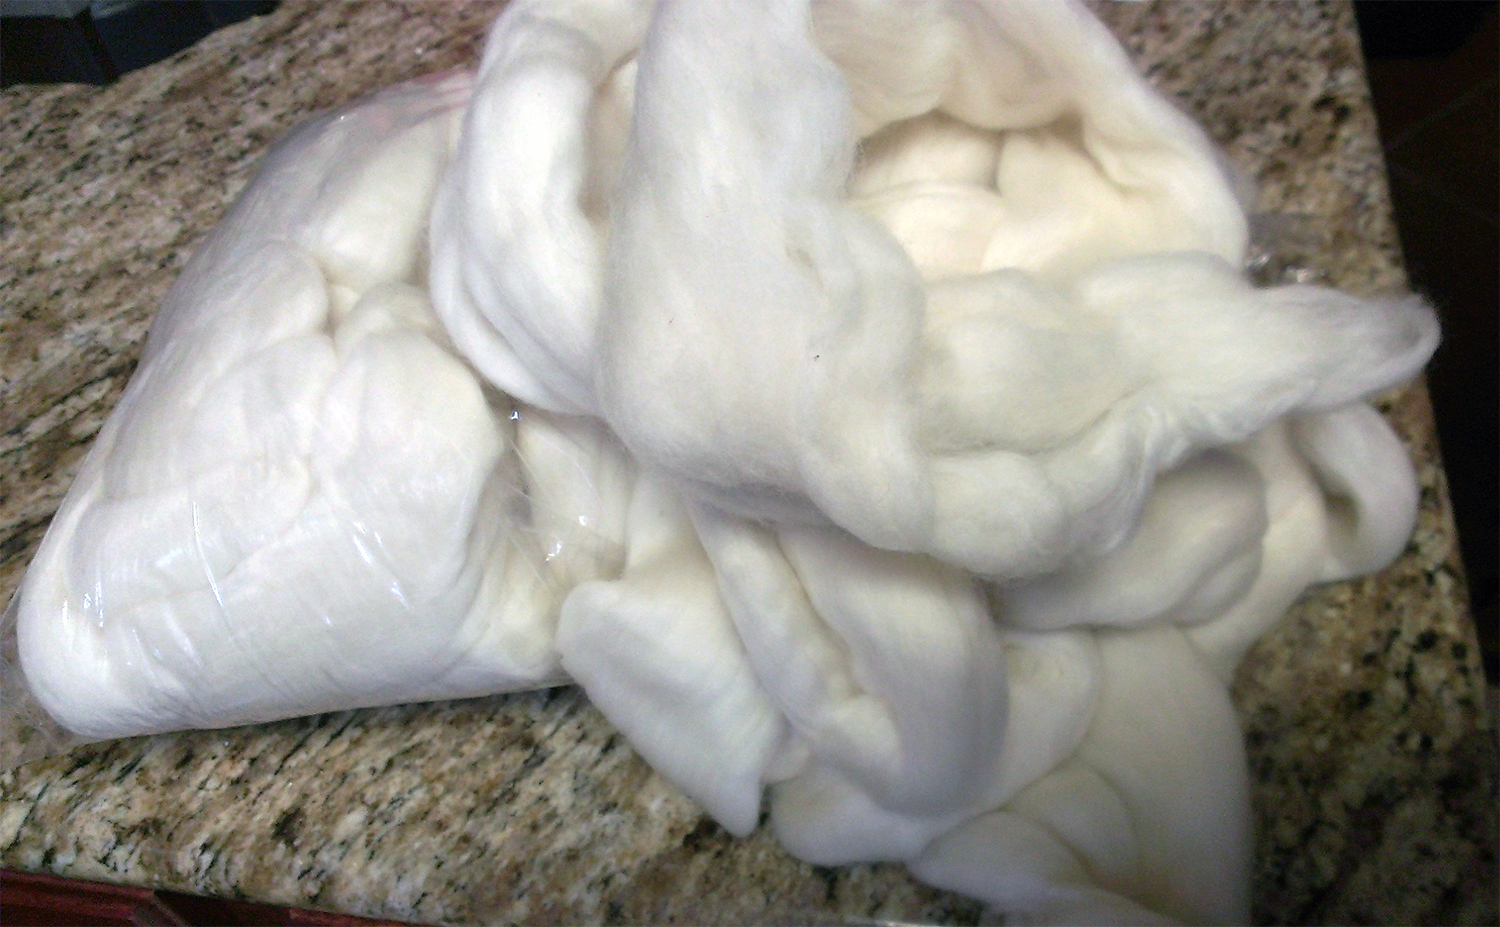
Next is where I formed my own path. Since the wool should be soaked in a water/vinegar bath, and then more vinegar is added to the mix when it’s time to add the dye, I decided to do this all in the crock pot rather than a bowl, and have to transfer the dripping wet wool to the pot. I coiled it neatly in a single layer in the pot and added just enough water to cover, and probably too much vinegar (is there such thing as too much vinegar??) about 2/3 cup to the water: 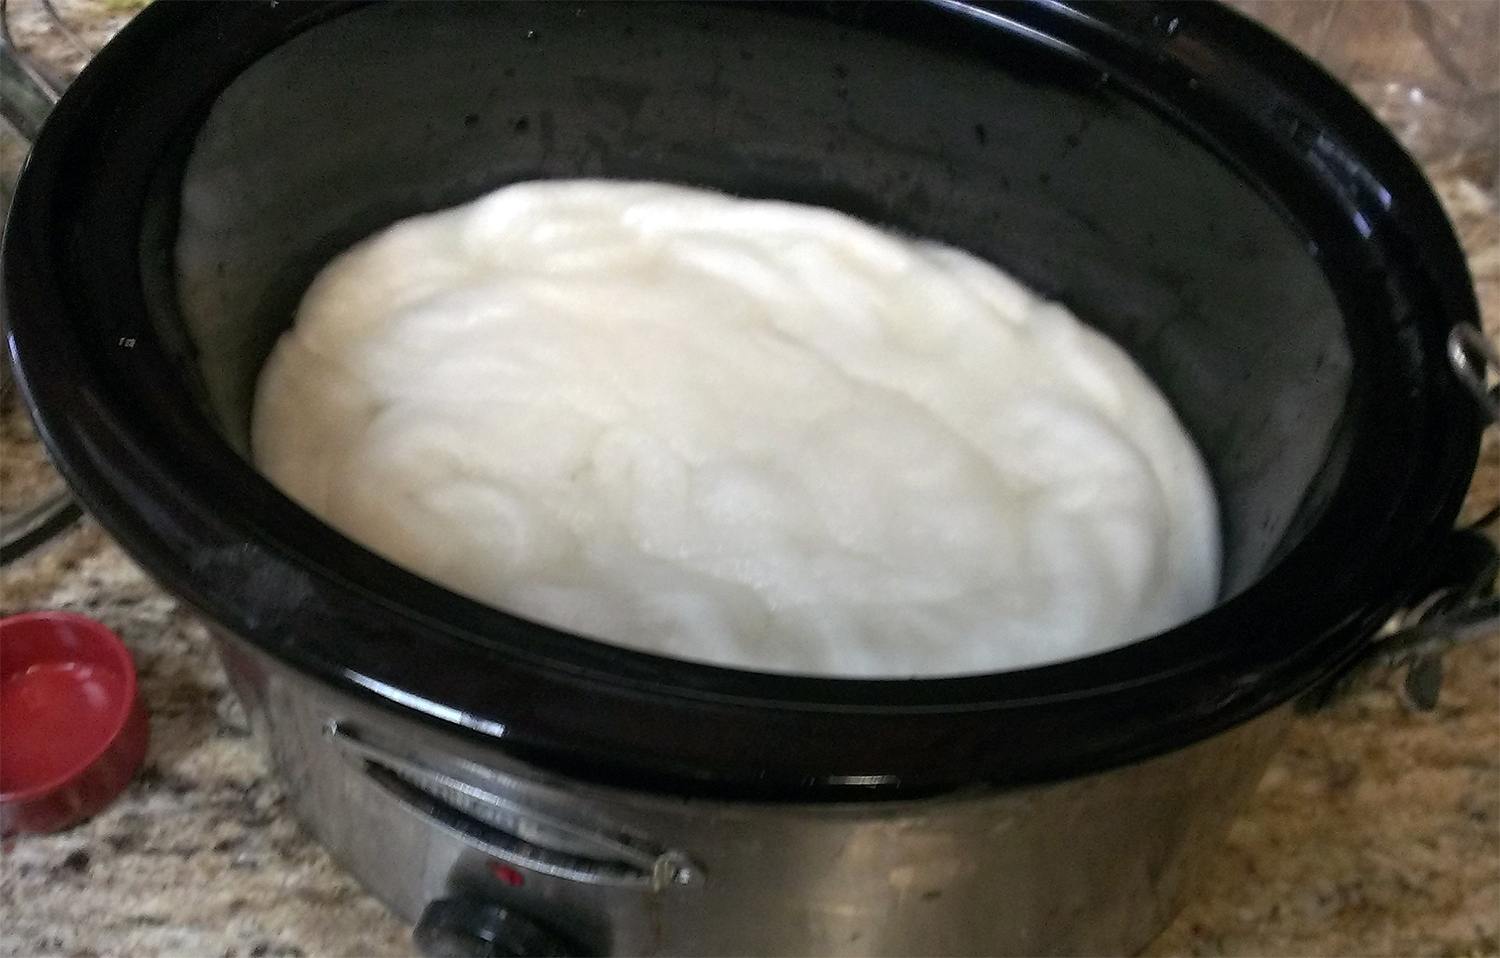
After soaking for about 45 minutes, my lovely assistant, Sweet Pea, selected three colors to use to dye the wool. She is five and a half, and has a great artistic eye and flare. So when she came up with Tangerine, Teal and Purple, I did not hesitate: 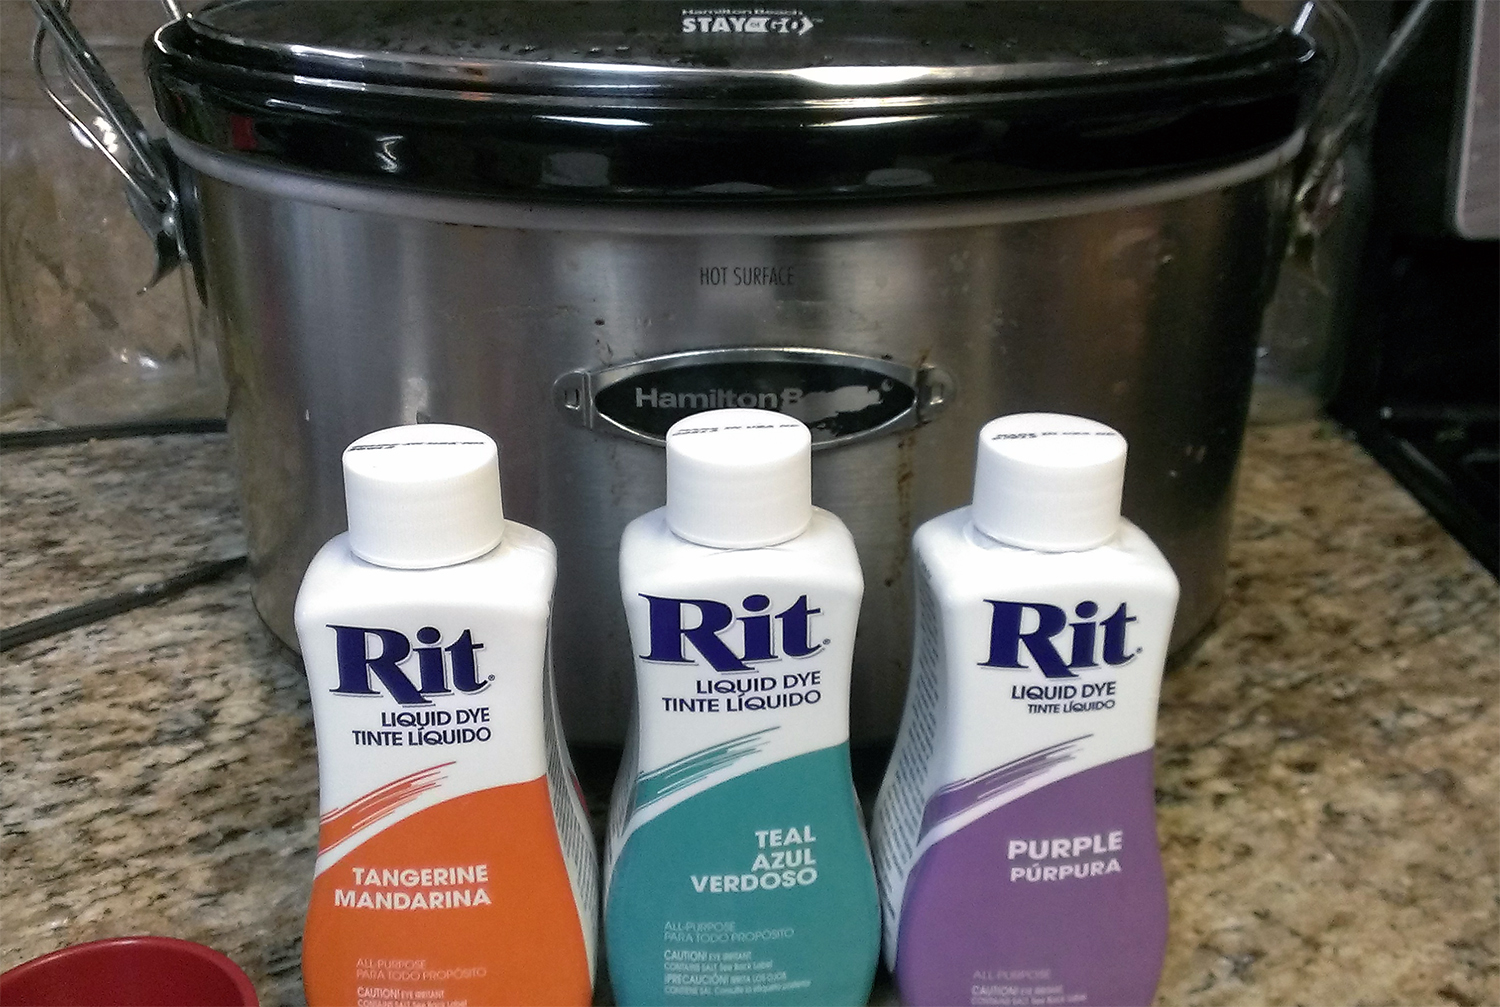
Donning gloves, I used the caps to add the dye to one third of the wool at a time. I was careful to try and make sure I added enough dye, but at the same time, I didn’t mind flecks and gaps of white where the dye didn’t touch. I just eye balled the thirds, and then splashed a little more vinegar over the three areas. I added a tab bit more water so the wool was completely immersed but not drowning: 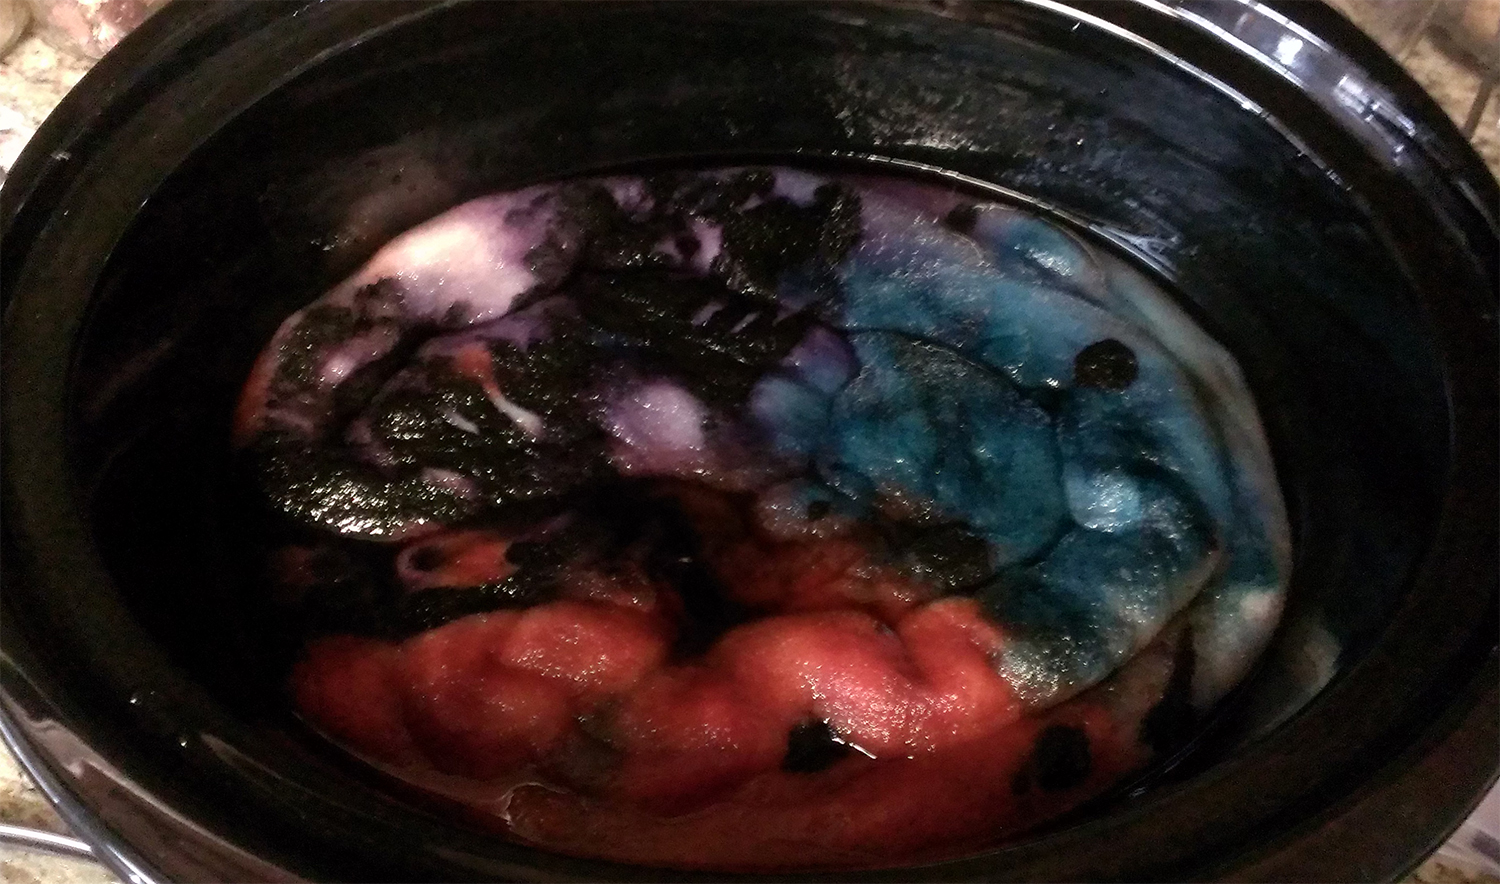
Do you see the light spots? I knew magic would happen in those little spaces. Not from experience, but rather from pure logic! I let the pot simmer for four loooooonnnnggg hours! and then I finally turned it off and allowed it to cool completely, overnight. The number one problem I read about time and again on all the greatly informative sites was to not touch it while it cools until completely cold to prevent the dreaded Felting. Indeed, this was the very last thing I wanted to happen, and I was terrified I would felt this incredibly gorgeous fleece, so I did as I was told! The next morning, when I looked into the pot, it looked like a muddy mess. Since I had read extensively, I knew not to panic and assume the worse, but I was still a bit taken back at how dark and mixed the remaining color in the pot was. Since I used Rit dye, I knew there was supposed to be quite a bit of dye left in the pot. I just didn’t like how ugly it was: 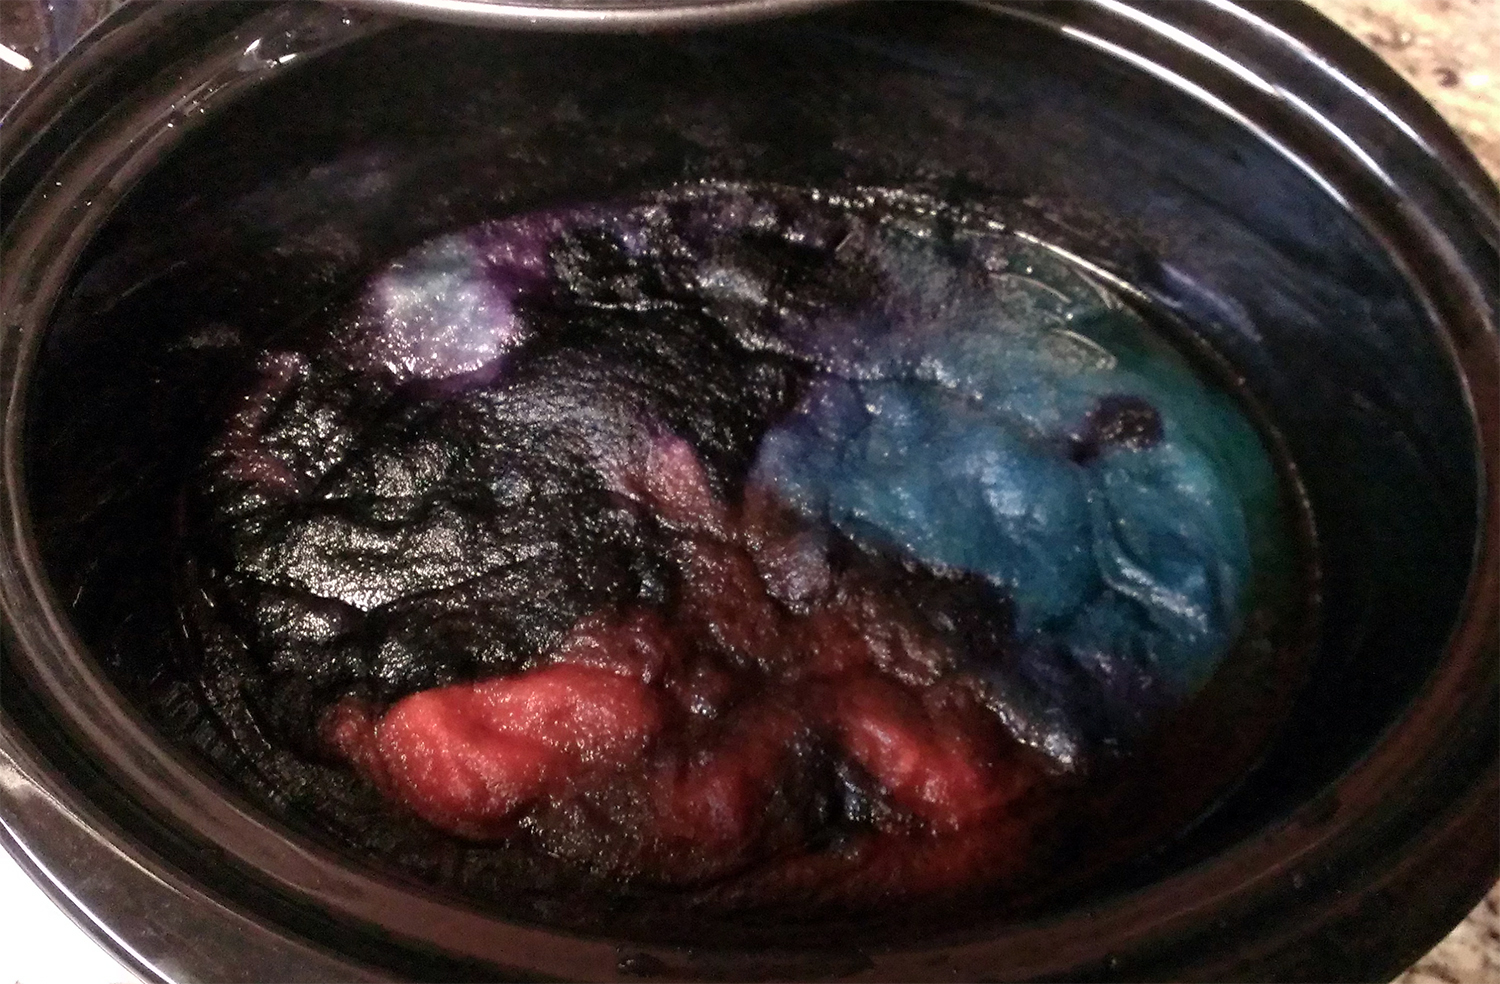
But I could still see the separate colors, so I held my breath as I dumped the mess and started rinsing in cold water. I was surprised that once the first water was dumped, it ran pretty clear there after. The teal continued to need rinsing for quite some time, as is typical with blues. Finally, I wrung it all out, and it was ready to hang out to dry: 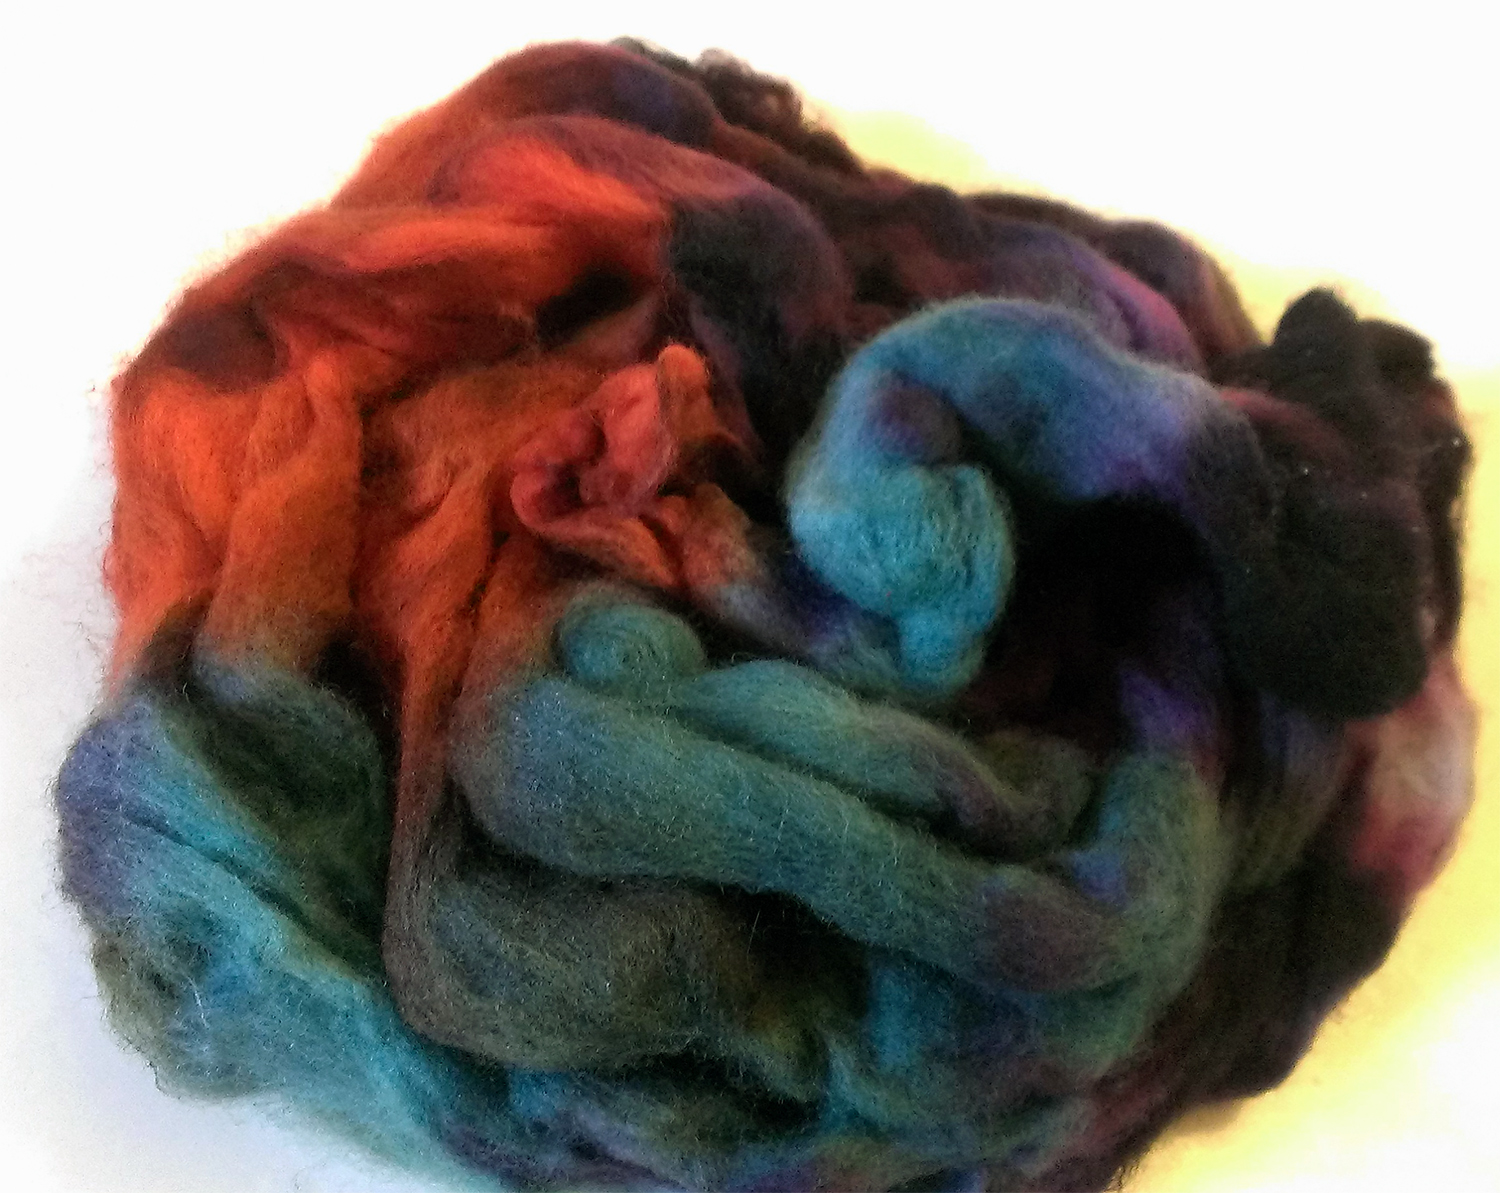
I loved the colors I saw! Since it was coiled when I added the dyes, it created a great pattern throughout the entire length. 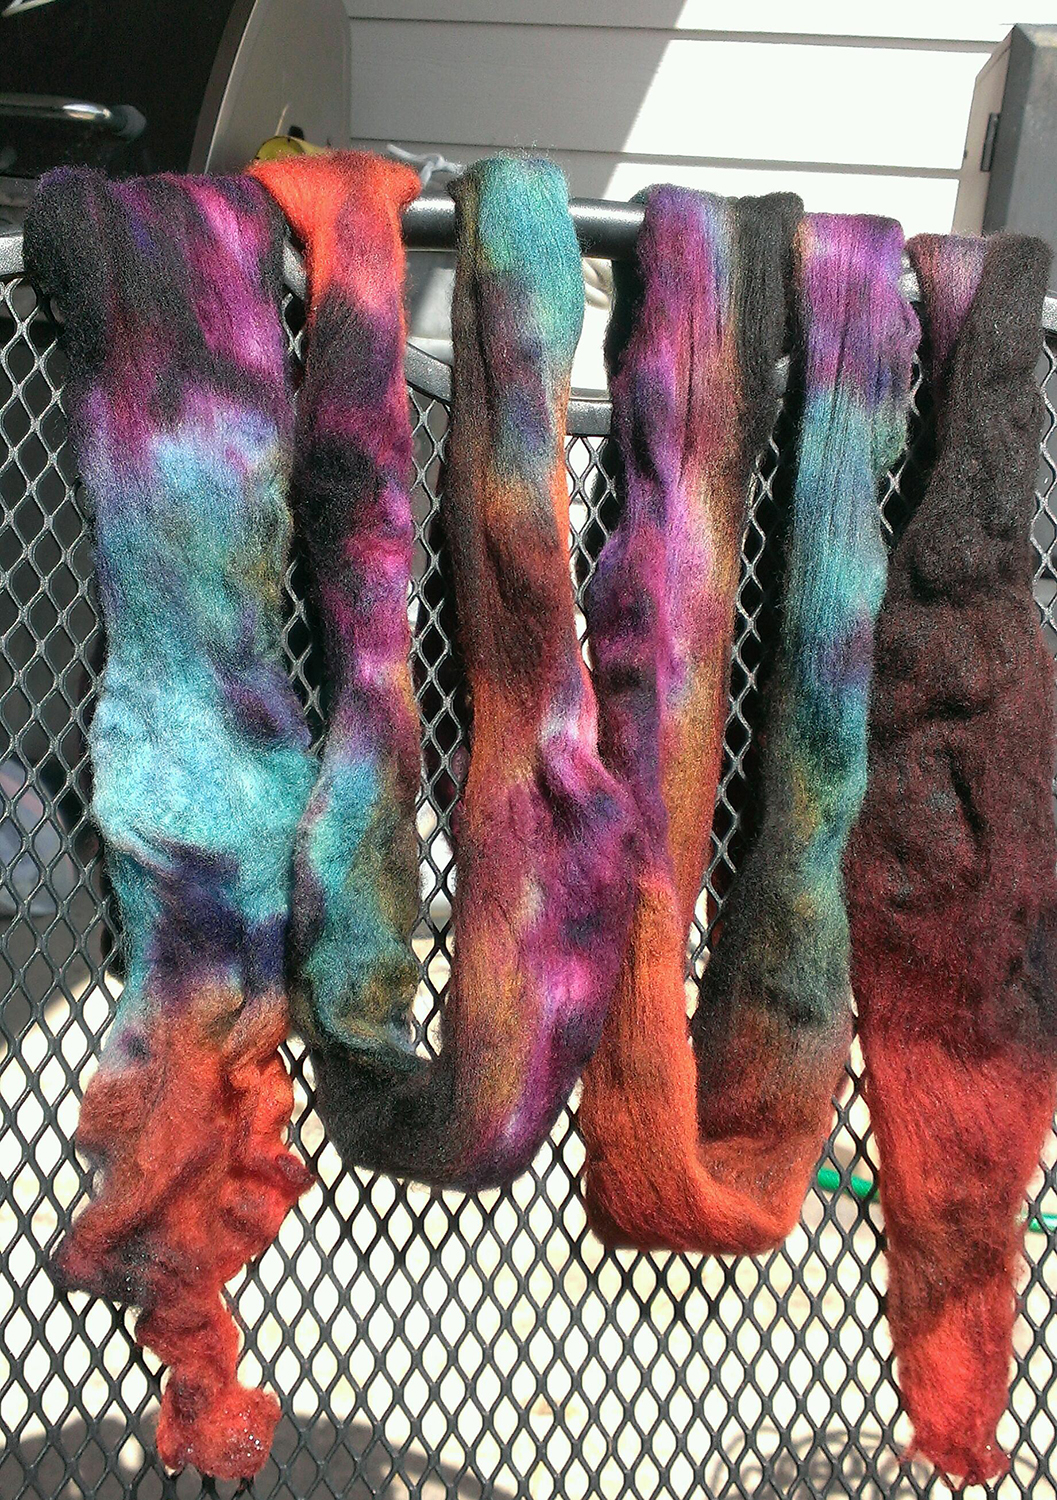
When it was completely dry (and yes, even in the Texas heat, it still took all day!) I divided it into little rolls I like to use when I spin. When I split the lengths of roving up, I got more and more excited about all the color variations in it! 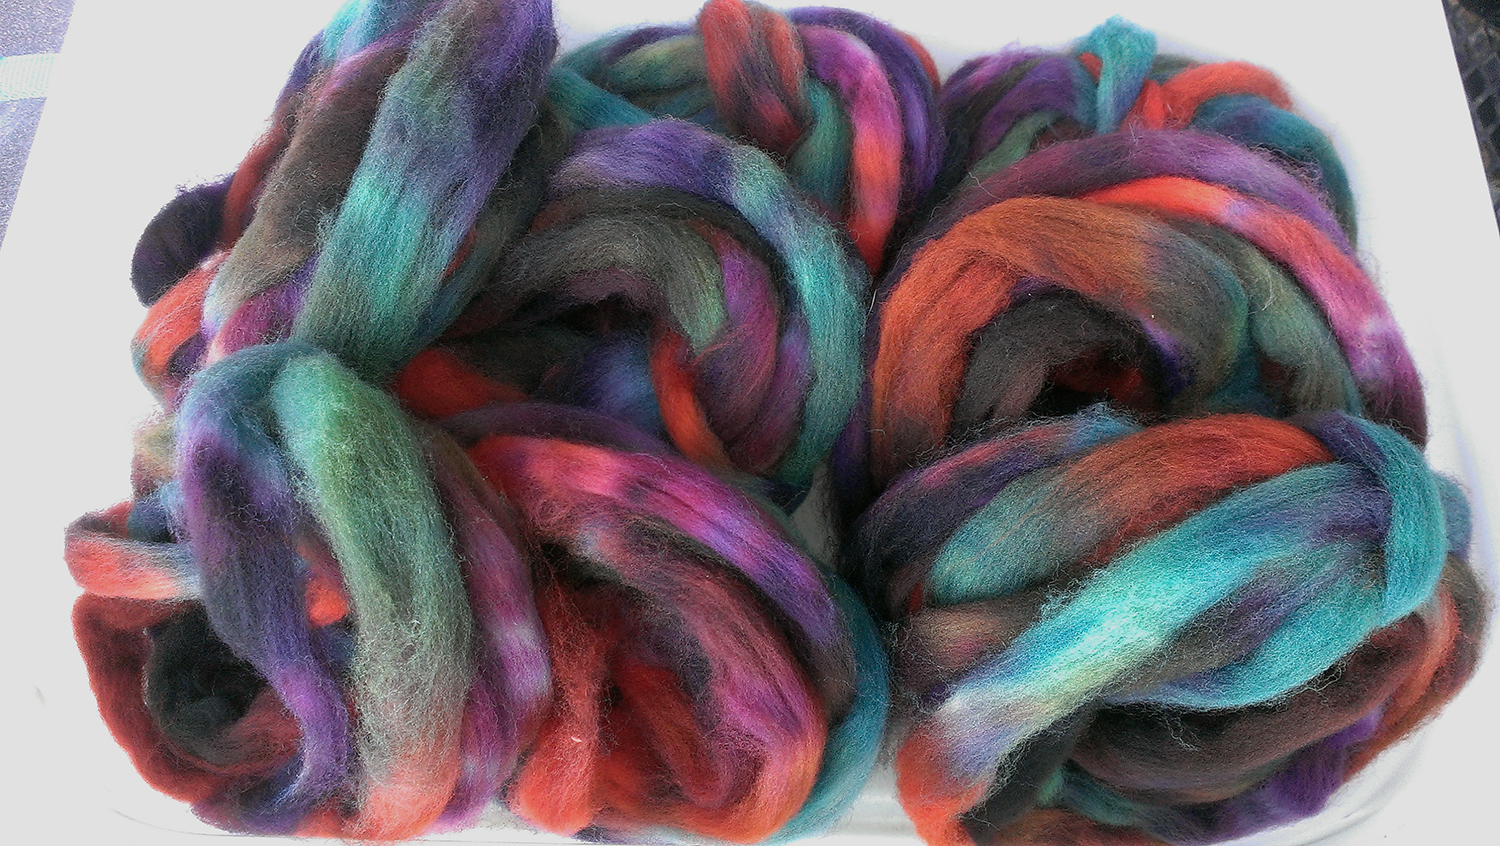
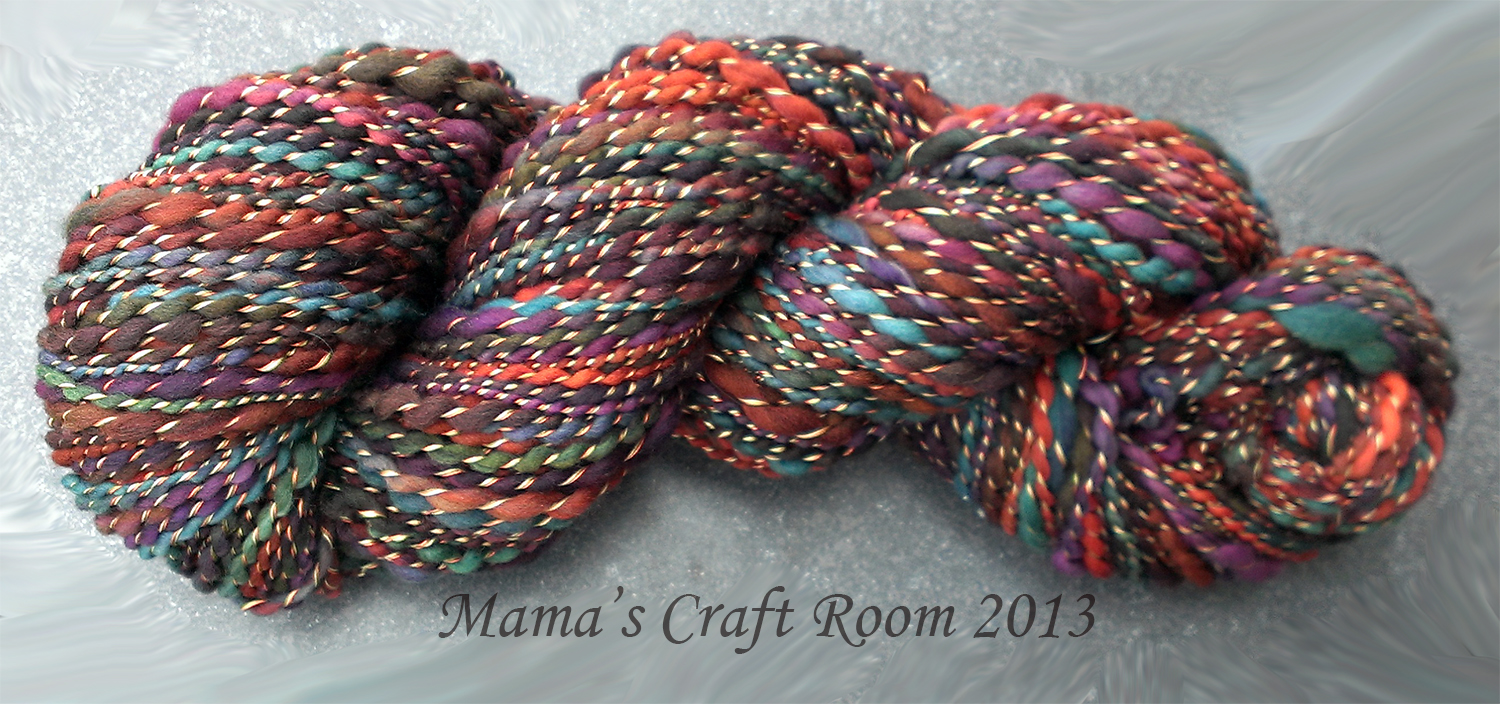
It spun up like a dream! Soon, I had two bobbins of thick and thin singles, ready to be plied. I knew I wanted this to be a very special yarn for Sweet Pea, and since the wool was already going to be a “hand wash only” no matter what it was knit into, I decided to ply it with silk thread. I found some vintage 100% silk thread on ebay that I snapped up and when it finally came in, I could not wait to get started! I was a little disappointed that it was a thinner thread, so instead of just using the one color, I used all three that I had bought. Plying with the silk thread gave the yarn a bit of a boucle’ feel and look to it. It stayed so incredibly soft, and I am so happy with the end result!! I cannot wait to get it knit up for my Sweet Pea. She watched every step of the way, and is so excited to have watched “her” yarn come to life. She paid such close attention that it won’t surprise me if my next blog post is about the yarn SHE dyes and spins herself!
Well, til next time dear readers, keep on keepin’ on. And smile. =^..^=