Category Archives: General Craftiness

Jewelry, Fiber and TDF, Oh My!

Jewelry, Fiber and TDF, Oh My!

I promise, I haven’t been slacking around. I have actually done a few things since I’ve last posted!! I’ve been wanting to post for quite some time now, but I get sidetracked every time I sit down for five seconds!
I will keep this post short. I’m going to post pictures and brief captions, plus I really, really want to talk about my very first ever Tour De Fleece! *SO EXCITED*!!!

1377071_770368699642191_1322396747_n10006613_811936088818785_4889300607303001932_n
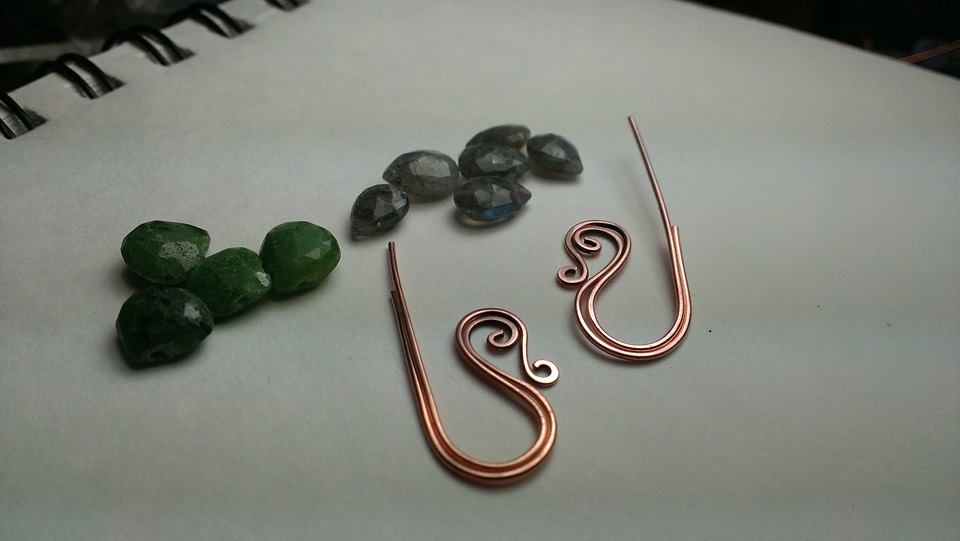
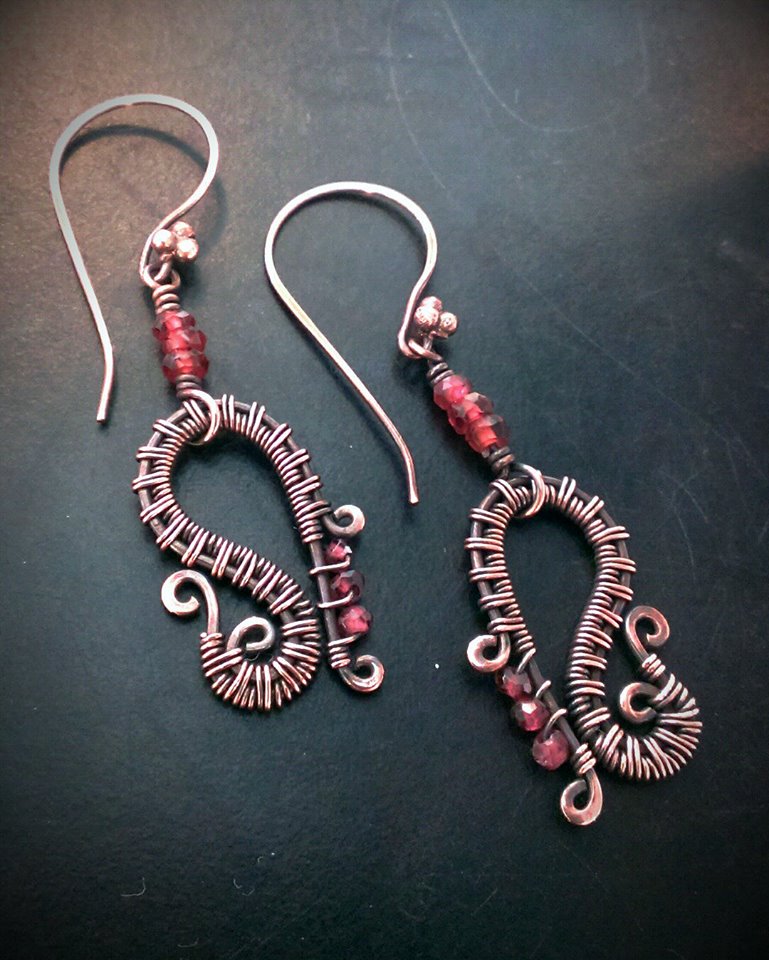
Who would have thought that the image on the left would end up the picture on the right? It was an experiment, and in the end, I followed where they went and though unexpected, really like them. Grade A garnets on woven copper, they are surprisingly light weight and are just a hair over two inches long from the top of the ear wires to the bottom of that lowest little curl.

grapegarnets2
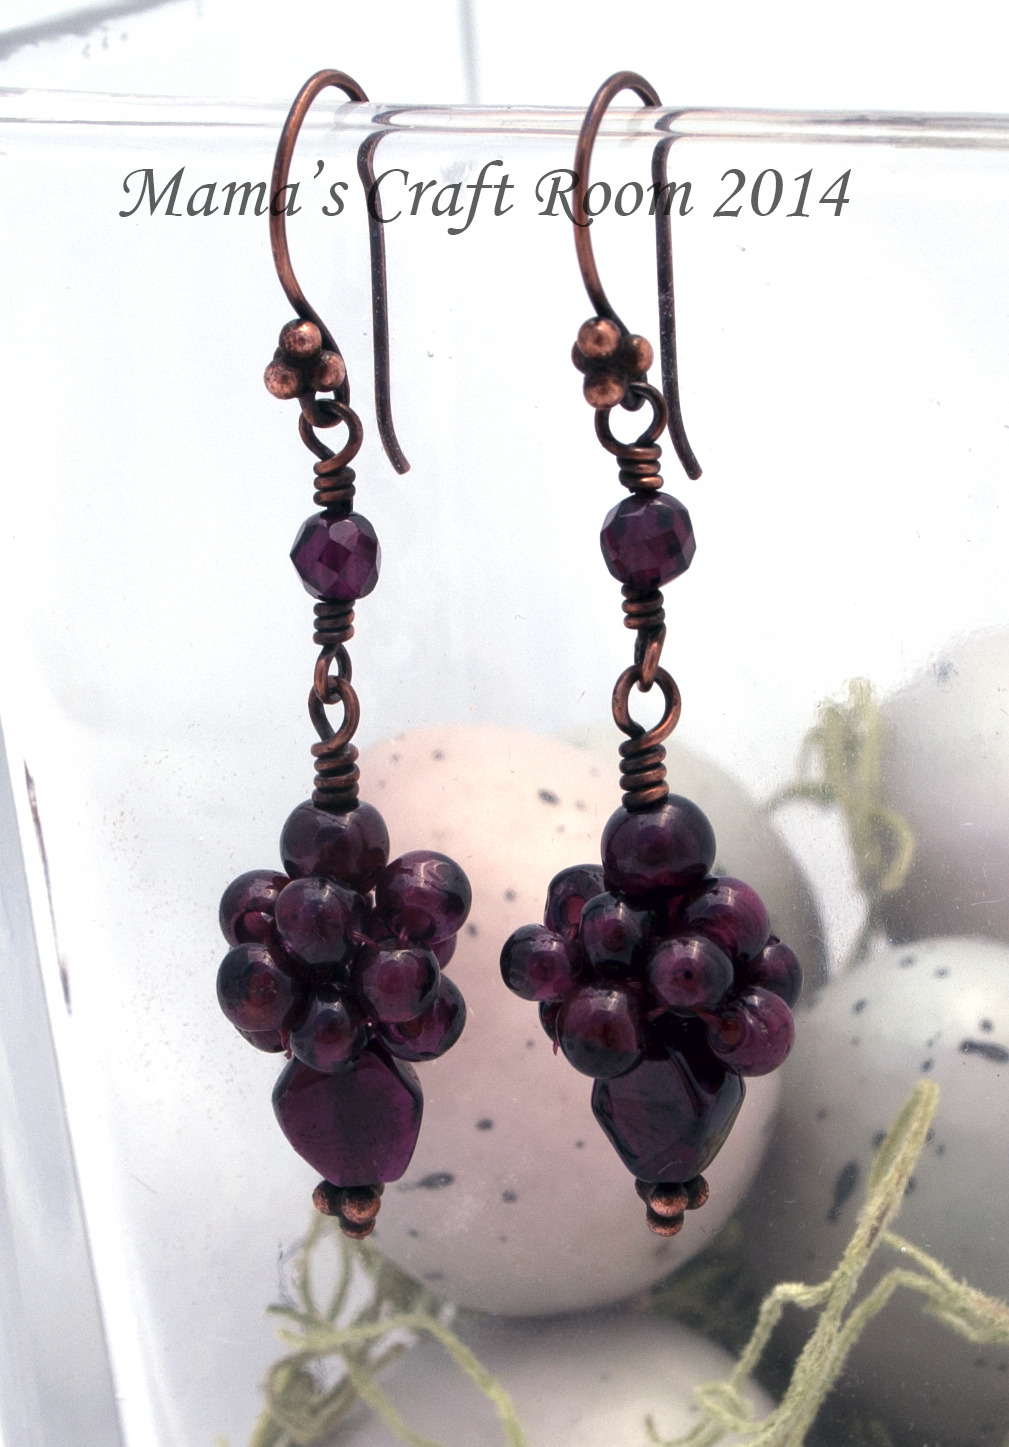
Little garnet clusters, these make me think of grapes. Nice weight to them without being horribly heavy, they measure just a tad over two inches from top of the ear wires to the very bottom of the dangle.

LushGarden10308095_797831710229223_35612129862889700_n
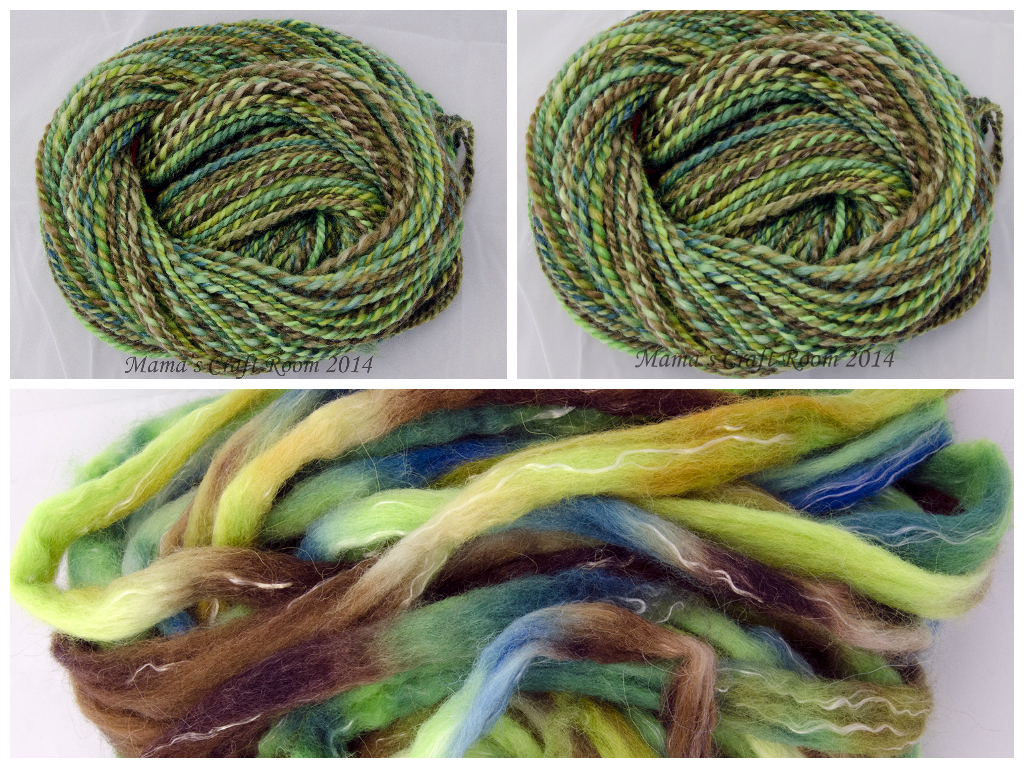
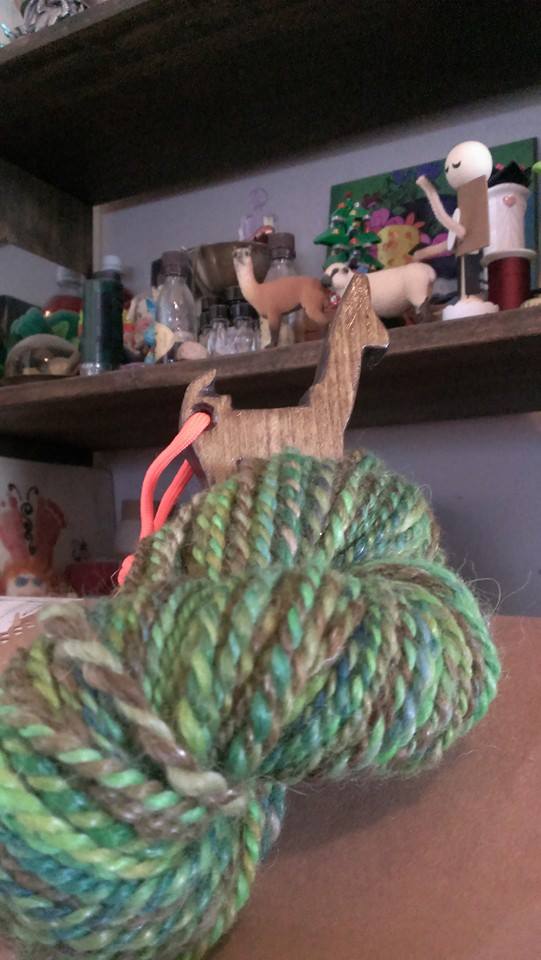
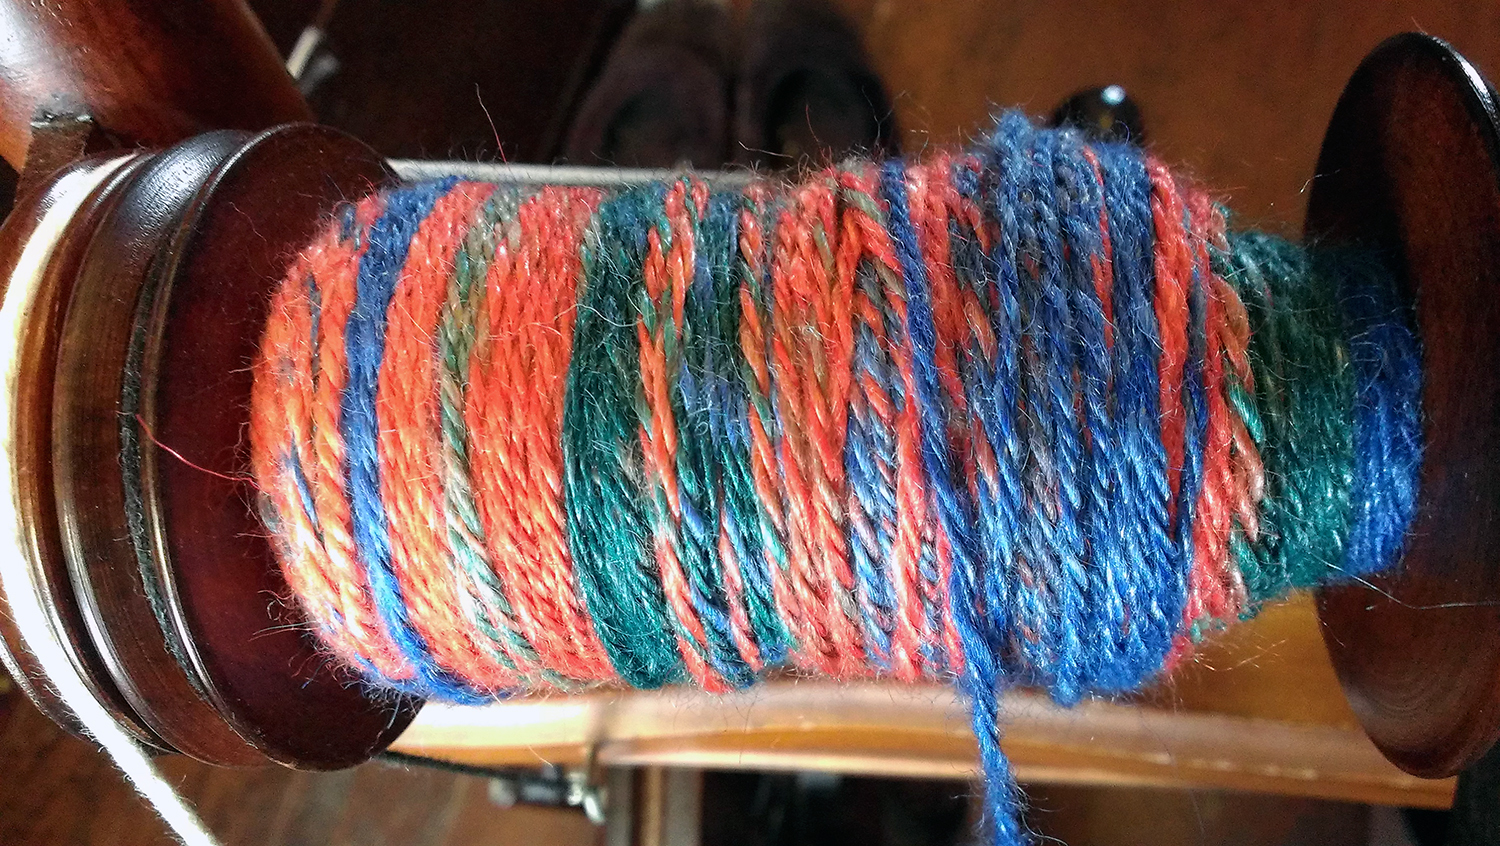
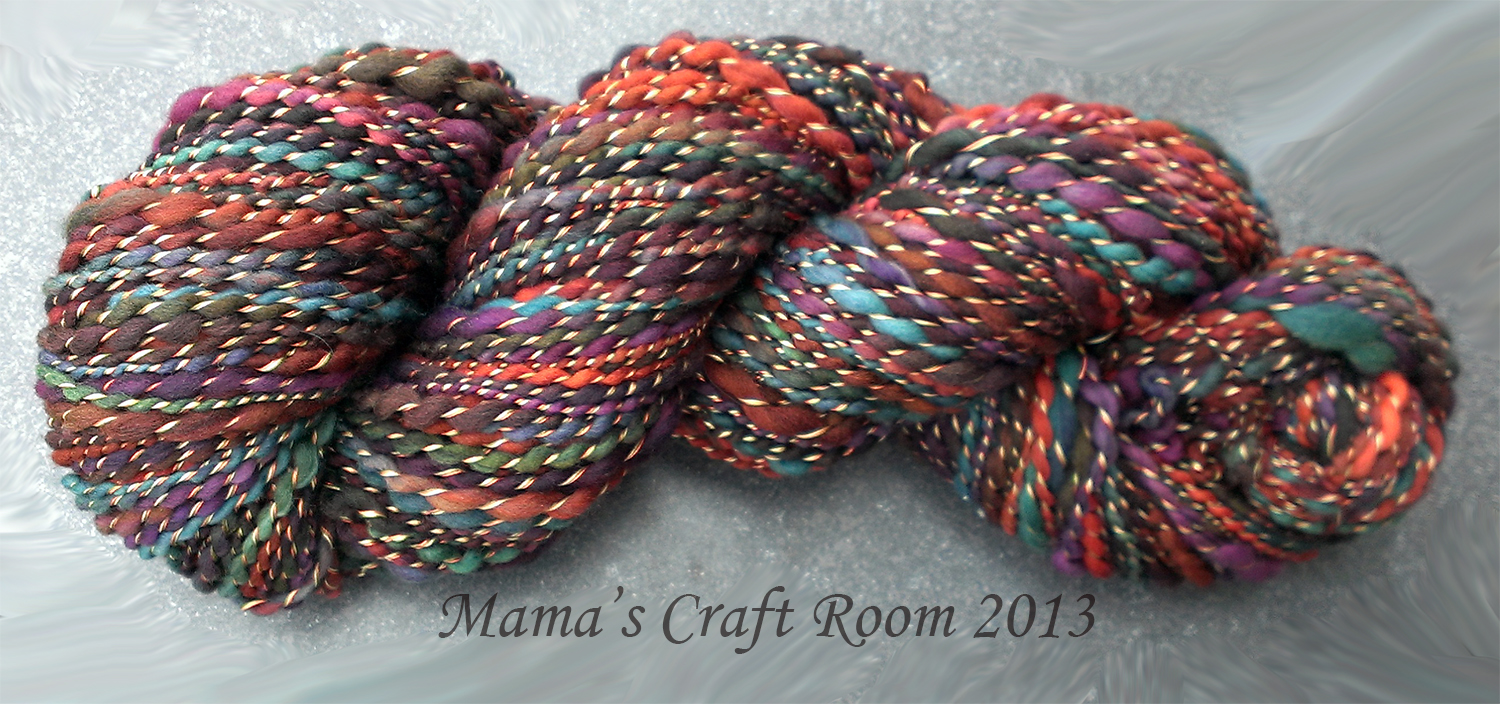
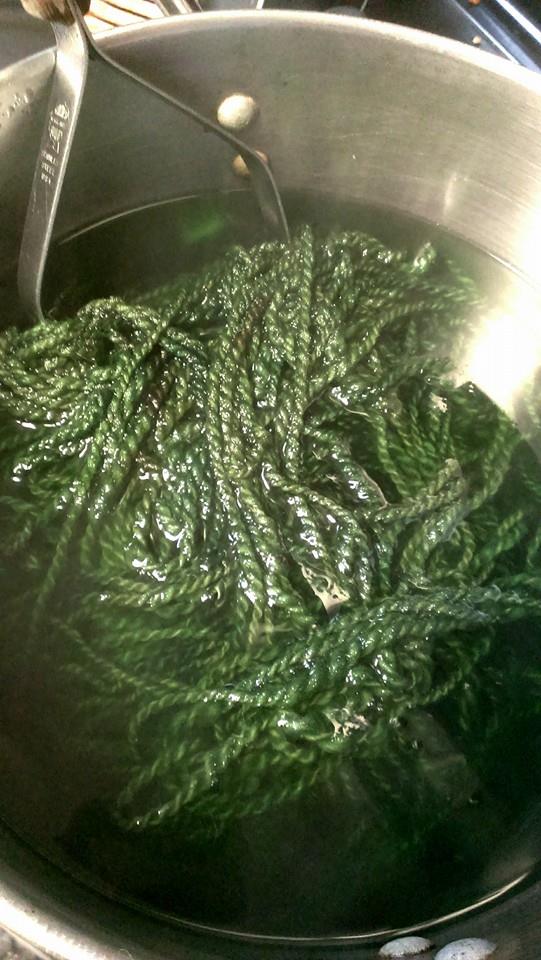
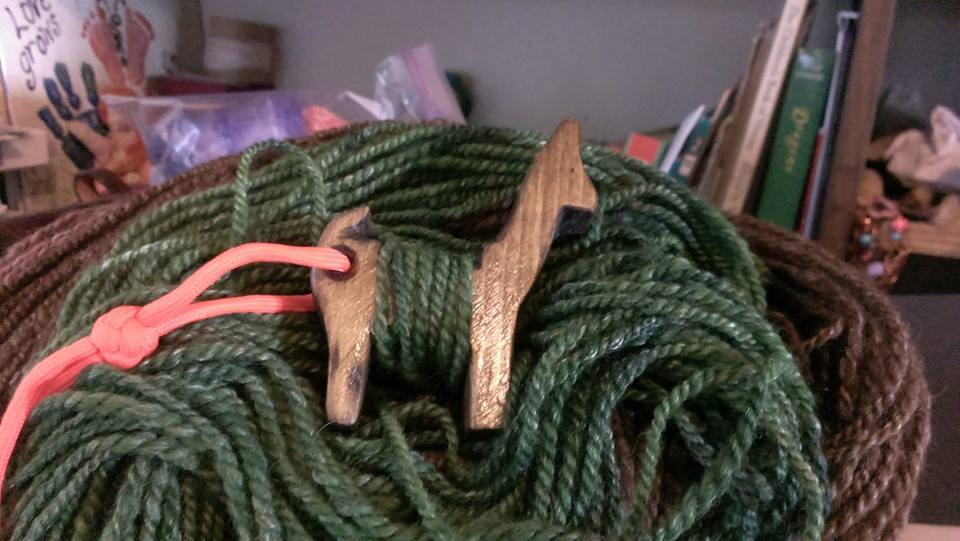
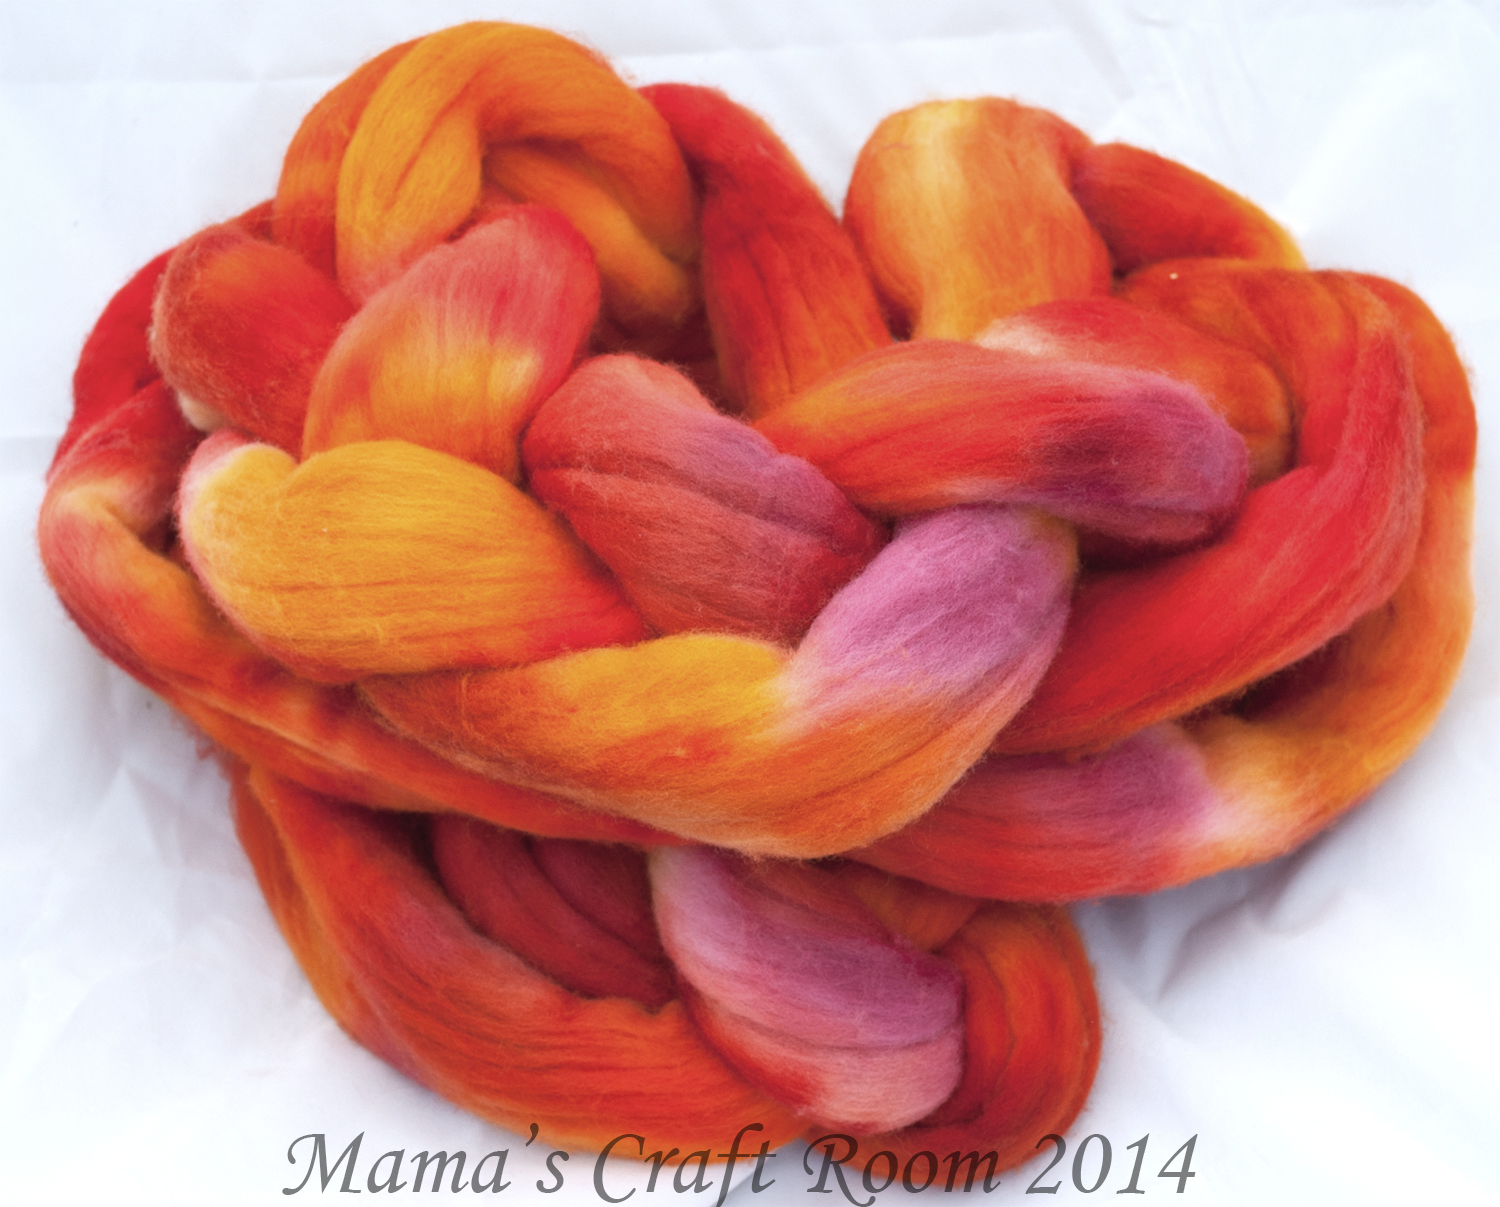
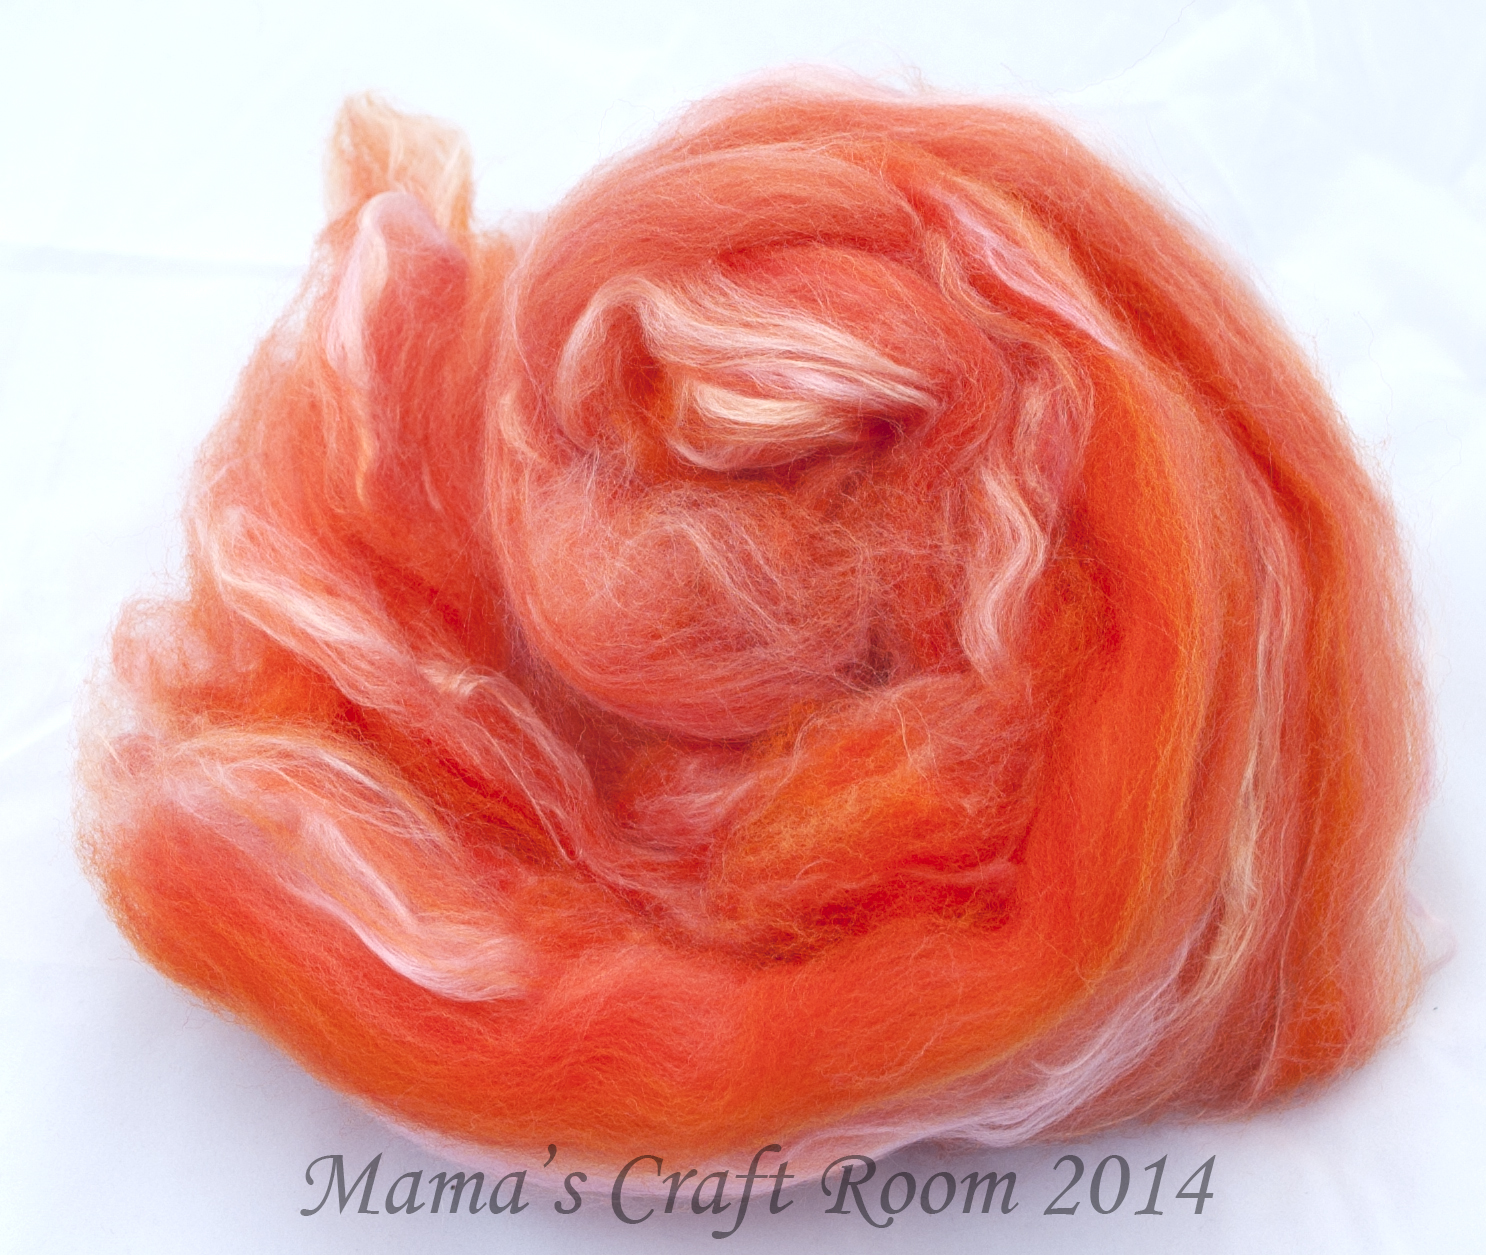
I made this AYE-mazing yarn that I just LOVE, and called Lush Garden, and learned a hard lesson-never dye less than eight ounces. This is a small skein, so I am kicking myself for not dyeing more at the time. It’s a little hard to repeat spontaneous hand-painting! This is so soft, semi-worsted merino/alpaca/tencel, next to skin soft.

10426660_808365402509187_323041907378061261_n 10455917_809248449087549_734469287241035_n
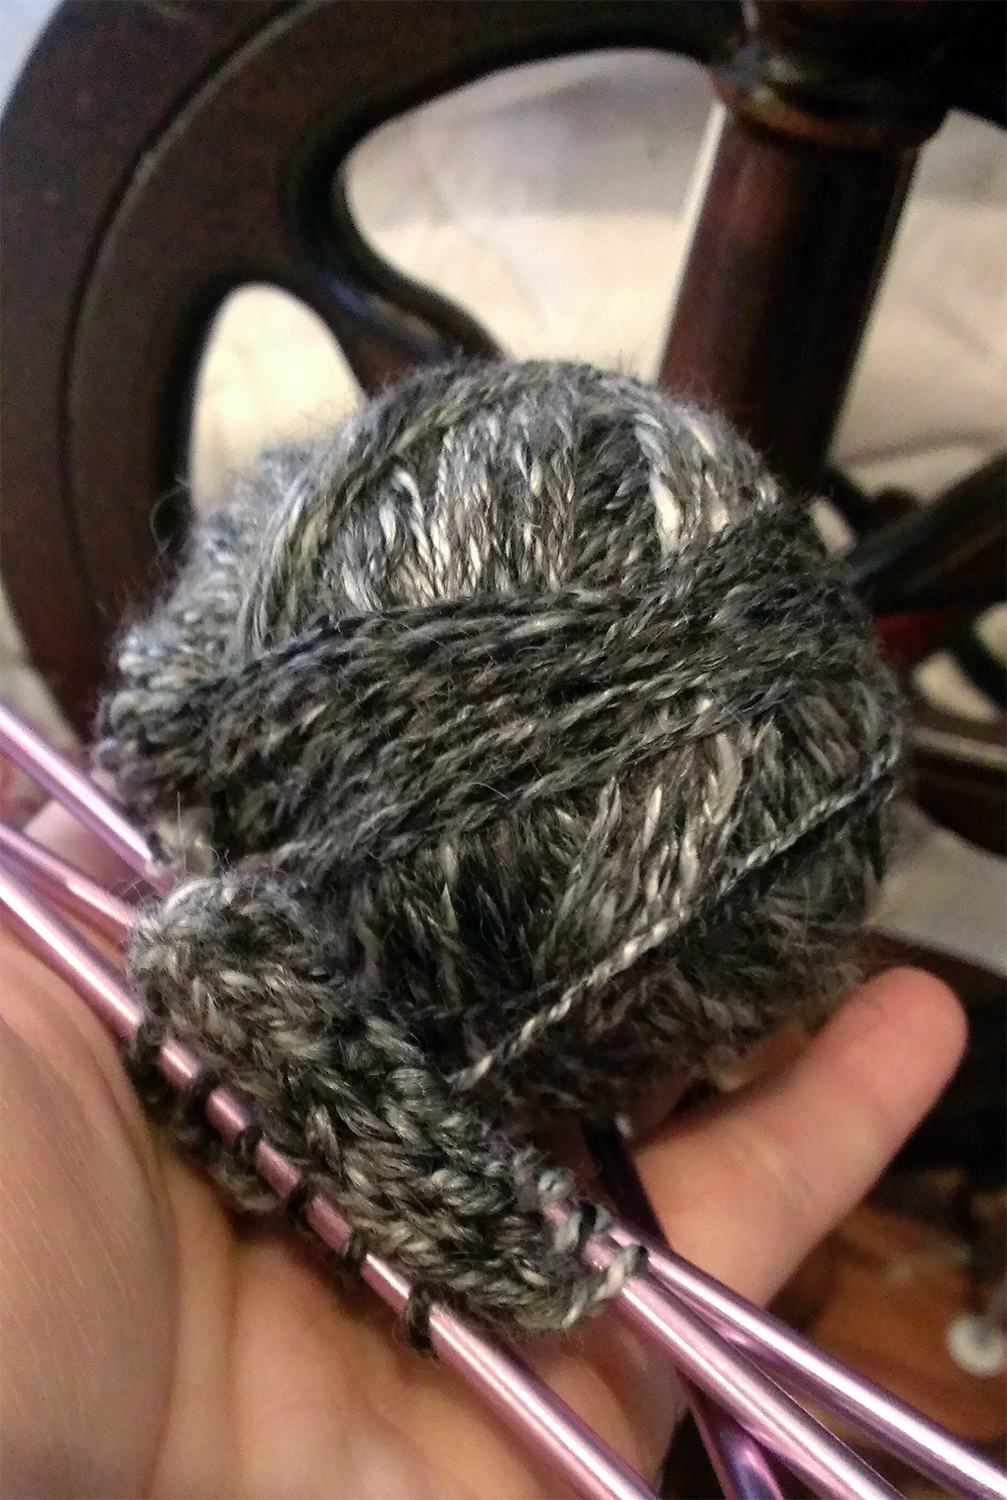
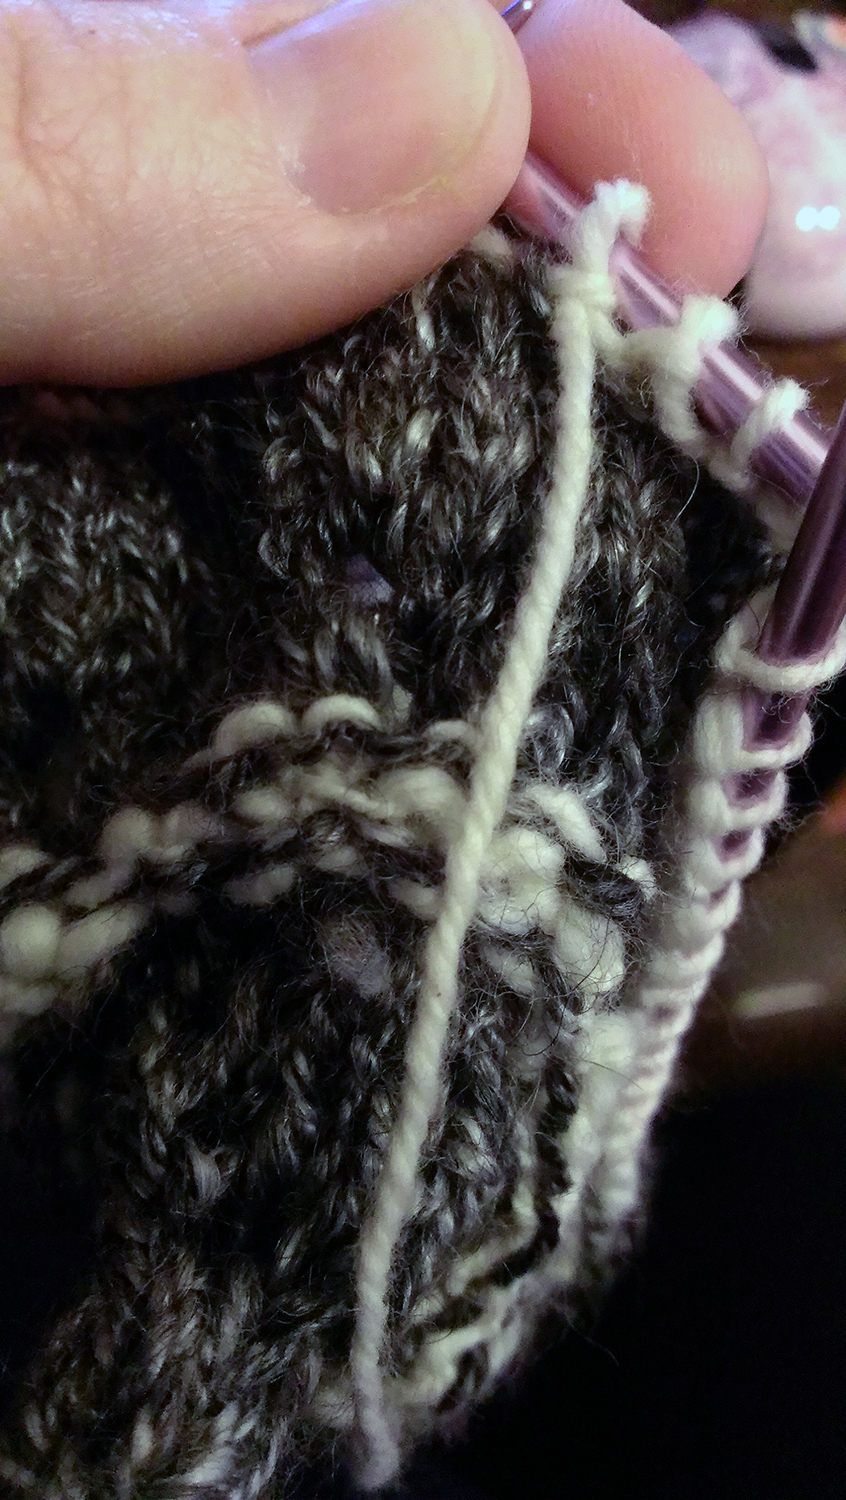
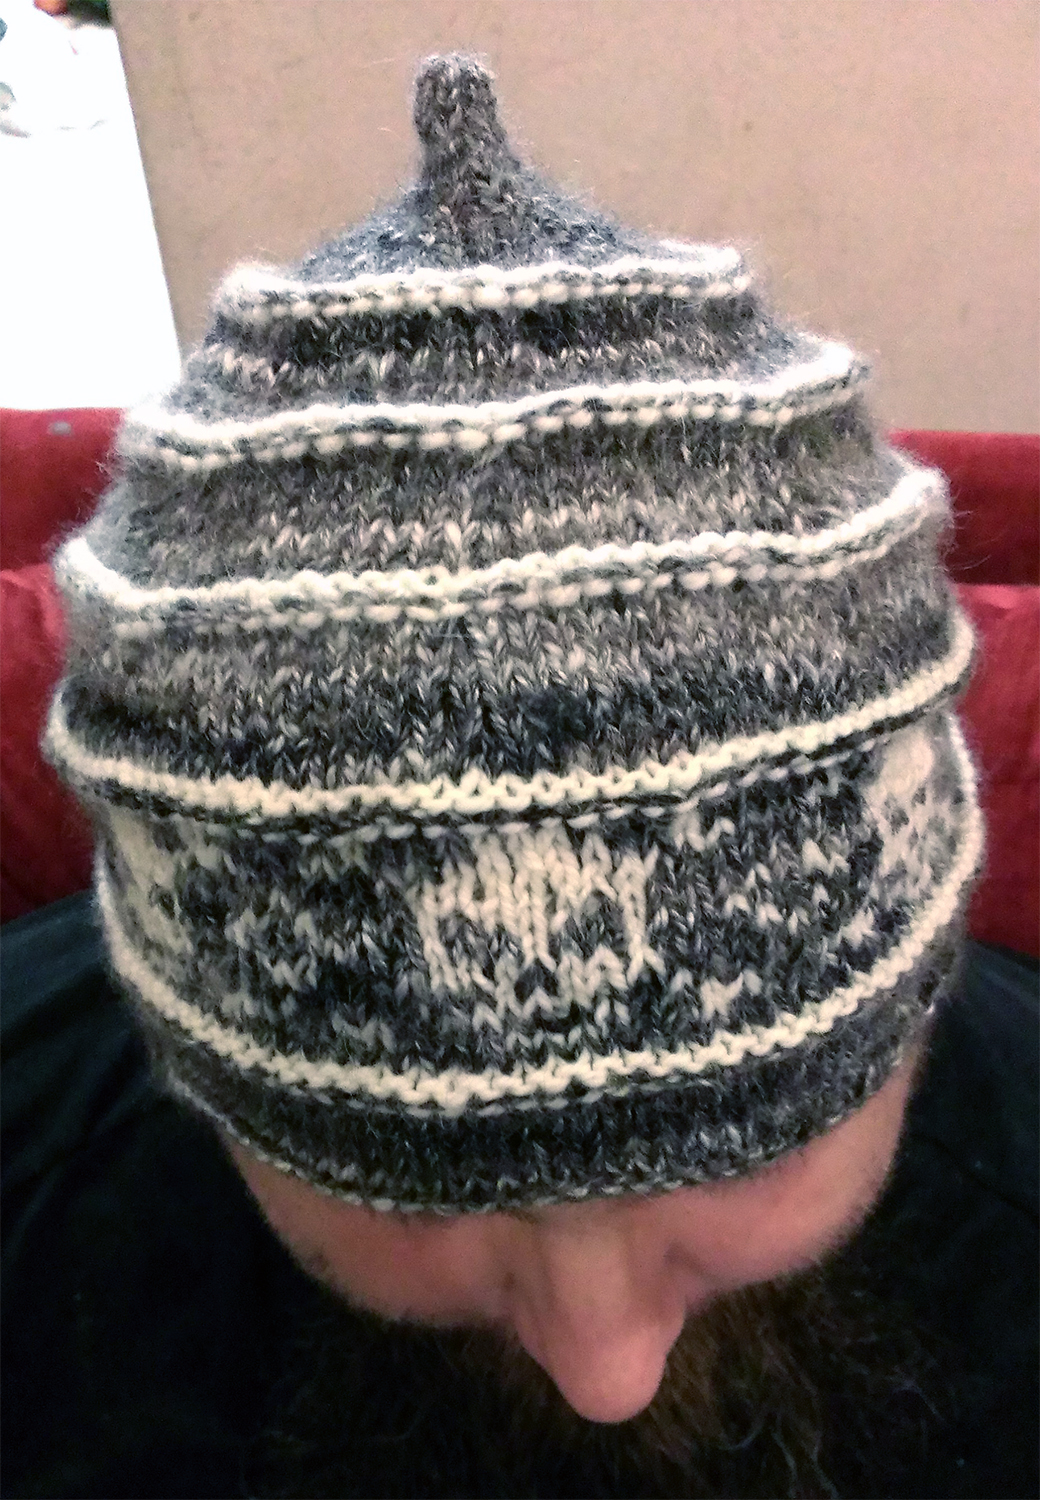
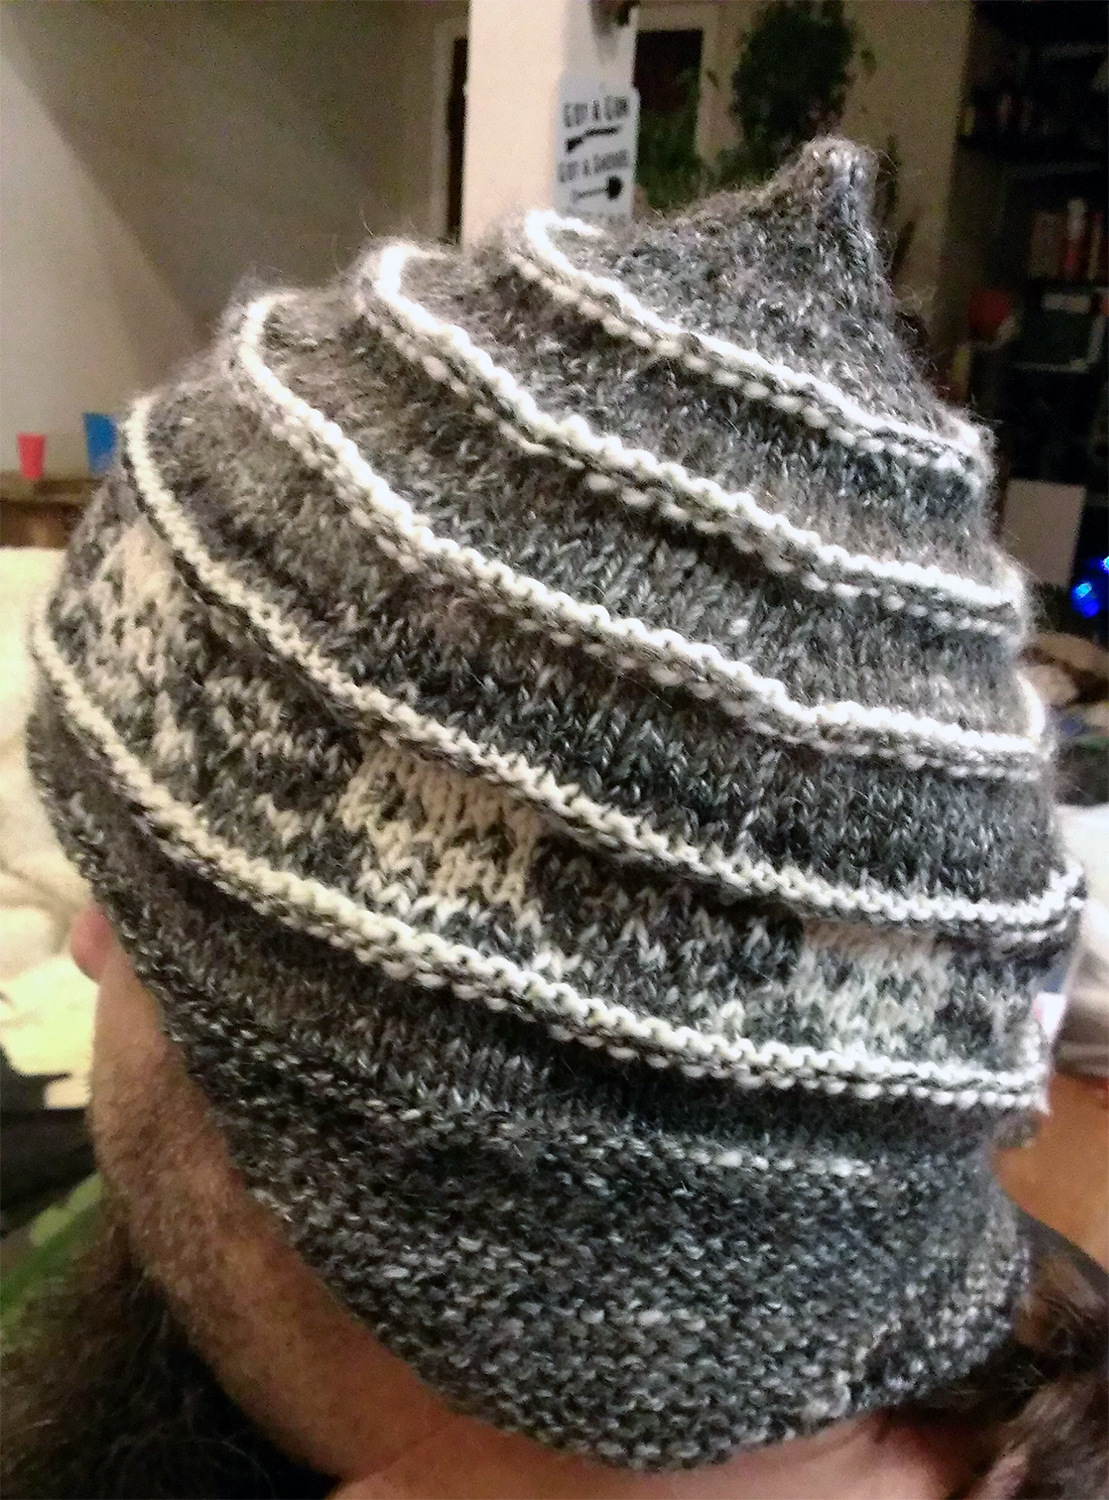
I have started knitting up my new series of Mountain Men hats. Earthy tones, thick and warm, the gents on the Muscle’s forums expressed great interest in them!

teesBFLlocks
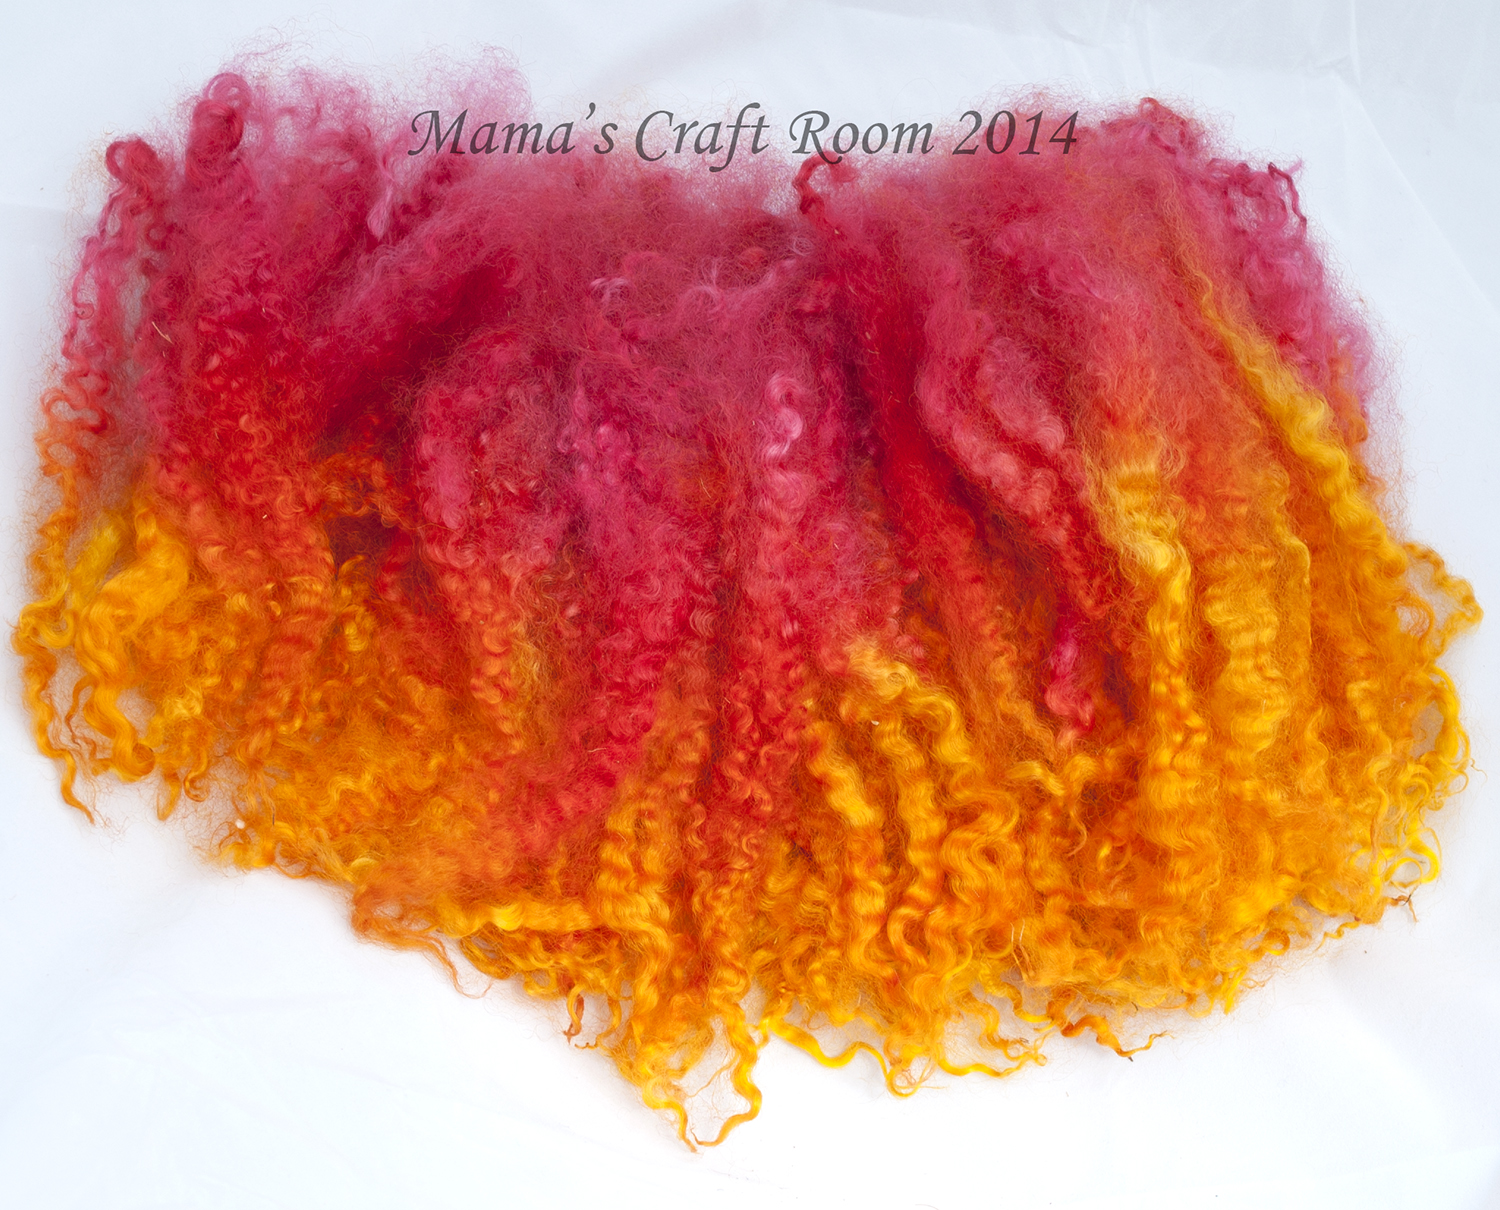
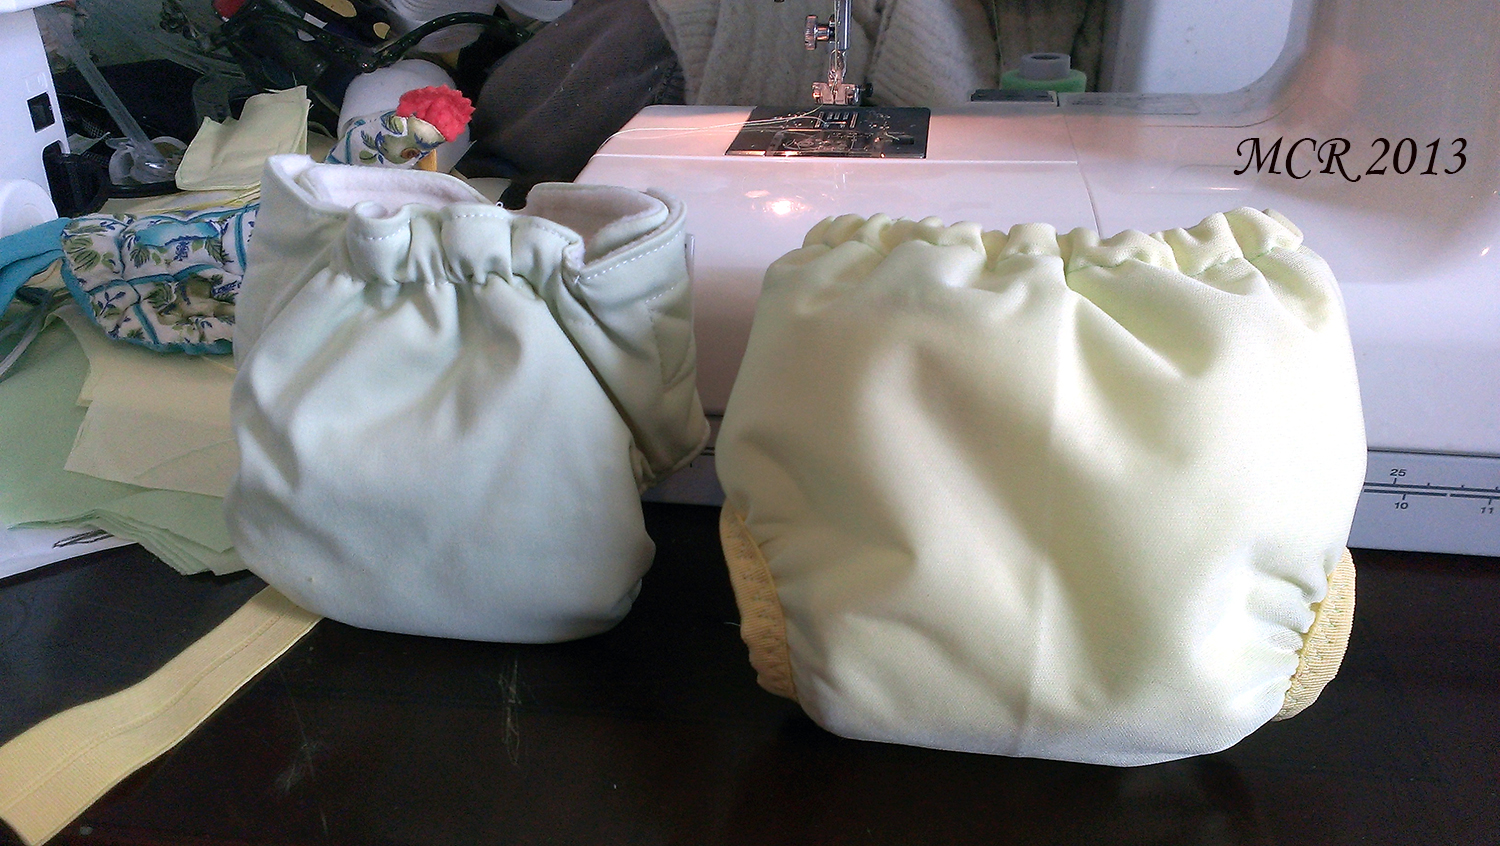
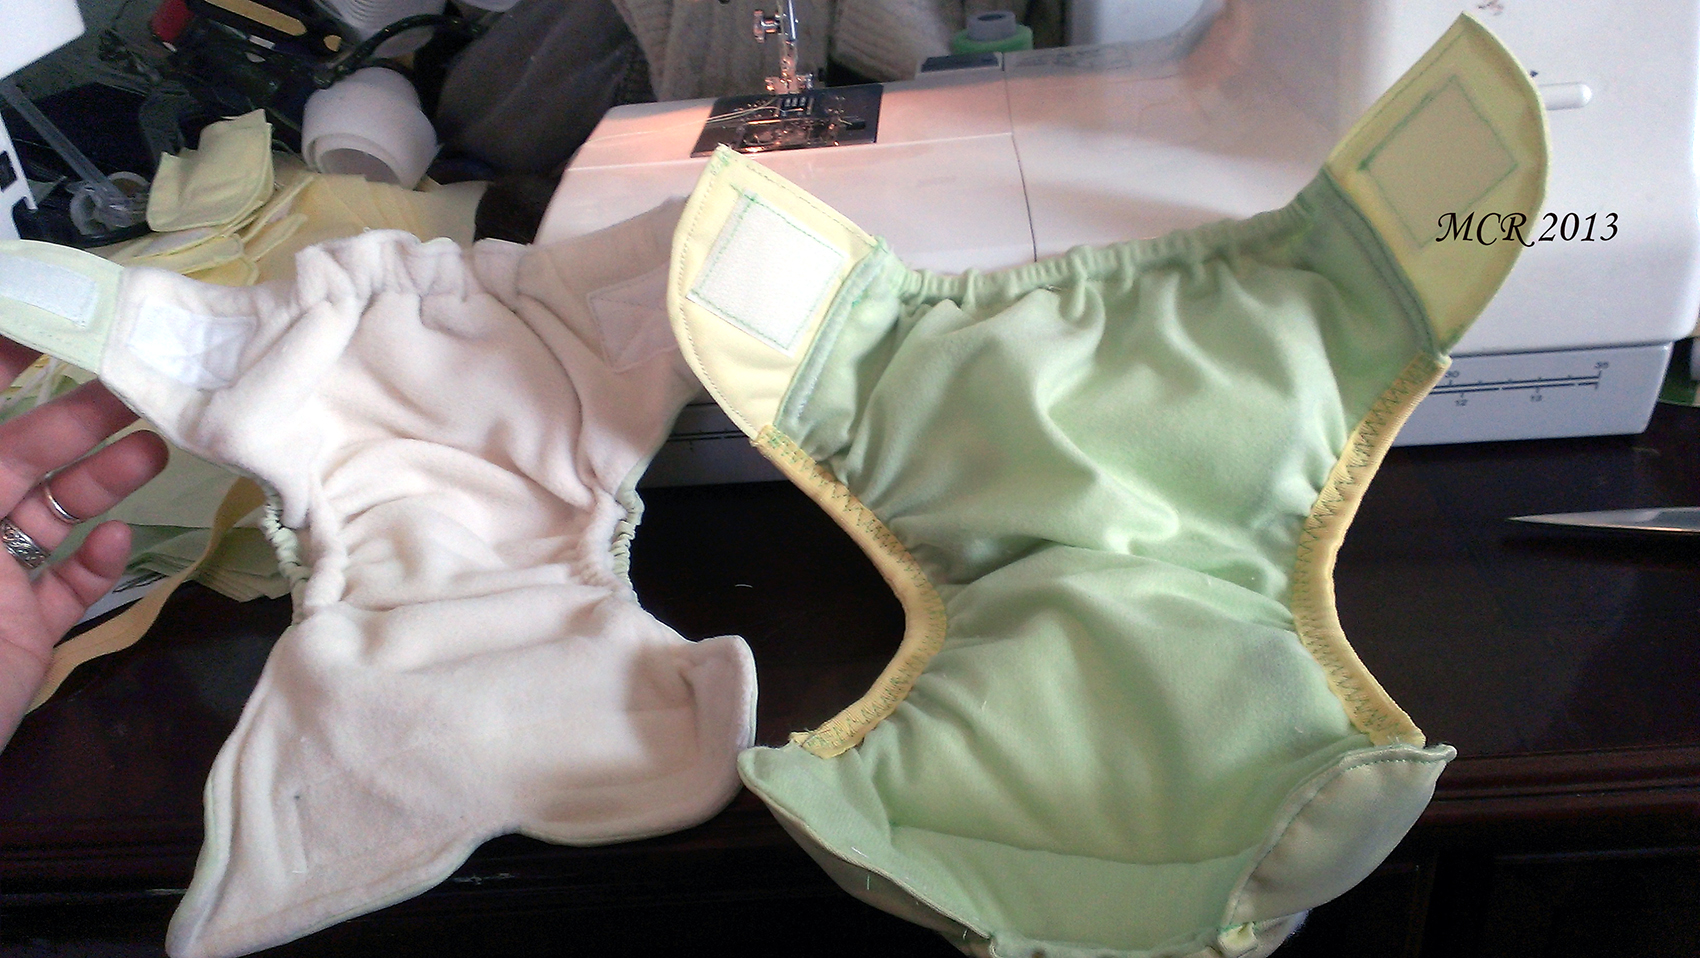
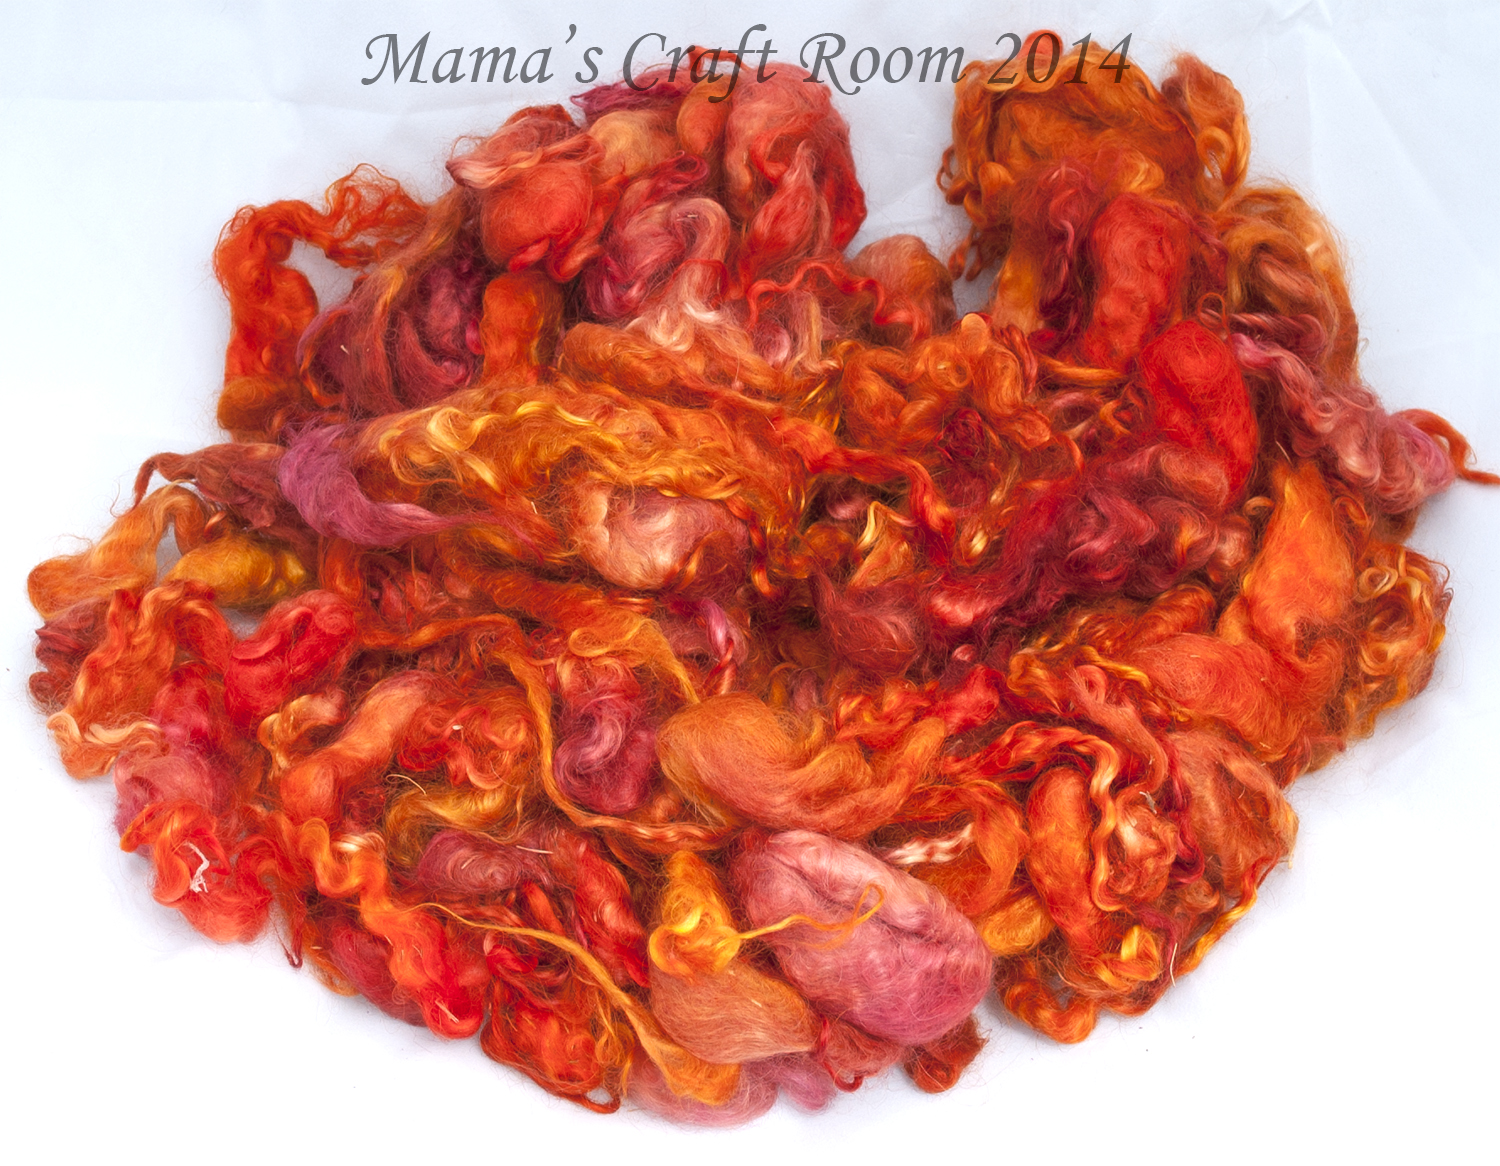
We attended the Yellow Rose Fiber Fiesta this year!! I was luck to have been joined by some of my favorite framily people and V and I snapped up some raw long locks that were being sold by a nice lady named Tracy Ross of South Texas Angora Goats. I opted for the 50% teeswater/BFL cross locks and V brought home some awesome 50% teeswater/Wenslydale locks. We had a Fiber Day here at the Ranch, and together skirted/washed a good half pound of locks. V hasn’t dyed hers yet, but I couldn’t wait! I laid them out in a pan and dyed them in the oven using Jacquard Acid dyes I painted on. Success!! These locks are an average of nine inches, with some being around 6 but most closer to 9-10.

henryslocks
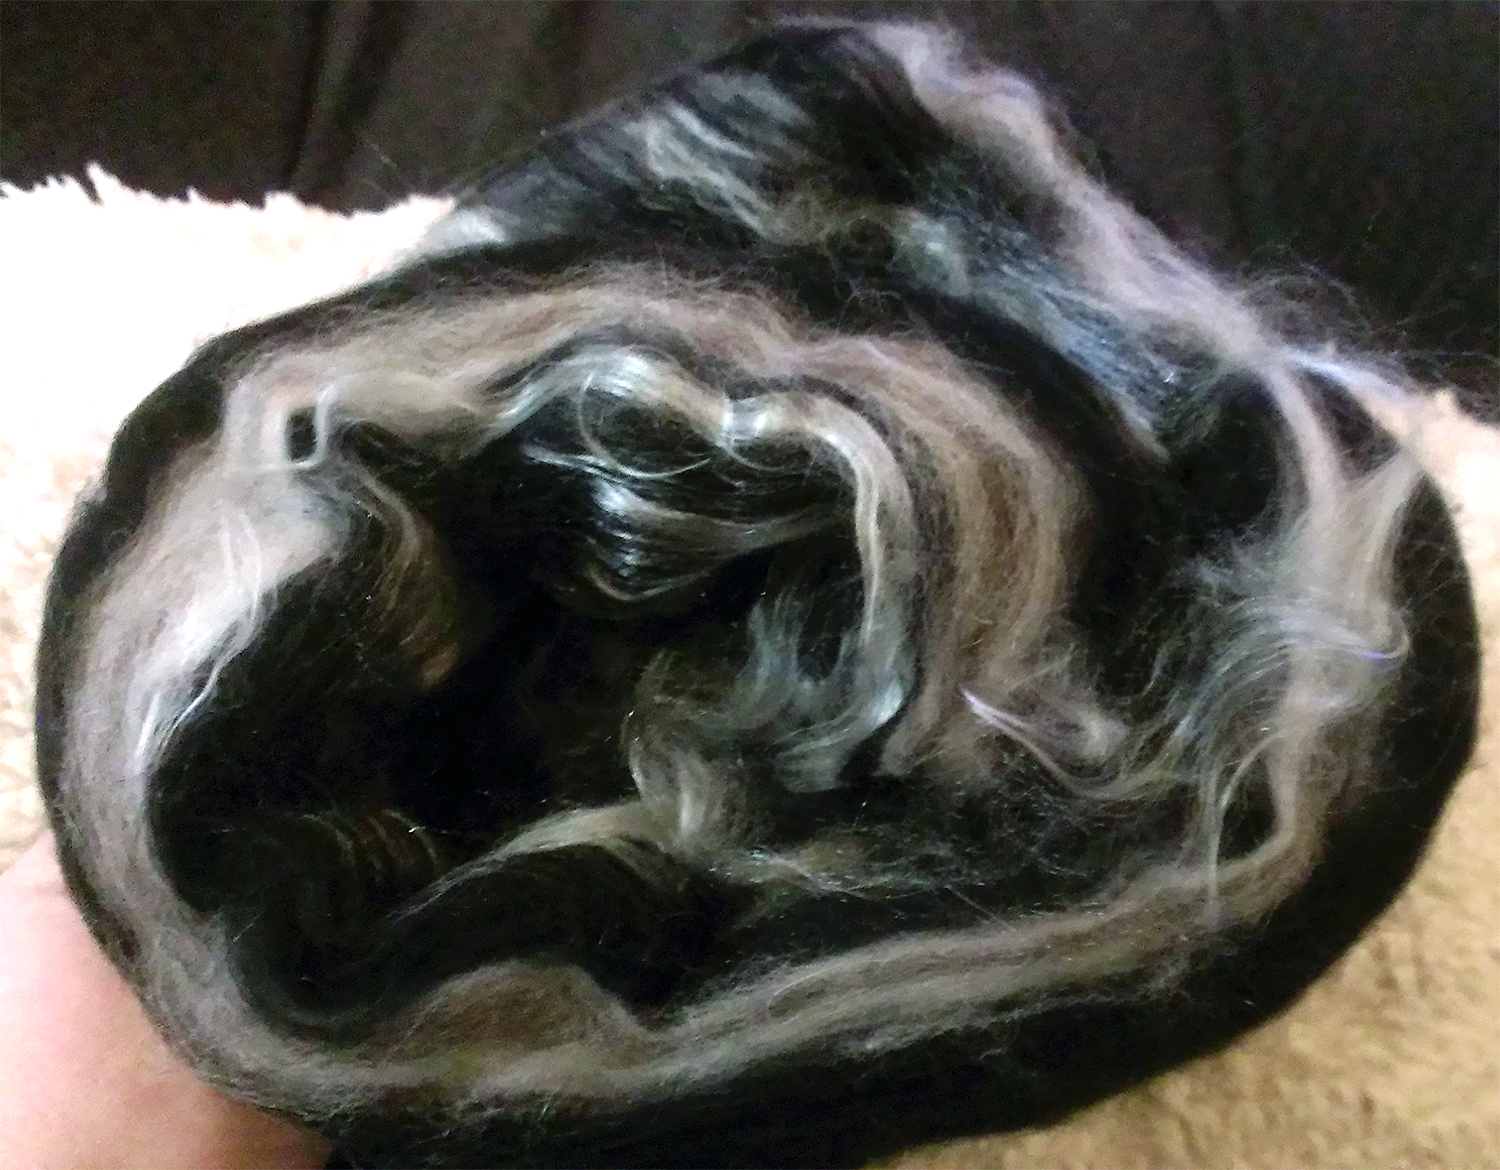
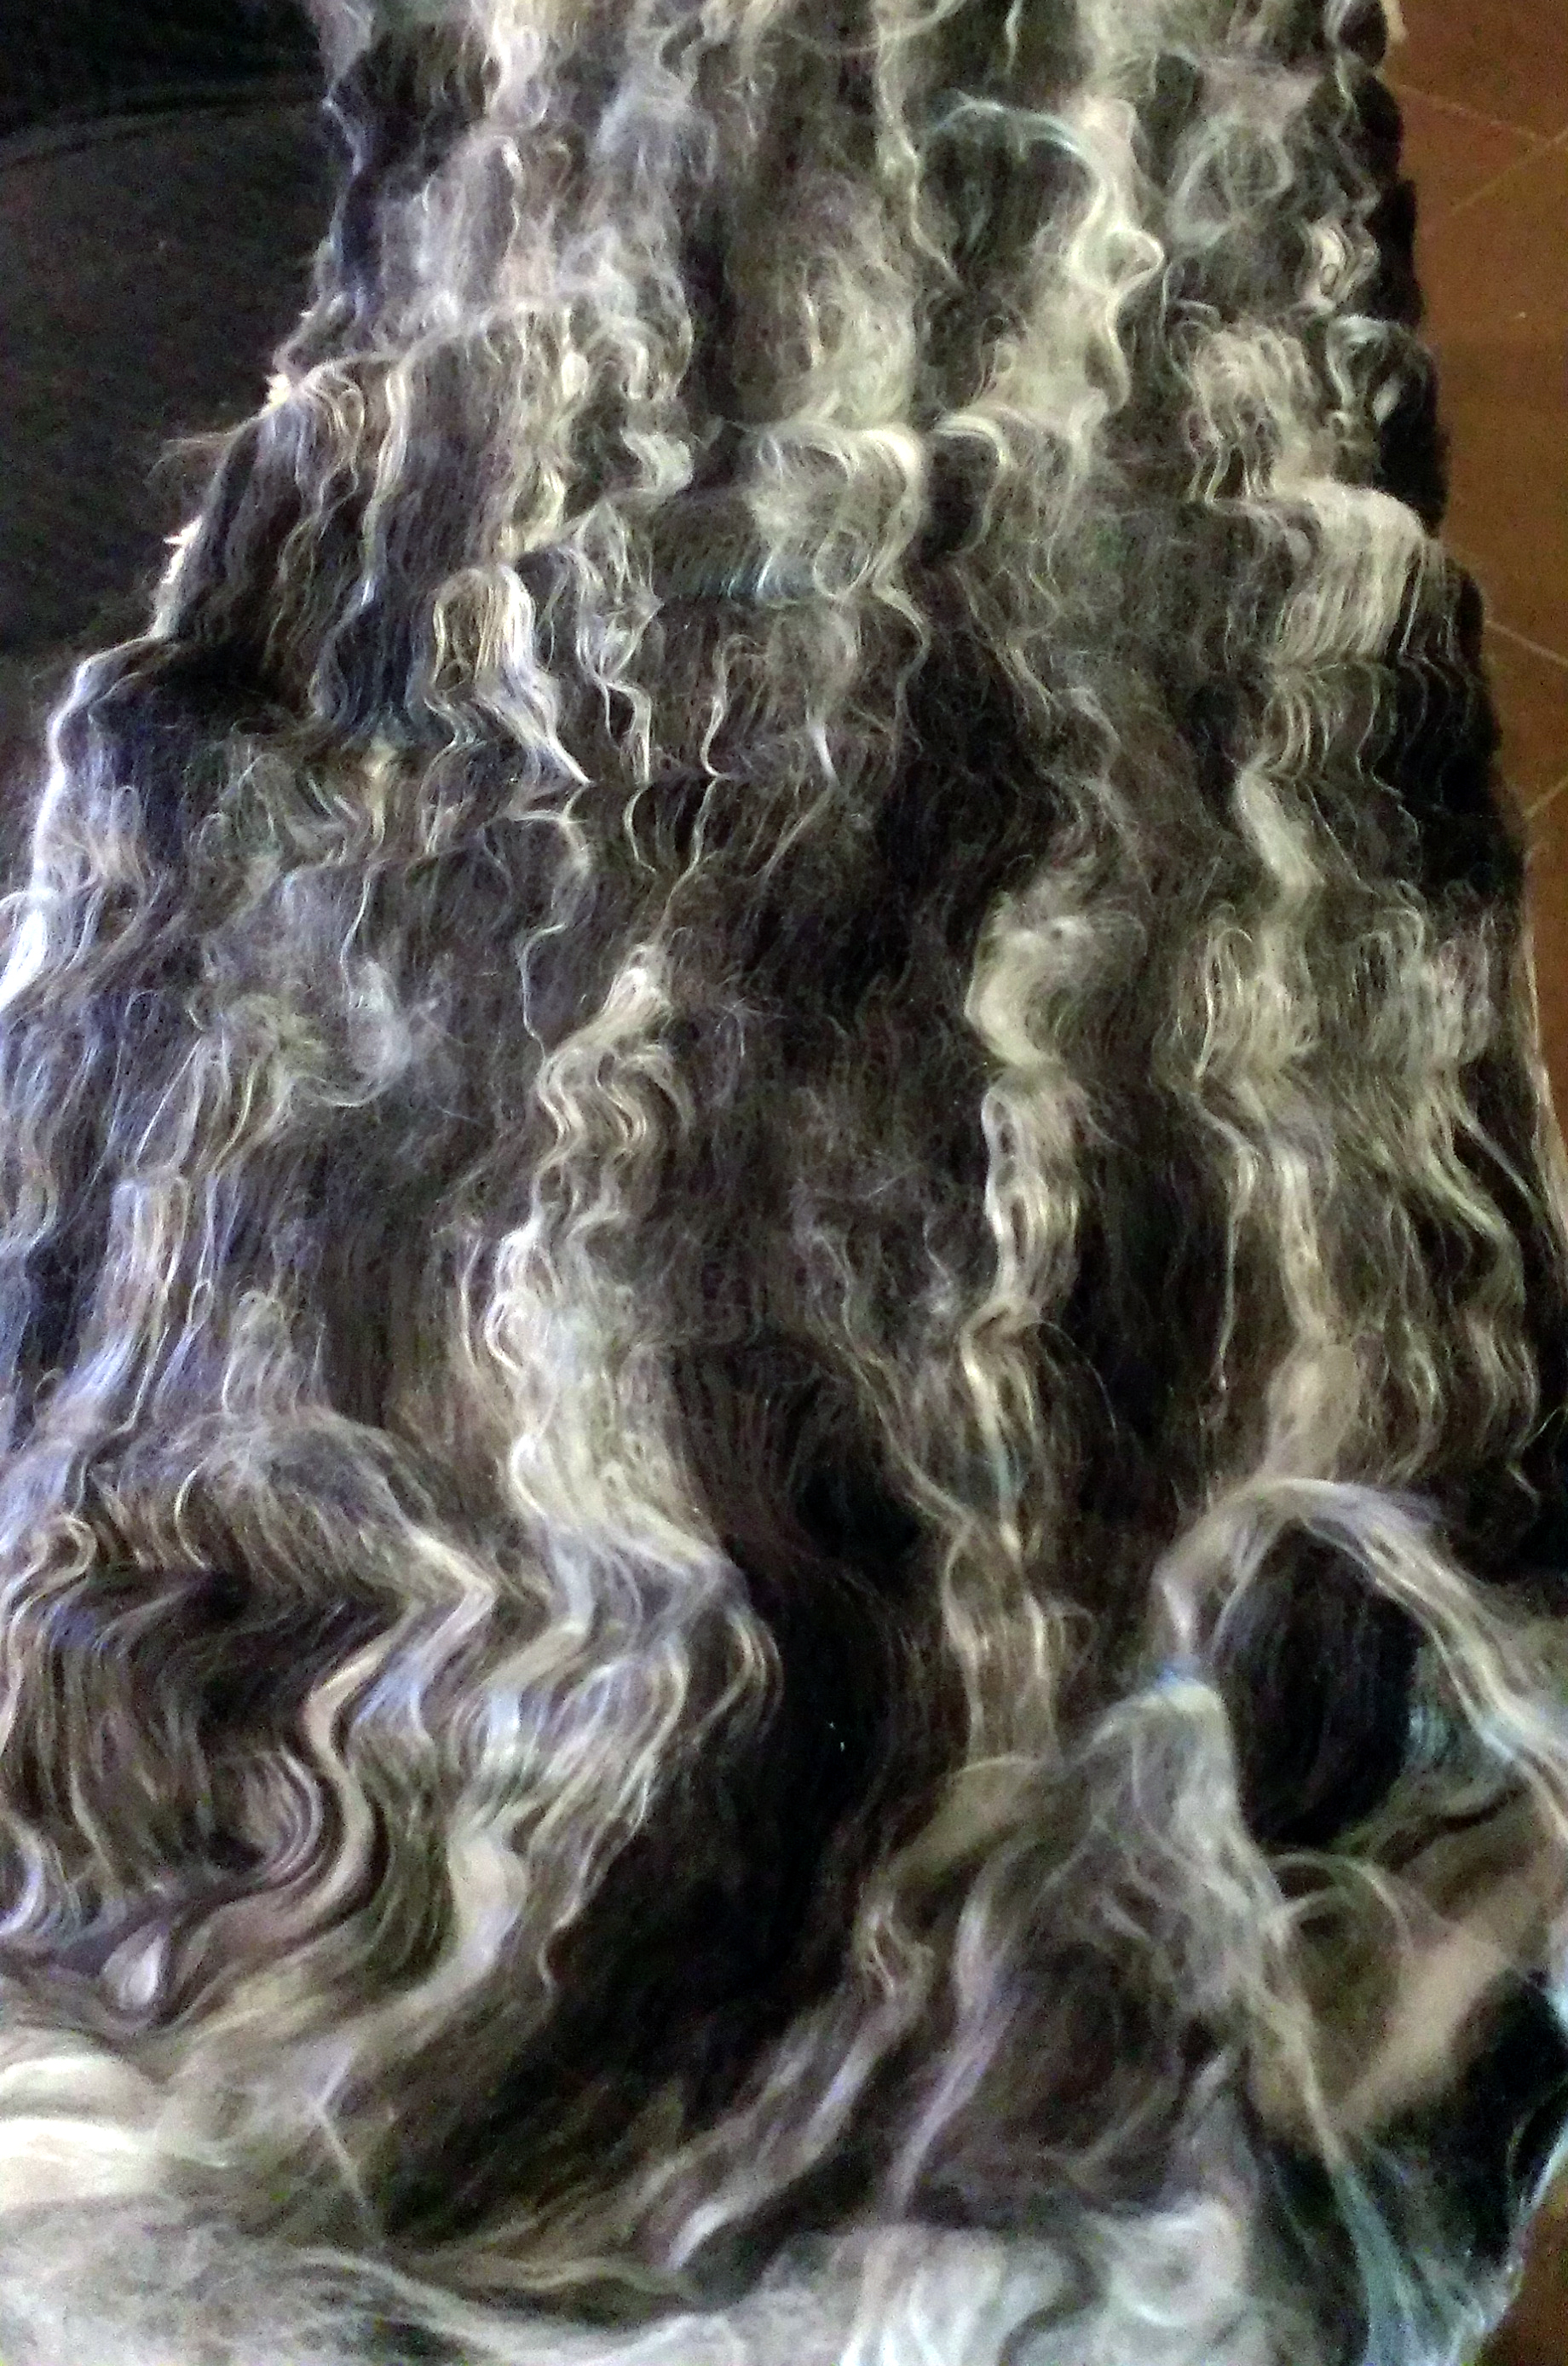
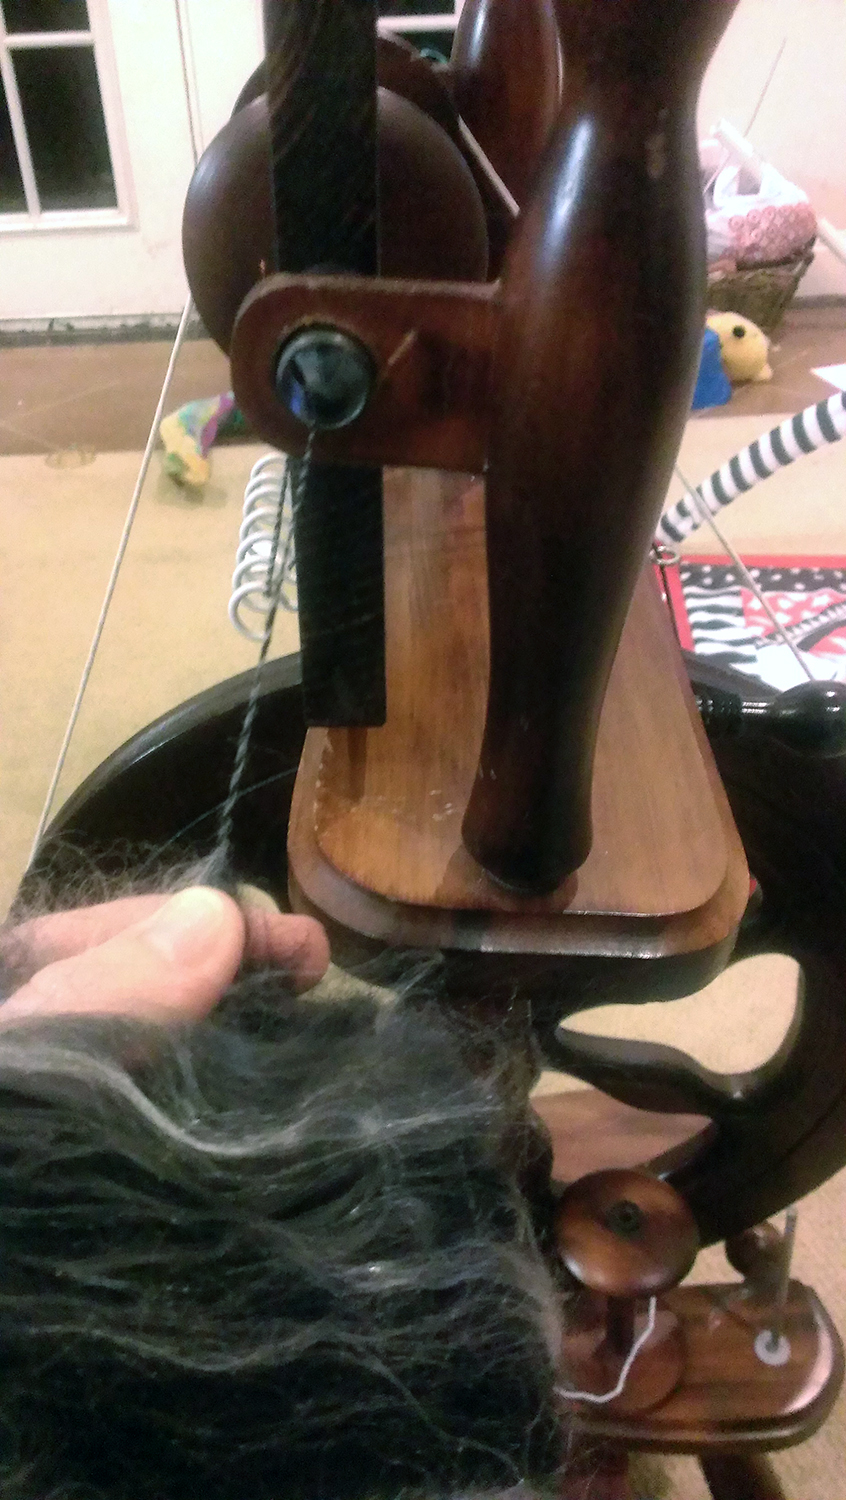
Now these are mohair locks from my wether, Henry. I love that goat. He is two years old and has the silky soft lustrous locks of a kid. I haven’t done any tail or lock spinning yet-so I decided to practice with Henry’s locks before diving into the teeswater/BFL locks. And OH MYYYYYYYYY!!! I am just blown away at how silky these are!!

vickysrovingBFL
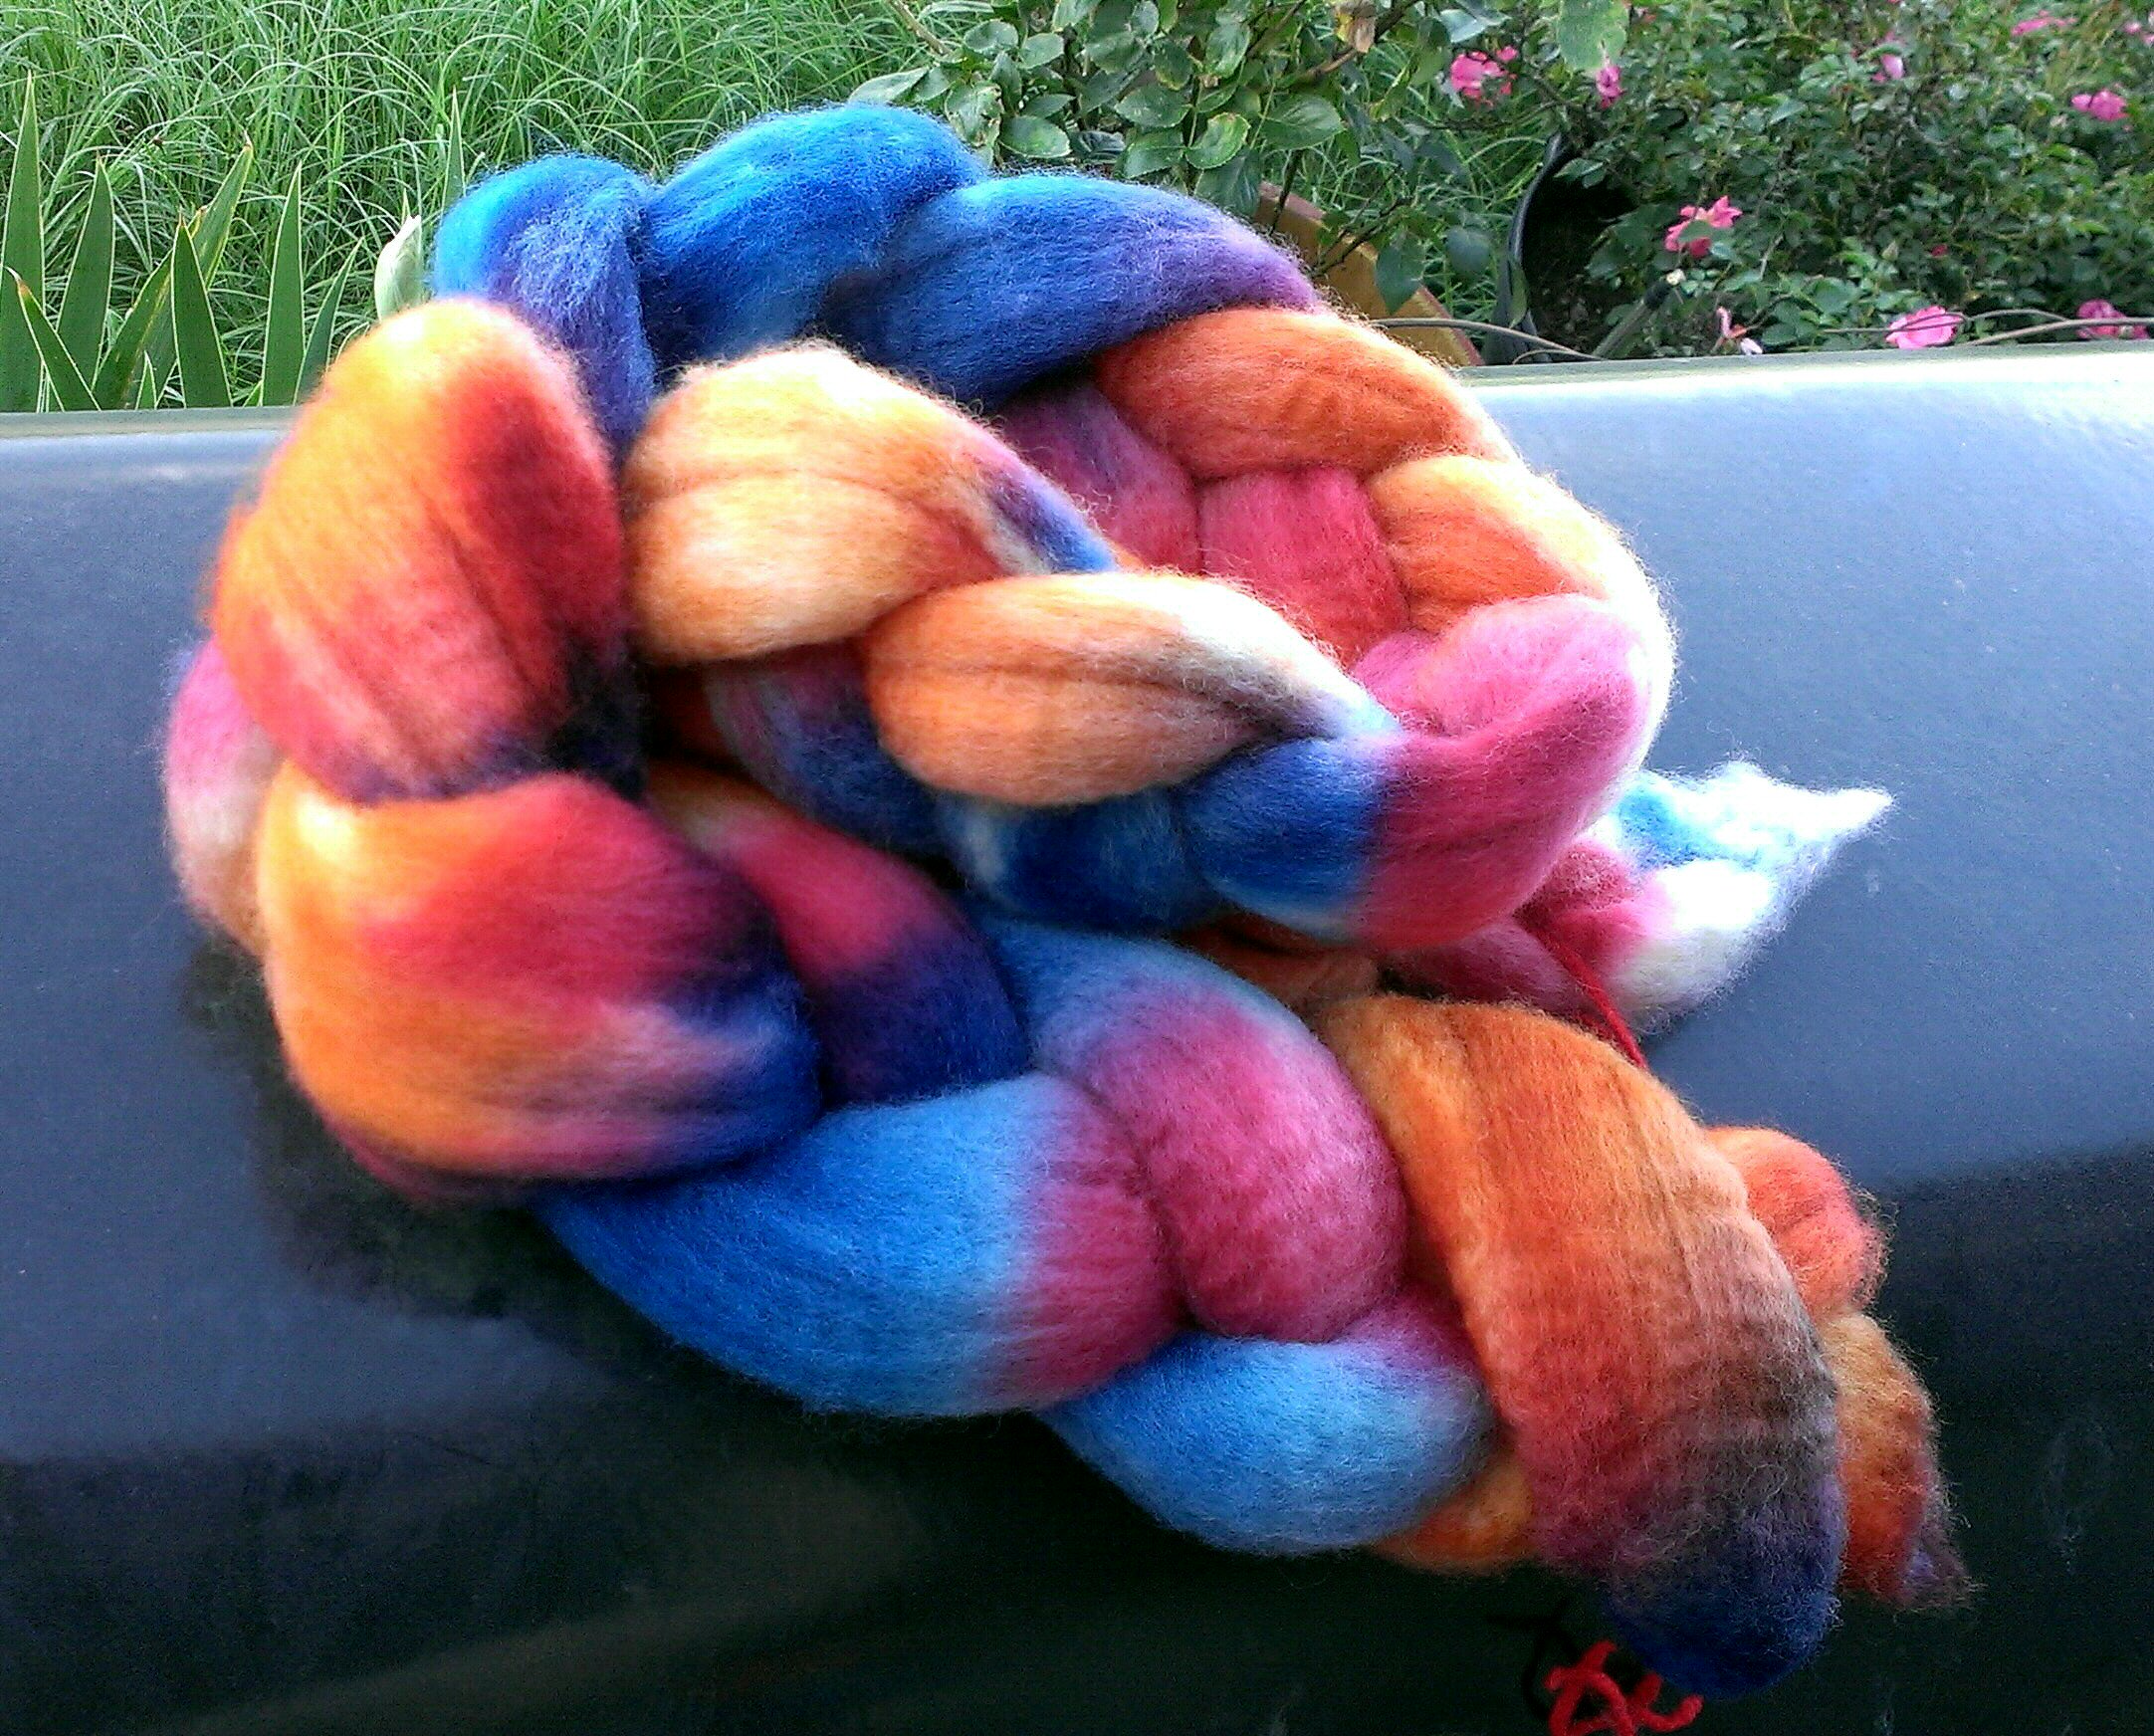
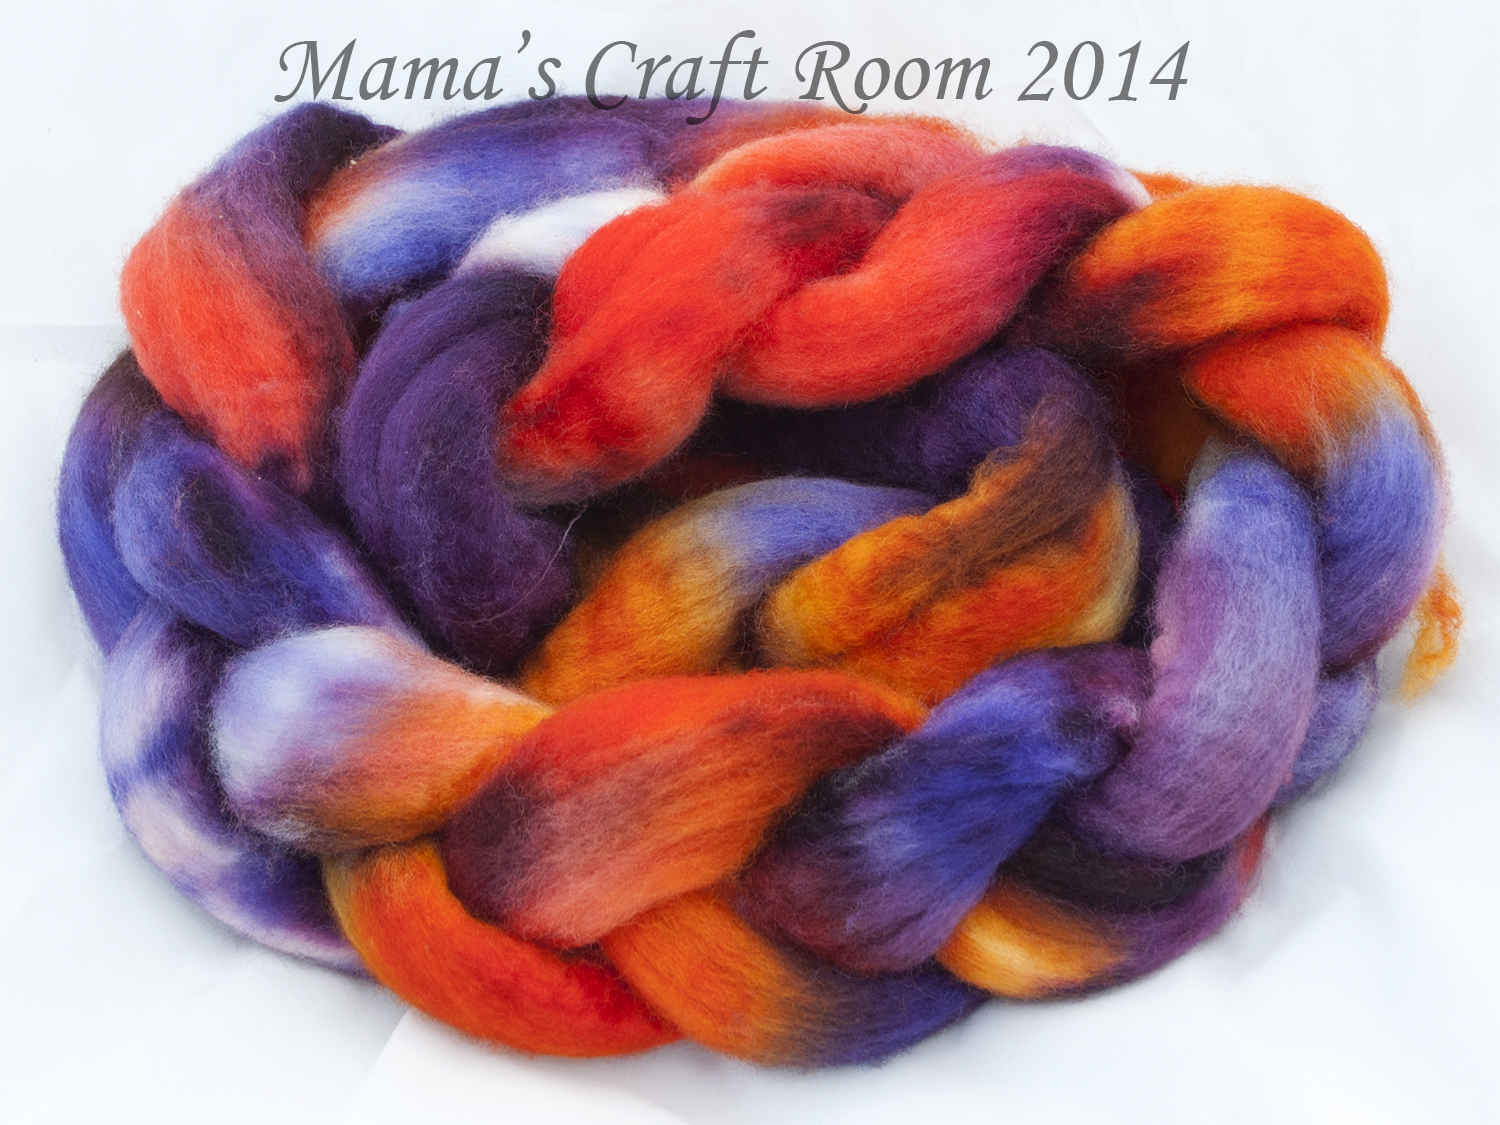
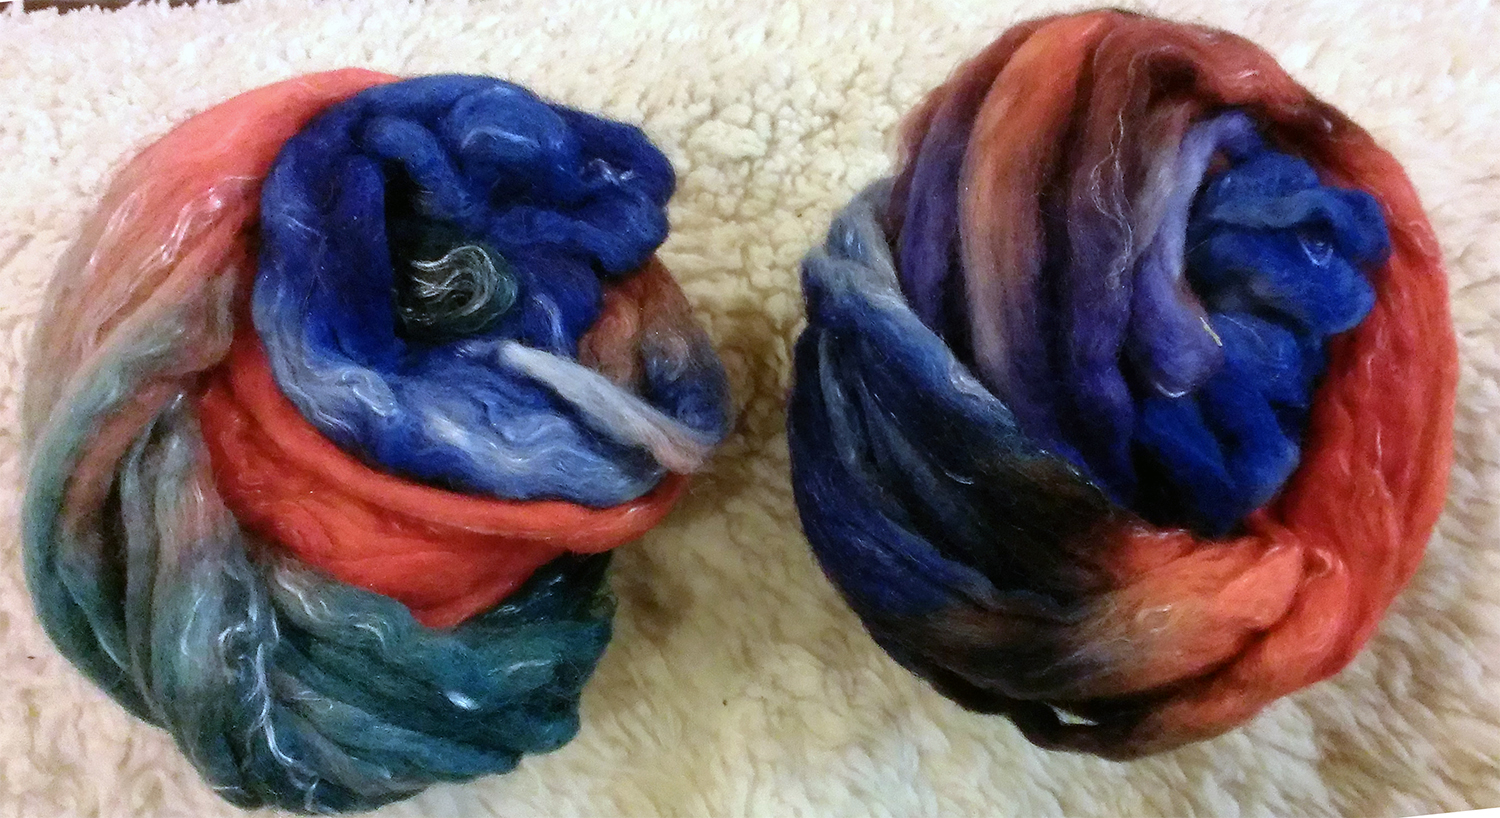
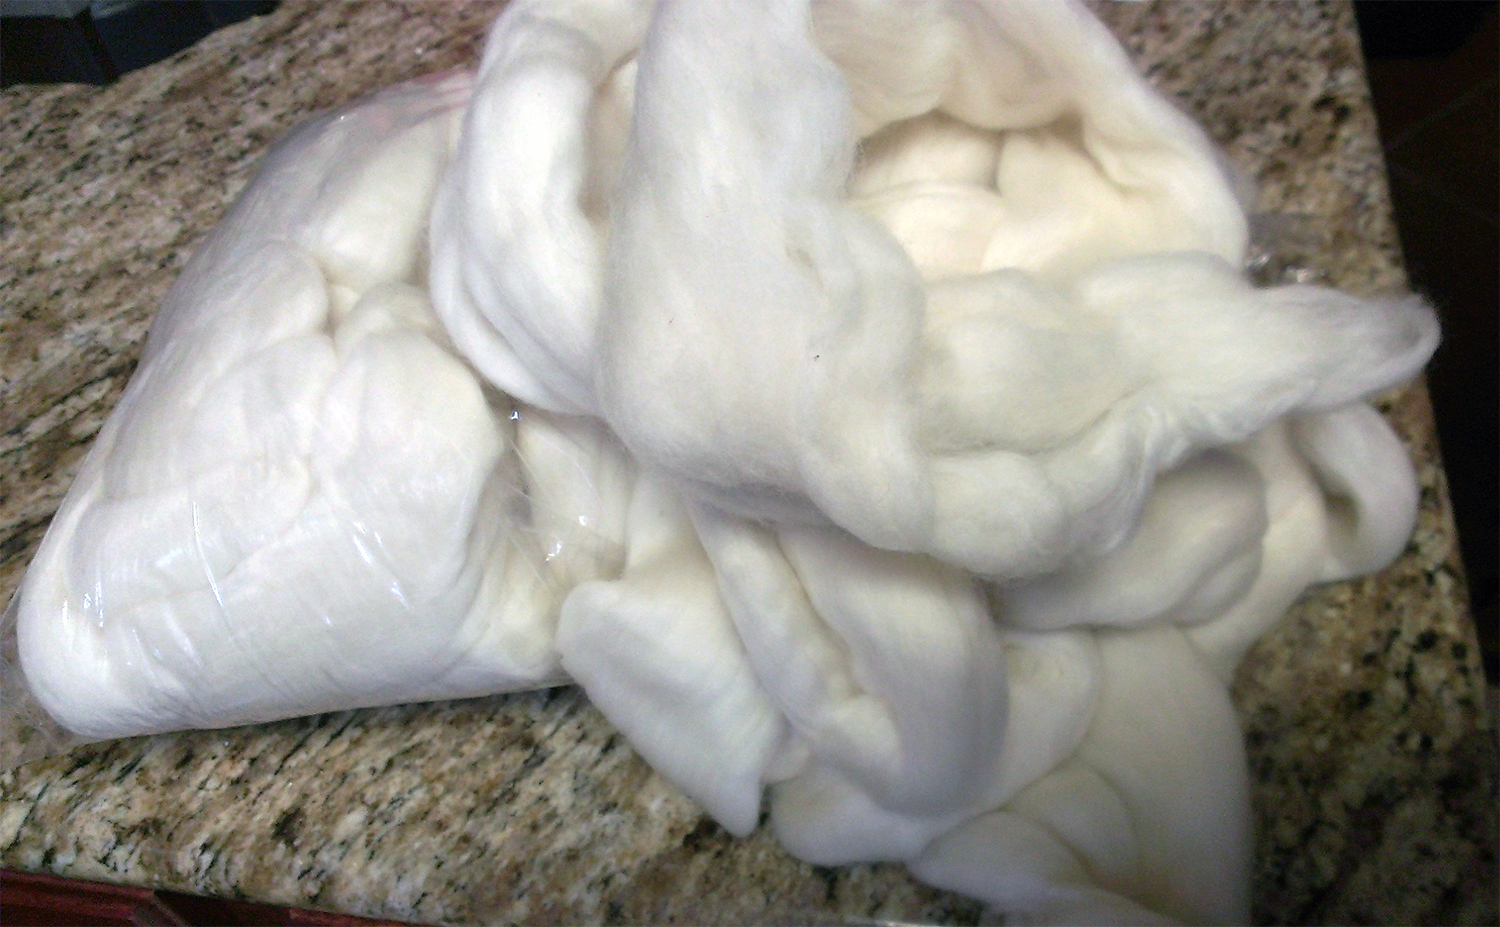
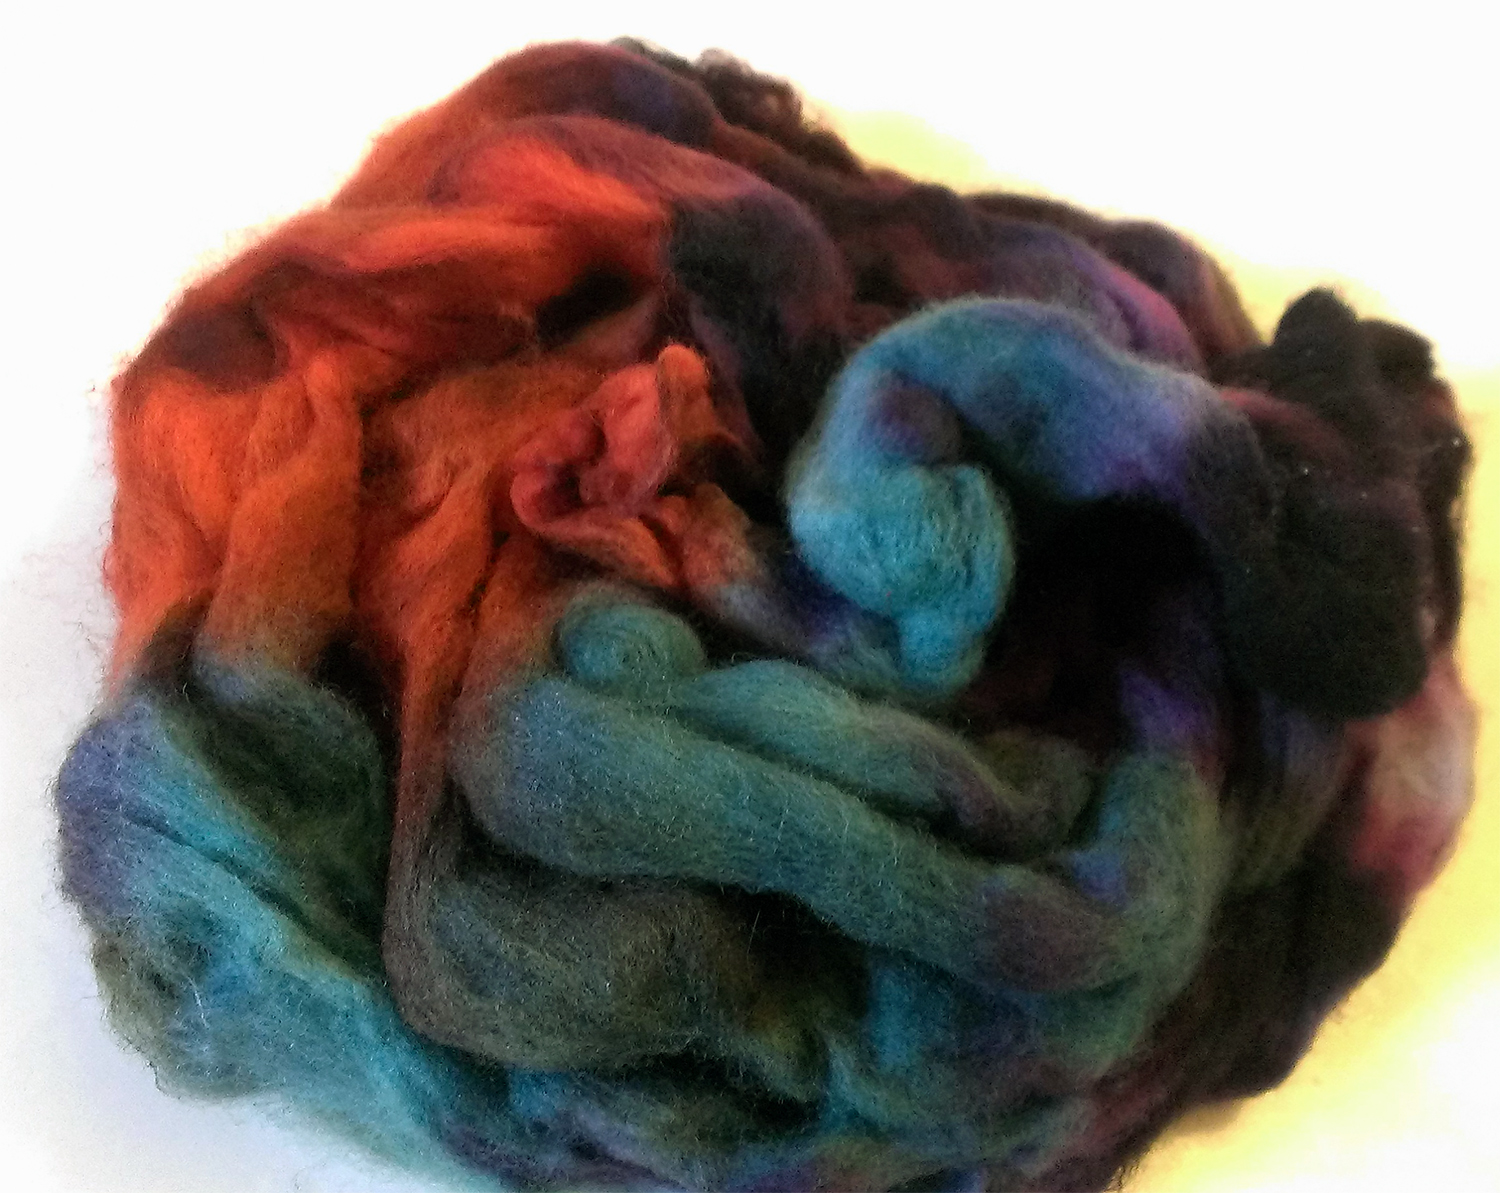
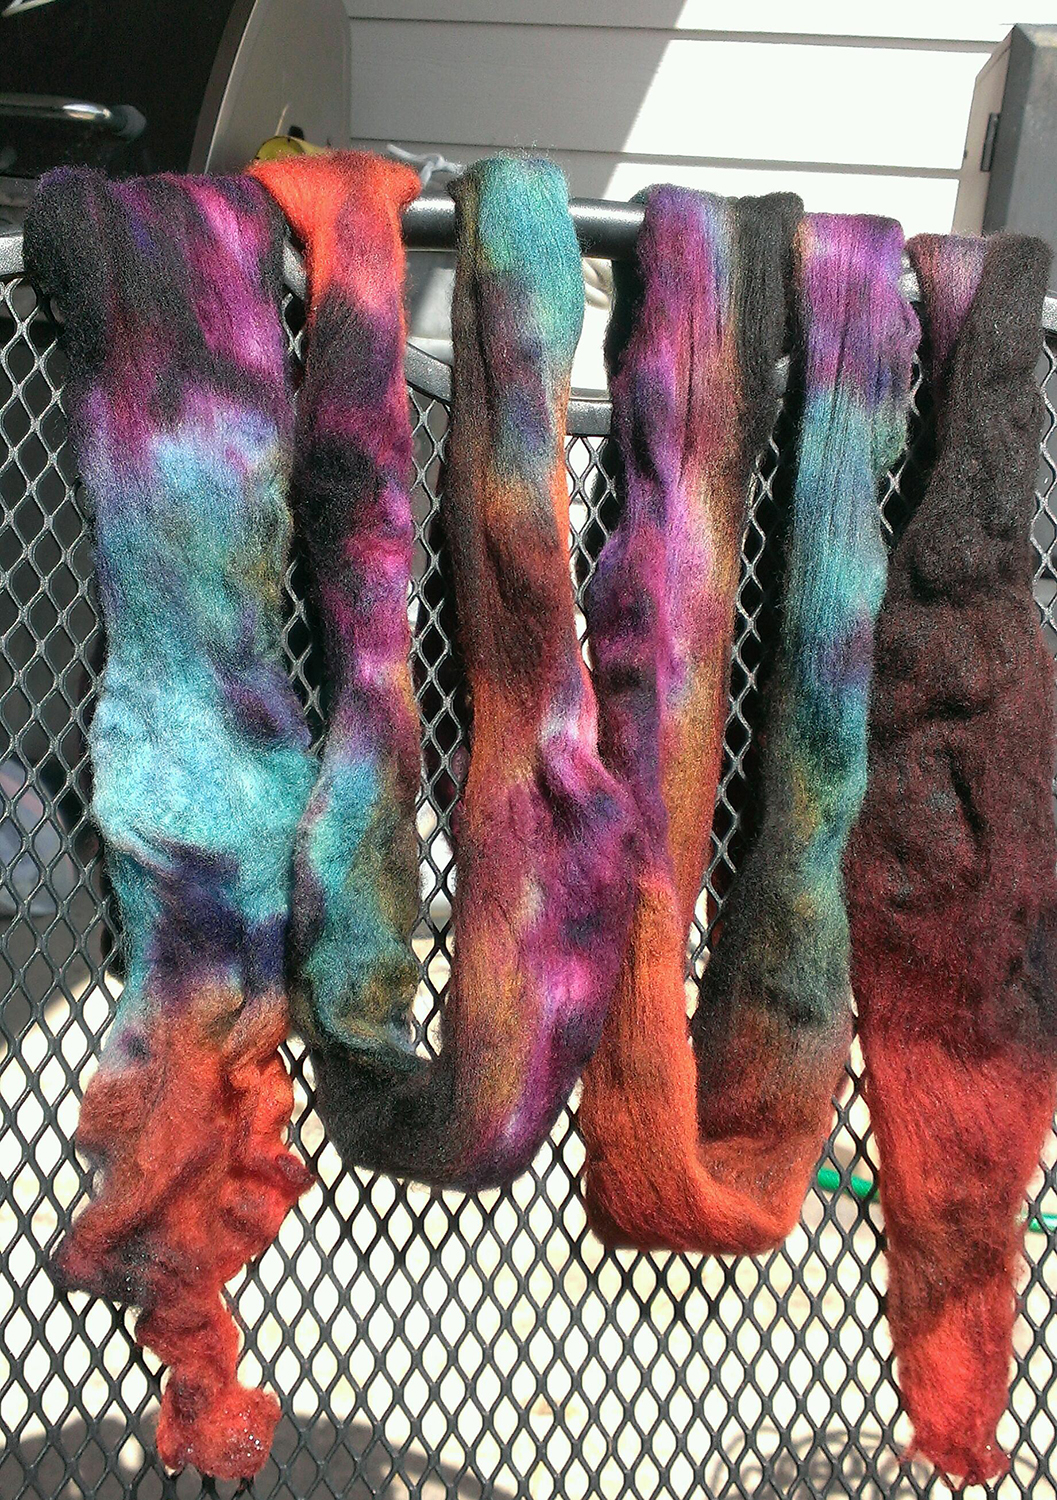
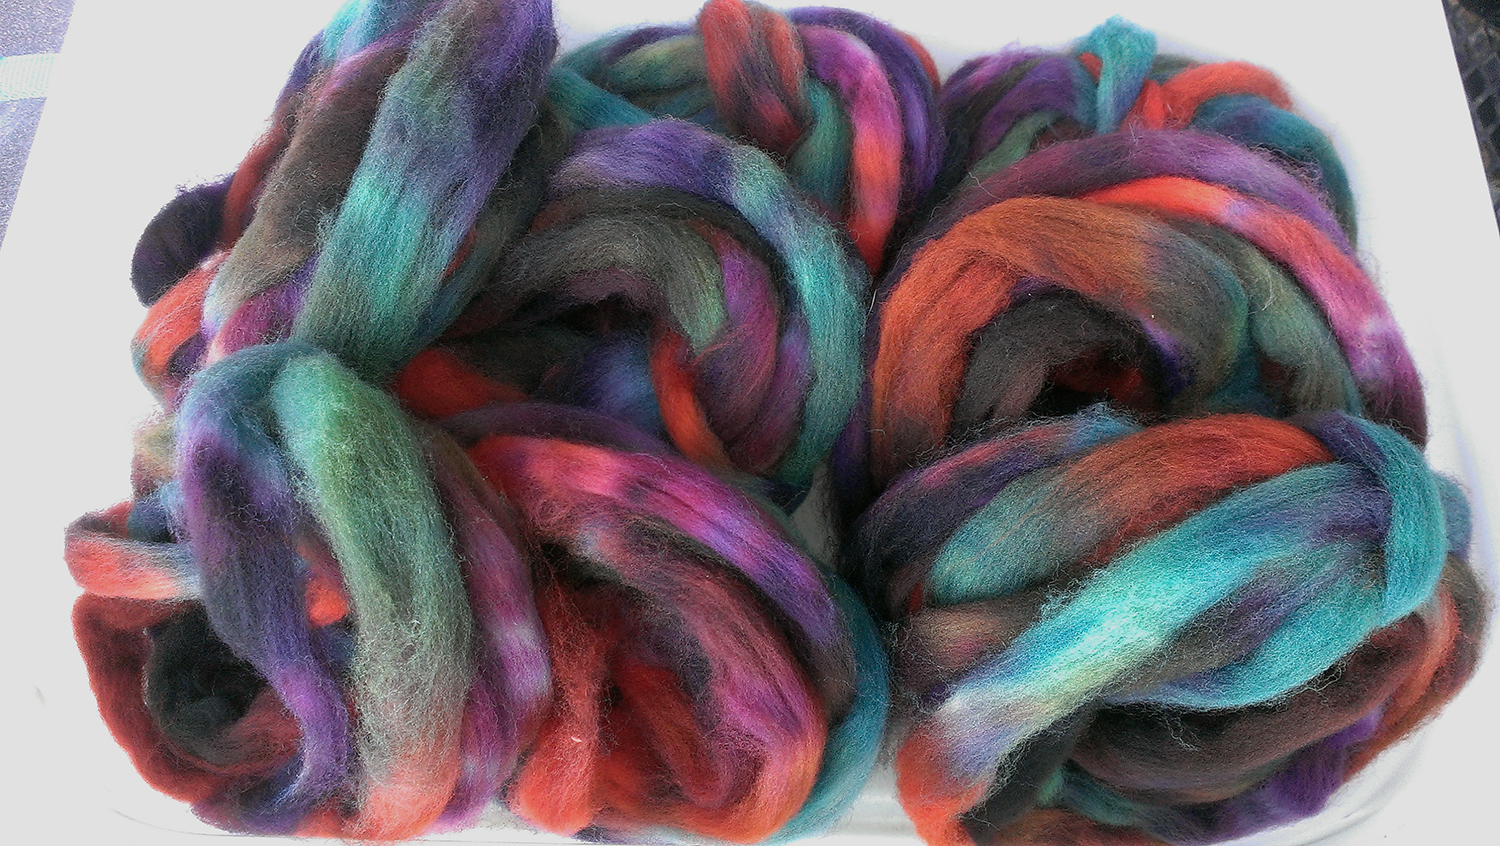
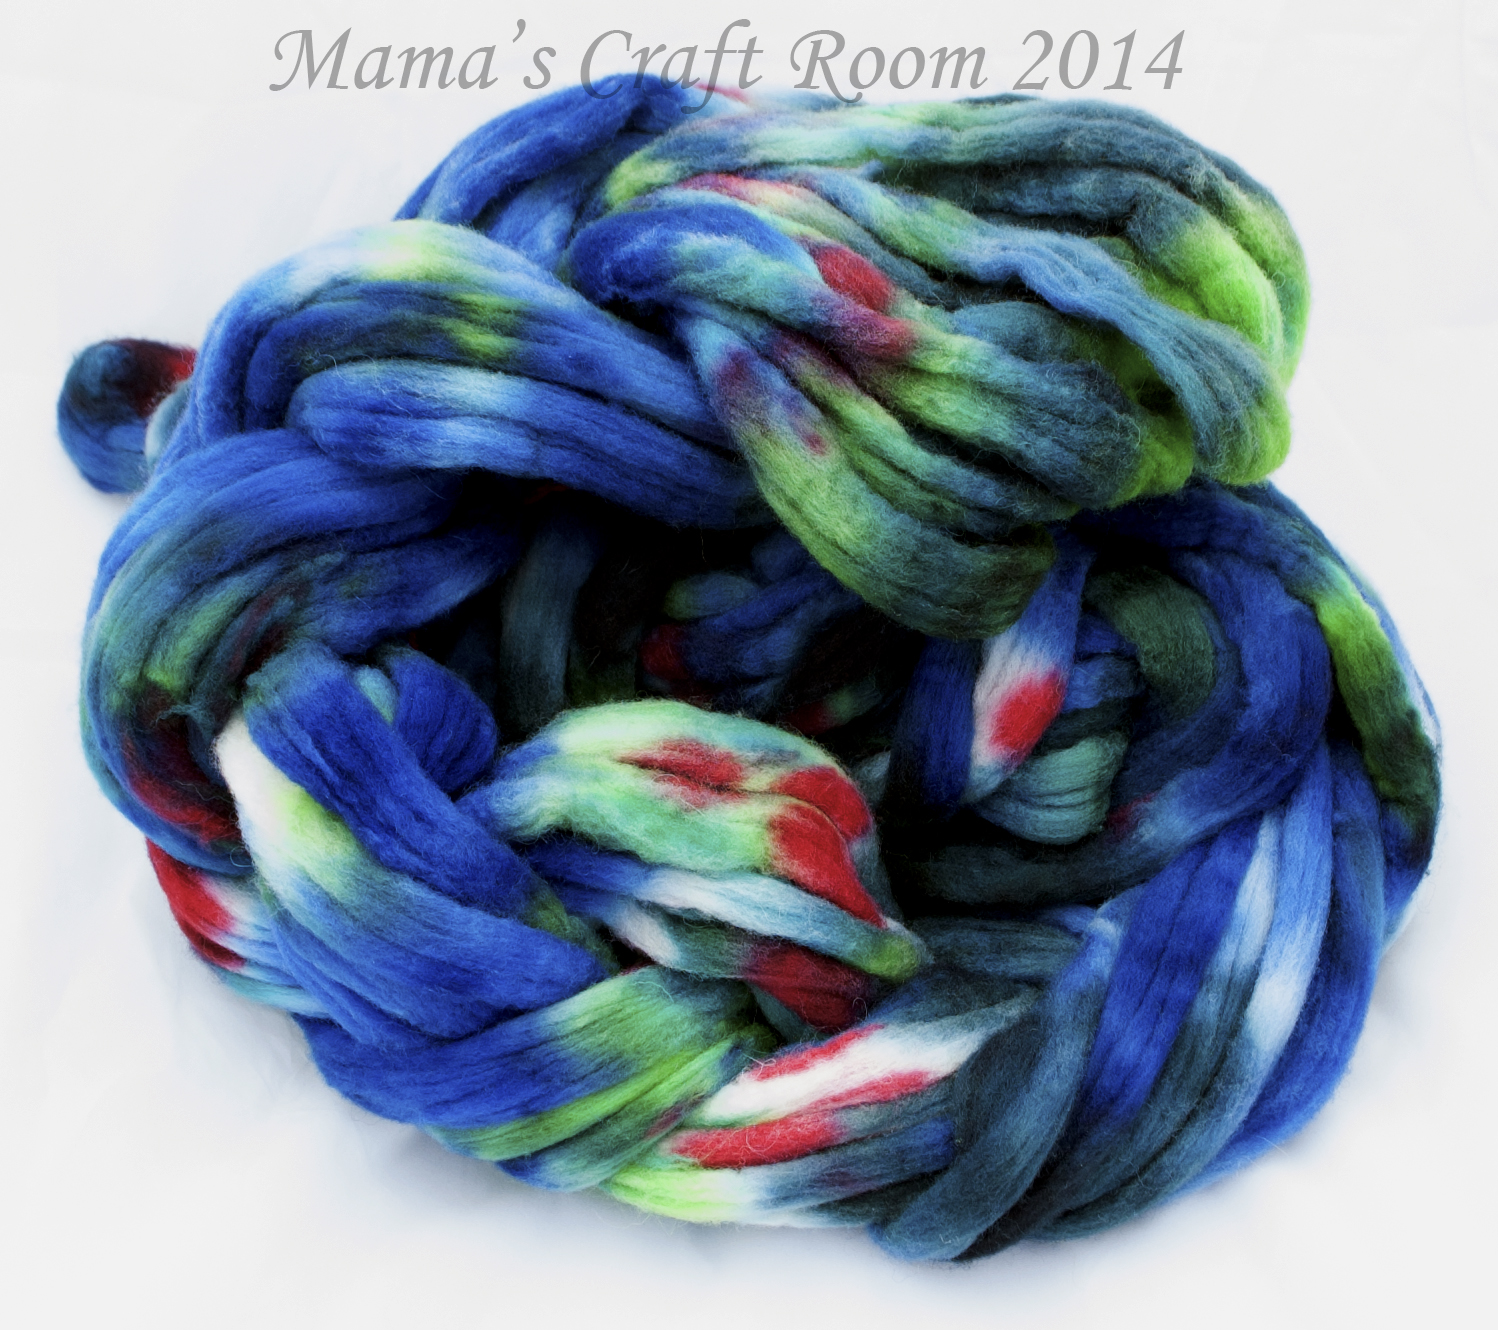
V and I both found some wonderful BFL roving! We dyed together, V’s first time! (Hers on the left) I was so proud of her! I also gave her a drop spindle demo (so glad the Muscle has handy like that-he whipped one up right quick while we did the fiber prep!) I can’t wait to see it all spun up!

cormoblue cormohibiscus
So… all this dyeing-what am I leading up to? If you guessed something to do with the 2014 Tour de Fleece, you guessed right! I had heard of this last year, but I felt I didn’t know enough, didn’t have the skills or experience to join the Big Kids in this event. I still feel like I lack the skills, experience and really have no idea what I’m doing half the time, though I fake it well-I decided I would join this year! I teamed up with an awesome group-Team Nevermore- and they are an awesome bunch. Totally My Kind Of People. They all seem like a bunch of people I’d love hanging out with In Real Life. Why does the world have to be so big, scattering birds of a feather so far from each other? Anyhoo-Tour de Fleece is a spinning event that coincides with the Tour de France-basically, you spin every day that they riders ride. Makes sense, right? Different groups have their own little “challenges” or goals within them, and everyone is encouraged to have their own goals-mine is to fill a bobbin a day! With my wimpy small bobbins, hopefully that will be a goal easily achieved. At the end of the Tour, I hope to have some wonderfully squishy soft amazing skeins of yarn for sale, or to be knit up in a variety of sellables. Here’s the official logo:

image courtesy of StarAthena, http://keeponknittinginthefreeworld.blogspot.com

image courtesy of StarAthena, http://keeponknittinginthefreeworld.blogspot.com

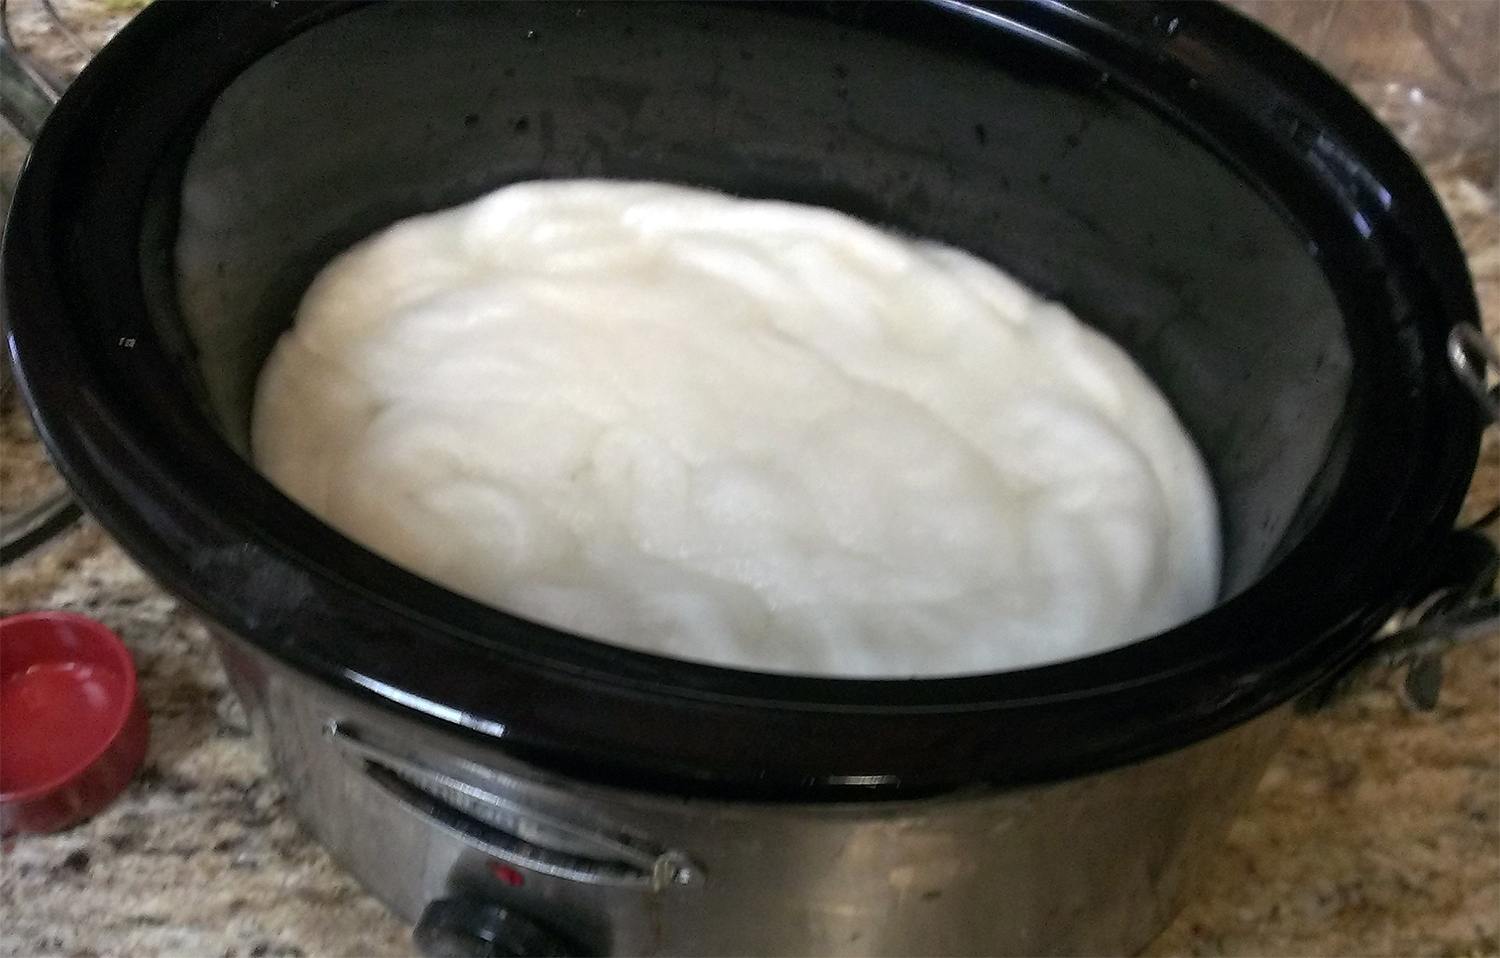
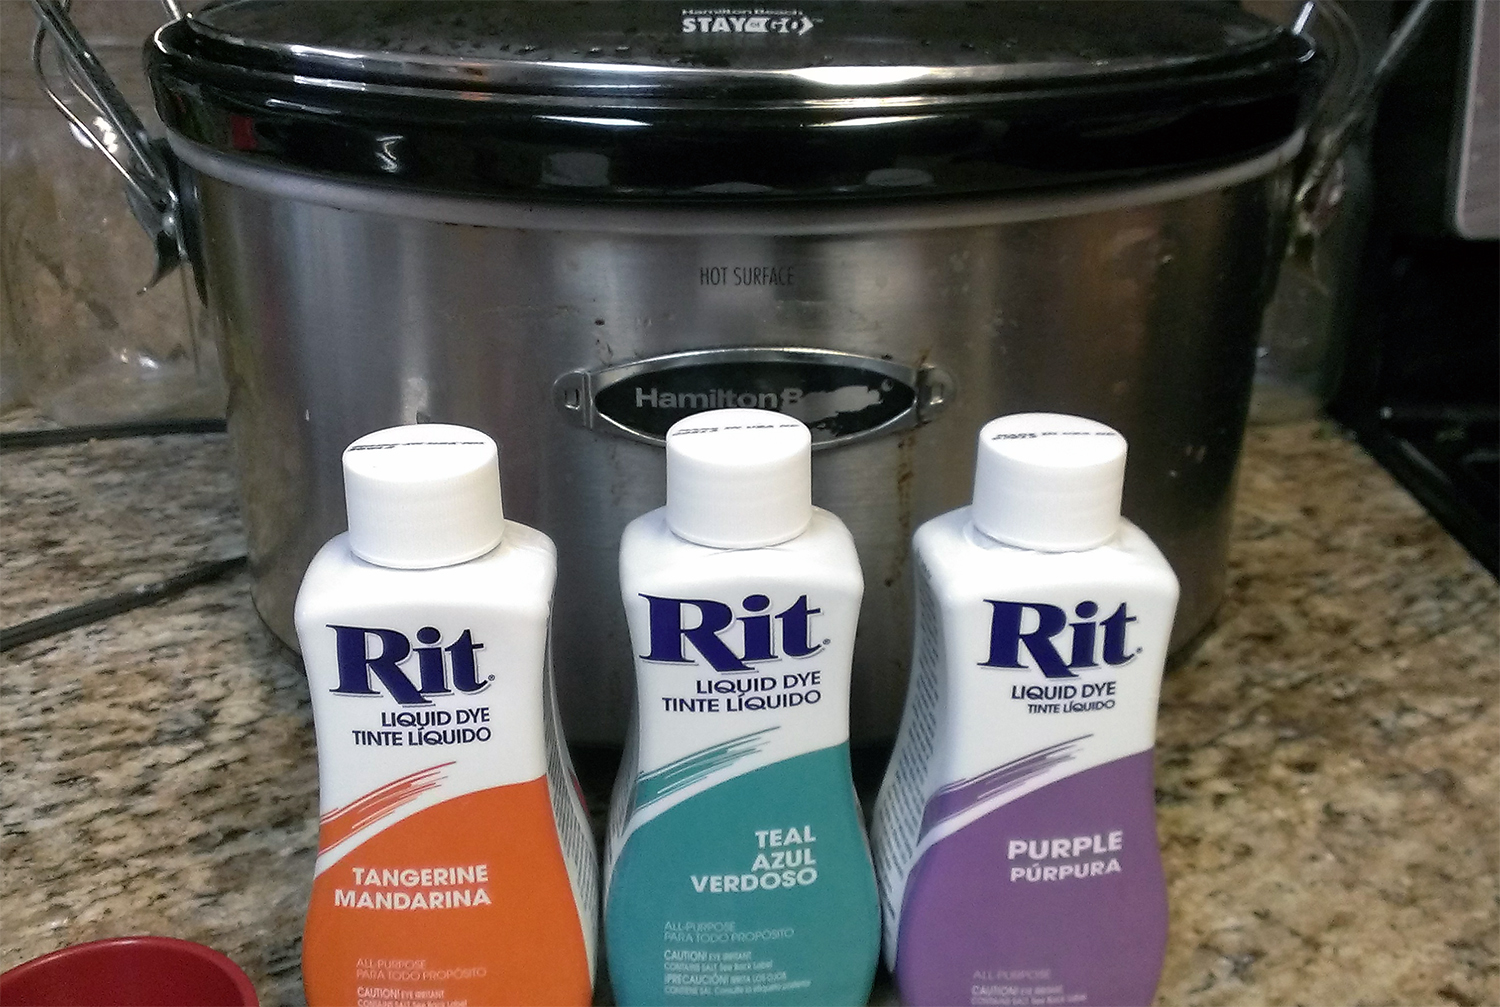
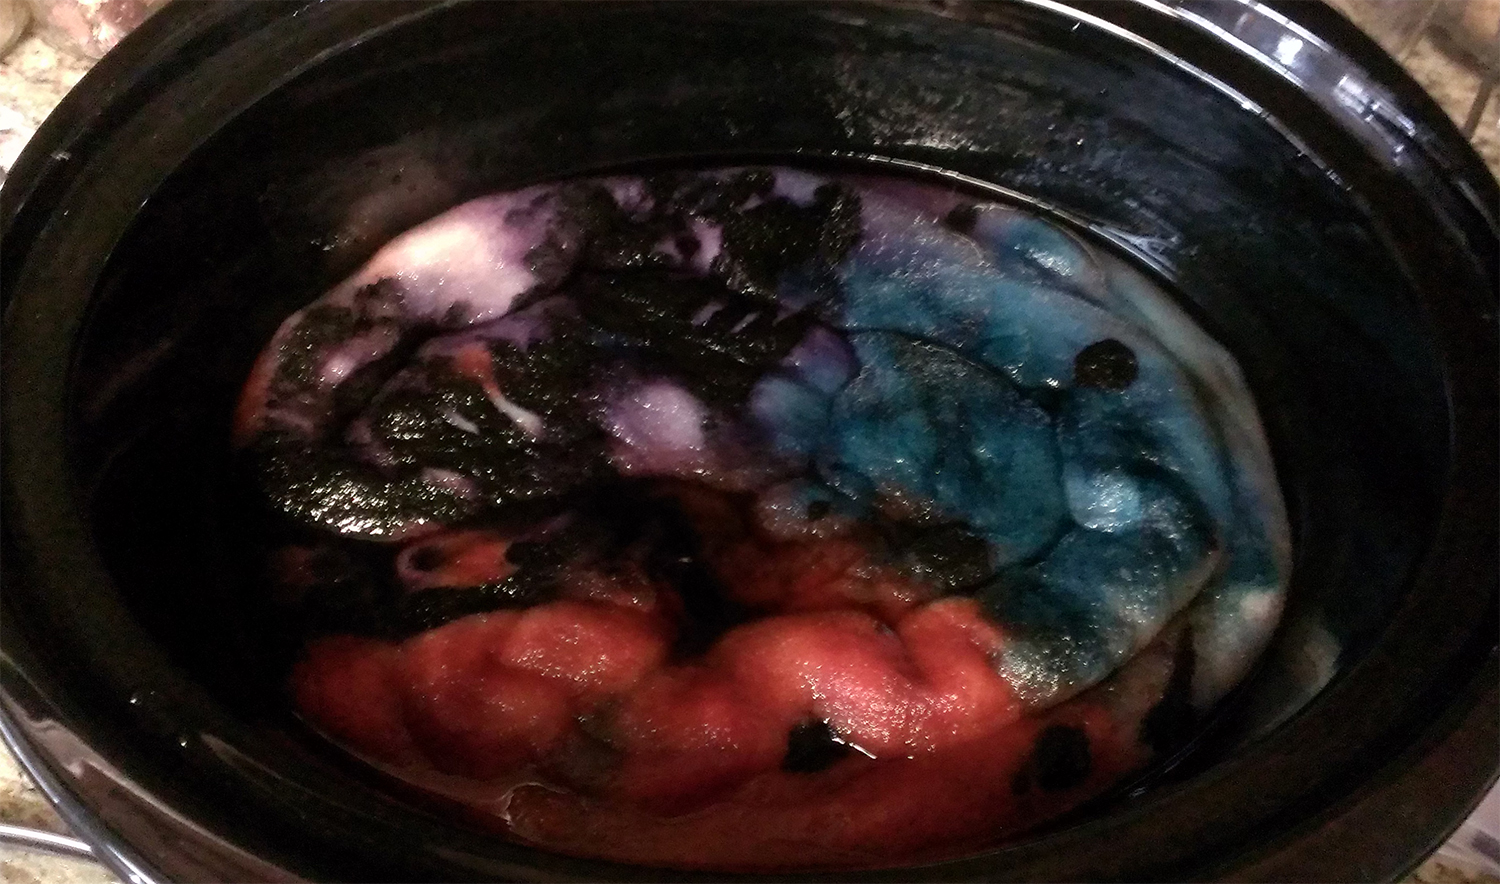
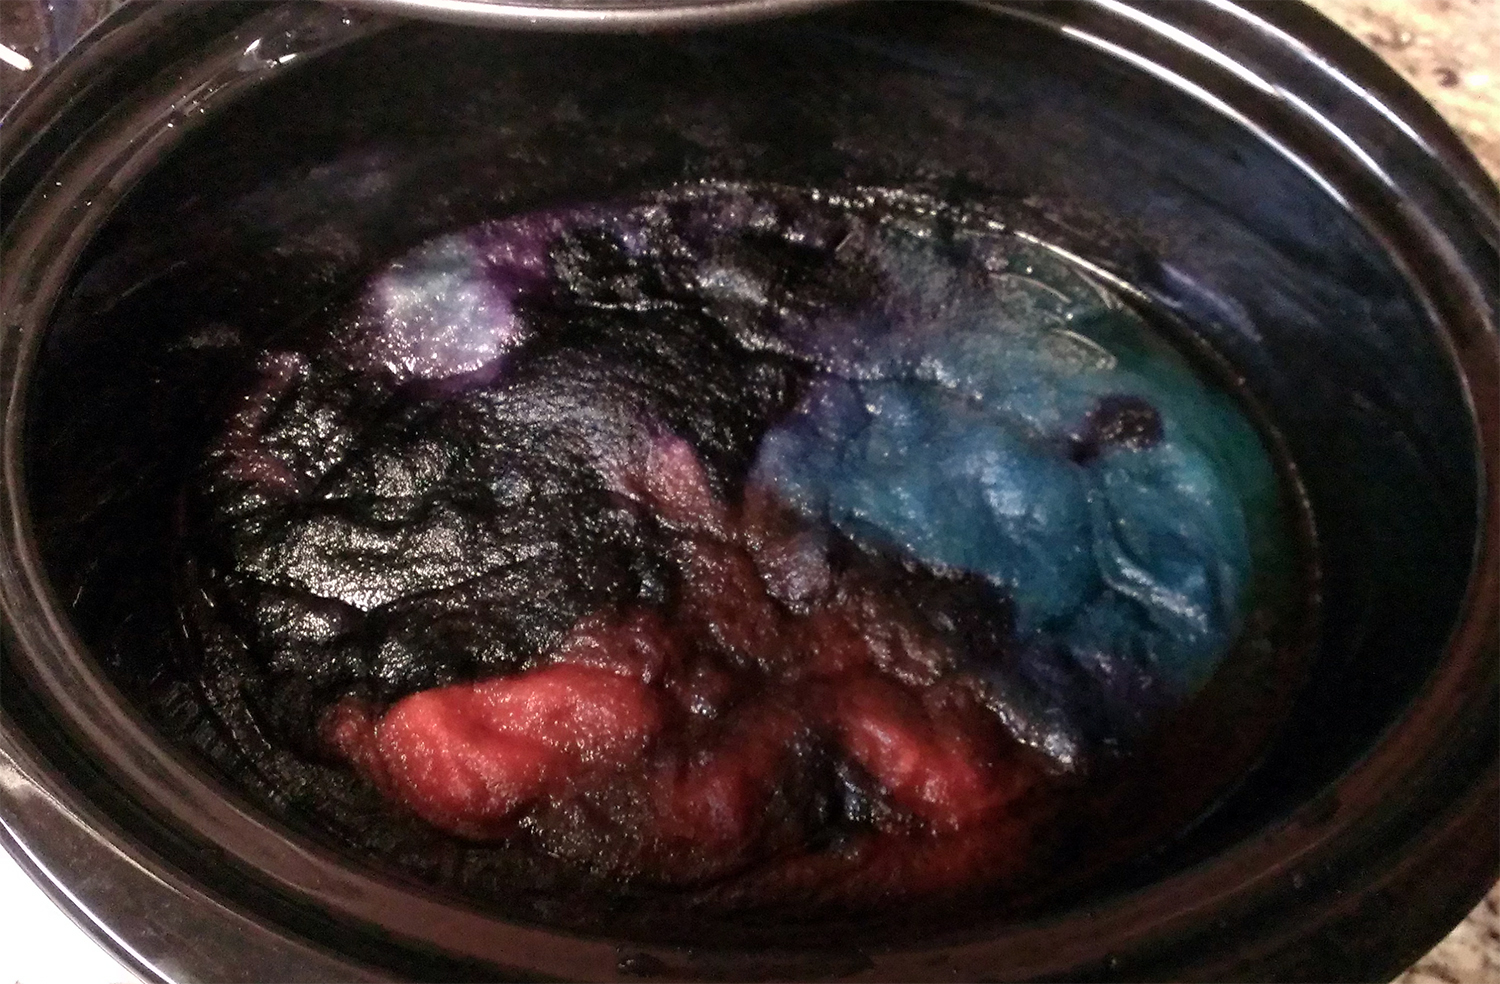
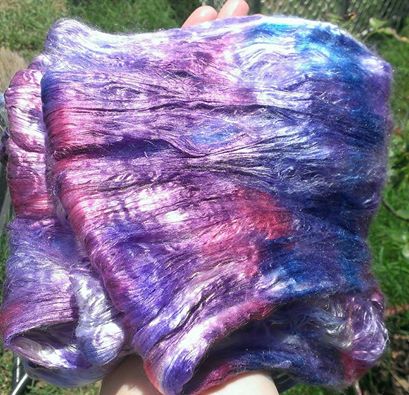
I forgot to mention my escapades with silk brick. If you haven’t yet reached the conclusion-I absolutely love dyeing fibers. So I decided silk bricks werew next on my list. Silk bricks are approximately four ounce rolls of 100% A grade mulberry silk. I cannot even begin to describe how silky (heh.. silk is silky, go figure………..) this stuff is, and how incredibly soft and SHINY!!! After a false start, I was finally able to dye a brick a beautiful swirly mix of blues and purples. My first attempt was a little…. sad. I tortured the poor silk, causing it to form a texture on itself-while is is still incredibly, wonderfully soft and even shiny, it isn’t as smooth as it should be. So that has become an add-in for blending with other fibers.
silkbrick1922450_10152120867856470_7118092103017931553_n OrangeCormoSilk
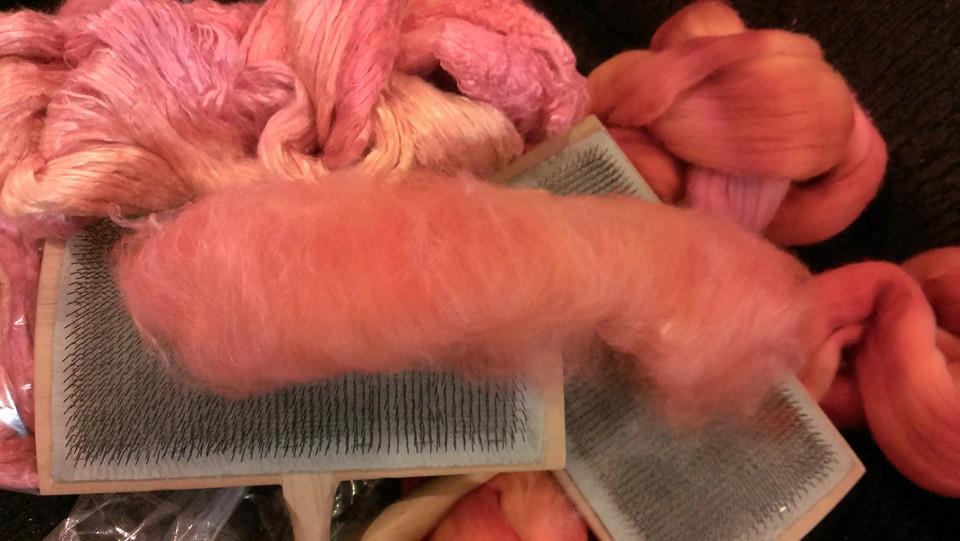
See? Shiny! I took some of the abused silk and blended it with Cormo wool (yummy, next to skin soft!) blending with my hand cards first, making a little rolag. Then I blended it using my combs the Muscle made for me, and made a little mini-batt. I honestly think I prefer the mini-batt to the rolags. I plan to do some core-spinning with these! The blue/purpley brick however will not be blended. If I don’t sell it as is, I will be spinning the silk alone. Have I mentioned how hard it is to photograph bright colors without having them look crazy over saturated or just plain washed out?? No happy balance here, I’m afraid. I got the pics as close as I could to reality.

Well, I think that’s all for now. Whew!!! I know I’ve done a few more things-camping, more jewelry, more yarns spun, but these are the highlights and I really felt the need to document them! I will be posting more during TDF to share my little victories, and I have more jewelry in the works-stay tuned! Til then, don’t forget to stop and smell the roses… =^..^=
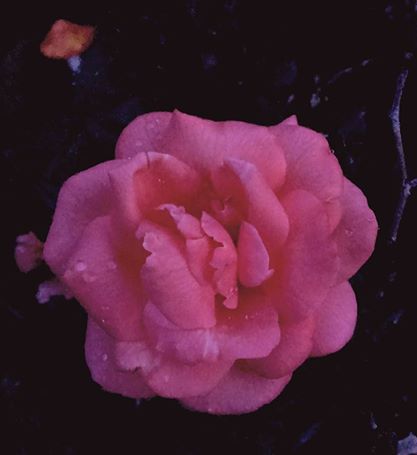
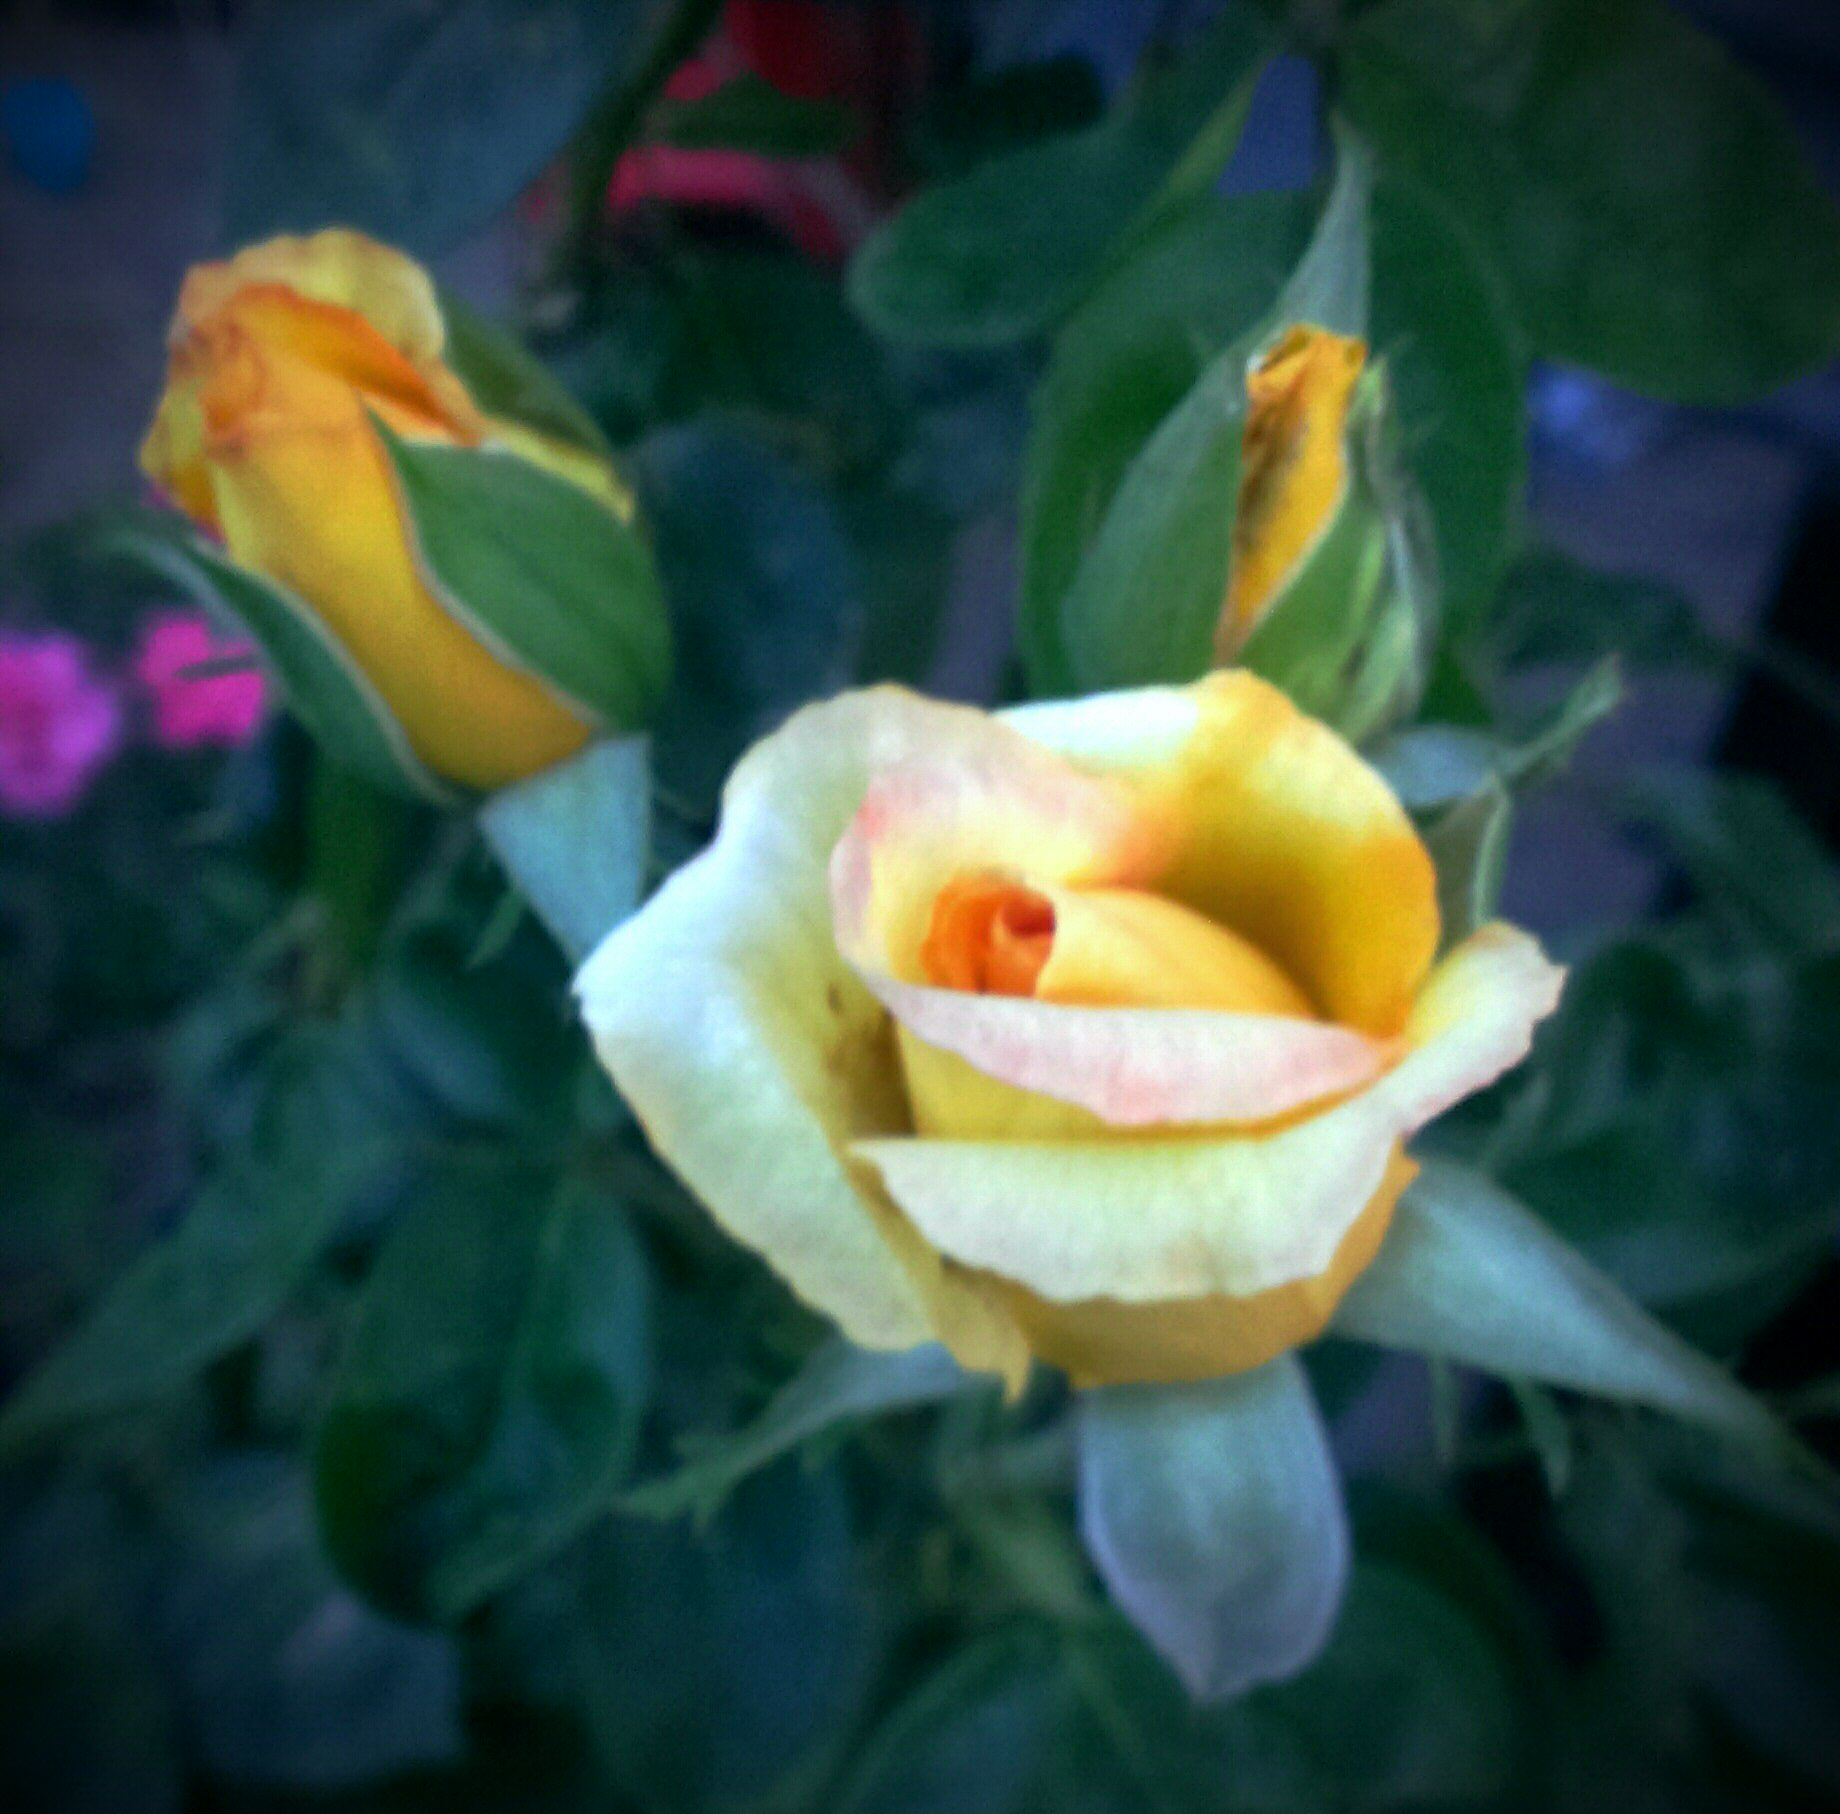
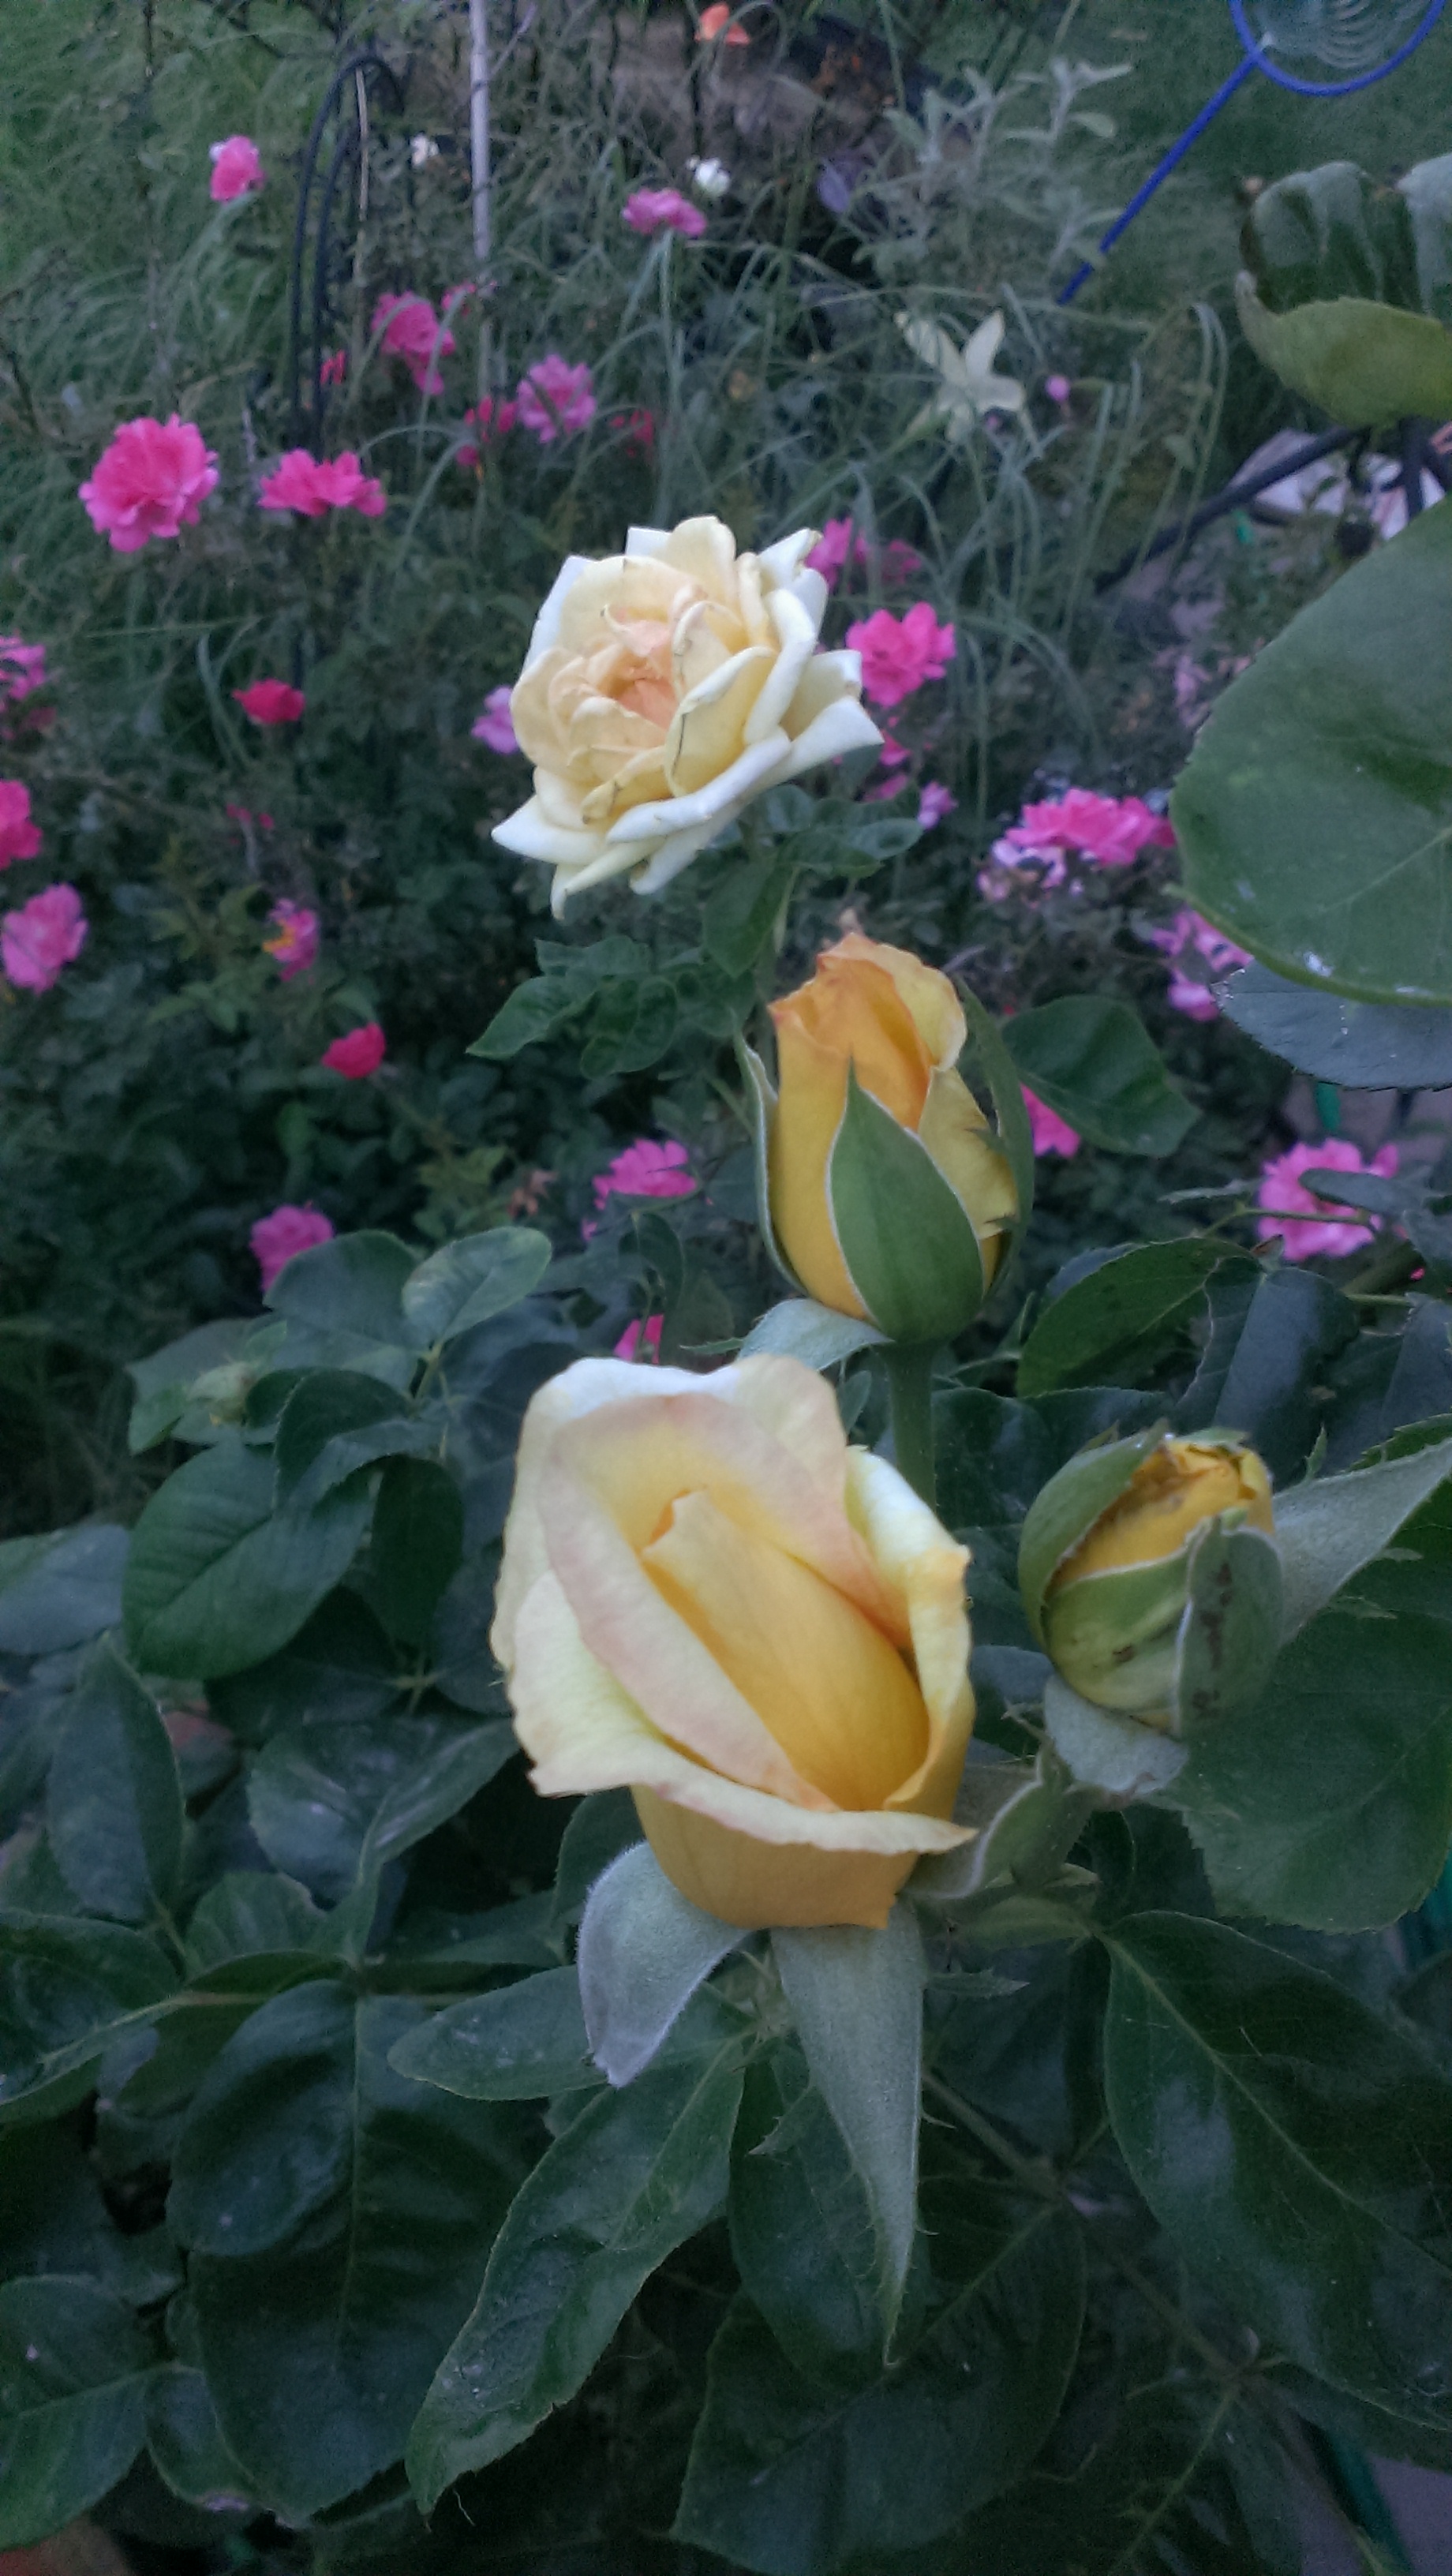
10441447_10152088609956470_6046024947018259674_n 10378550_10152095246811470_5714804776836226901_n IMAG1440_1 IMAG144110423276_10152088605371470_2146529470069426386_n
And Bearded Iris.

Spring is in the Air!

Spring is in the Air!

After relentless, unusually cold weather here in the ATX area, it is certainly feeling a lot more like Spring lately. As such, it’s getting to be that time of year again, yard work, barn and property maintenance, new fence building, and not to mention SHEARING season! I am pretty excited to shear this year, as everyone’s fleeces look pretty darn clean and free of those horrible burrs that they all acquired last year (and that I happen to be allergic to!).
sheepprecious

Recently, I have been dyeing fibers, experimenting with hand painting some fantastic roving I have that is a blend of merino, alpaca and tencel. It is a pin drafted roving, so it was a bit of a challenge as it is pretty thinned out (drafted). I think next time, I might just spin it, and then dye it. I spun it fine, and N-plied it-have I mentioned that I am addicted to N-plying?? Just when I thought spinning couldn’t be more relaxing-BAM! The soothing, gentle motion of N-plying enters my world. I will have to share a picture once I set the twist and make a skein. I love the colors. I was going for a bright, Spring time scheme.
handpaintedIMAG8131

I’ve also been spinning up a gorgeous batt I bought from Seven Spirits Farm on Facebook. She created several art batts she named the “Downton Abby Batts” as each one was inspired by a character from the series. I bought “Robert”, a luxurious blend of merino, alpaca, bamboo, carbonized bamboo and tencel. Included in my package was a little baggie of “extras”- silk ribbon, silver beads and felted angora. Seriously, if you love fiber, check out Seven Spirits Farm on Facebook-there are several new rovings just in and a Yarn Club! I am so glad I was able to pick up a bit more fibery goodness! But I digress, back to the batt: OhEmGee. The feel of the batt in my hand while spinning was so amazing-light, airy, silky, lofty, and oh, so soft you want a bed-sized pile of it to roll around in. Now I understand my cats when they finagle their way into a back of fluff. I had never spun from a batt before, as I was always a little intimidated by them, especially one so full of such great fibers.  But once I got going, I really got the hang of it. This batt encompassed many firsts-I had never spun bamboo, carbonized bamboo or alpaca! I consider myself a fairly new spinner still, and I loved exploring these new fibers!
firstbatt2firstbatt3firstbatt

I spun as thin as I could, considering all the different fibers, and then yup, you guessed it, N-plied! The end result was a very tweed-y looking yarn that I just loved.
battspinningfirstbatt5

About the time I finished spinning half of the batt, and cast on to start a hat for the Muscle, I was invited to join a Facebook event: FB Knitting Winter Olympics. The goal was to knit a project during the 2014 Winter Olympics and finish it by the closing ceremony. I was very excited to participate and finished just in the nick of time. It was to be a surprise for the Muscle, but well, I was just too excited about it to not share. What do you think? Gold medal worthy?
IMAG7869timshat4timshat2timshat3timshat

On the jewelry front, I have a few sketches done, and beads laid out. I am excited and eager and just a little apprehensive to climb back into the jewelry making saddle again. After taking several months off from creating jewelry, I am more than ready to get going again, and see the fruits of my imagination come to life. I will save those for a new blog post, however, as it is quite late. Til next time, my friends, keep calm and craft on. =^..^=

Fluffy Tush!

Fluffy Tush!

Lately, I’ve been researching cloth diapers. I have found a plethora of information-an OVERLOAD in fact! They sure have come a LONG way since I last cloth-diapered!! But what an adorable, fun way to provide absolute necessary care for your little one, and yet do a part in keeping your carbon footprint just that much smaller. I mean, almost everyone uses diapers, right? At some point in time of their child’s life. Even those practicing elimination communication need some type of waste collection system for when they are traveling about or have to spend the day away from home or acceptable facilities. The last time I cloth diapered, I made my own diapers then as well. I took yards and yards of flannel fabric, cut and plied them to form a thicker absorbent padding where it was needed most, keeping the side trimmer and more custom fitted to keep baby more comfortable, and to fit better under clothes. I used simple, pull up style waterproof pants, aka “plastic pants” though they weren’t plastic-nylon maybe? Some type of thing vinyl? I’m really not sure! The entire “investment” probably cost me around $50 total for the first year. Fast forward many years, and now you can find diapers with every imaginable cartoon character on the butt, ruffles, and all sorts of printed patterns. There are “All in one” or “AIO” diapers that are just as trim and just as absorbent as national name brand disposables! There are “plastic pants” that open and close with either snaps or hook and loop tape, with some being “one size fits all” by utilizing snaps in the front to scrunch it up smaller, or unsnap to make it bigger and longer. Some have pockets you “stuff” with a “doubler” or “soaker”, and some are a combo of a thinner diaper with a pocket for stuffing when you need extra absorbancy such as overnight. I could go on and on about the intricacies and massive variety of options, but I won’t bore you any longer.

I chose microfiber terry as my absorbent part. This is one of the most important aspects of cloth diapering. If it isn’t absorbent, then what’s the use? Another main feature that I feel is very important is a layer of wicking, stay dry material. I have two options for that-microsuede, and “Minky” fabric. Both wick moisture and wetness quickly away from baby’s skin, and yet to the touch, stay relatively “dry”. In disposable diapers these days, there is an additive-a polymer called sodium polyarcrylate- that solidifies wetness into a gel of sorts and by doing so, hold wetness in the core of the diaper, preventing it from flowing back against baby’s skin. And finally, the cute outer part. I went with PUL fabric-polyurethane laminate-as it is both breathable AND waterproof! Some people think PUL isn’t a breathable fabric, and doesn’t allow for enough air to skin, but I have seen in person how it works, and feel that if baby’s bottom needs more air than that, then naked time will be scheduled. (If you’d like to see a video a mom did to investigate and compare the “breathability” of PUL versus disposables, click here: http://www.youtube.com/watch?v=IKpCcUznbaI )

First I came up with a pattern, based off a sweet little AIO diaper made and sold by a mom. Unfortunately, she has recently retired her business due to health issues, and I can no longer find Blissful Booty diapers, but if you are in the market for some, and come across an authorized retailer that still carries them, lucky you!

I cut out a dozen diapers. One dozen layers of microsuede, of microfiber terry, and of PUL. Then I shaped and cut out the extra inner absorbent part for down the middle-two layers per diaper of the same microfiber terry. I have a fabulous serger-the Baby Lock Evolution, and it is a work horse. I serged the edges of my microfiber terry parts, layering the soaker in a two layer separate part while I pondered assembly.

(Click on any picture to see it full-sized)

IMAG3919

IMAG3920 Left to right- two layer soaker, extra layer of absorbent microfiber terry, and then the order I decided to assemble them-Yellow PUL outer cover, then full size microfiber terry, soaker, then microsuede wicking fabric.

I would add the tabs for the hook tape separately. I fumbled a bit at this point, experimenting with the exact method of execution of assembly. I had the order in which they were to go, but not the “what attaches to what” part down. I also wanted to add elastic inner gussets, and experimented with one microsuede liner first. It was a no-go, as I had not compensated for the fabric that would be taken up in the width of the center part of the liner, making it too narrow. I set that one aside, because I was too excited to get the first fully completed diaper done, and didn’t want to fiddle with the seam ripper at that time.

Next, I sewed the soaker to the bigger microfiber terry. That also was not helpful. I found that overall, I made the soakers and extra layer too long for the final assembly. I have to shorten them to fit between the seam allowance of the PUL and microsuede wicking layer. I then attached the PUL and the microsuede together at the very front edge and the very back, made a little casing for elastic, and secured the elastic in place. Note that the sides are all yet completely open.  Then I made the tabs that the hook tape will go on, putting one little tab of loop tape on the *outside* of one tab (for very skinny babies, so the tabs can overlap and still close securely), and sewed the loop band across the outer front.
IMAG3925 IMAG3923 IMAG3922

I sandwiched the tabs in the opening at the back, tucking the raw edges of the diaper part in and top stitching. Then I was ready for the fold over elastic (or FOE from here on out). I started at the edge where the added tab connects to the diaper, and brought it forward to about an inch and a half from the top front edge, stretching as I went. Then I was done! The little celery green diaper is my Blissful Booty model in newborn size that I used to make my pattern.
IMAG3946IMAG3949  IMAG3947

My diaper is slightly bigger-mostly in thickness, which makes it seem wider, but it really isn’t! I am very happy with it, and have now made a few more, and I have changed up my “pattern” a bit. I will share that when I get a few of the diapers made with the new pattern. I added a double gusset from the PUL fabric, as well as more leak protection by having the PUL fold over an inch into the waist band. I’m excited about it! In the meantime, here’s what I have learned:
1. Do not cut out a dozen without trying ONE first!!! I now have 10 microfiber diaper shapes that will be turned into fitted diapers (that will use a separate cover). The diaper was too bulky with the extra layer.
2. Measure twice, cut once!!
3. If not using a pattern someone else came up with, at least read their *order* of steps! It will save a lot of confusion and time in the long run.

Til next time my friends, craft on! =^..^=


Fiberific!

Fiberific!
Cormo_sheep

Photo courtesy of Wikipedia

So, I’ve been spinning, spindling, and spinning some more lately. I find it so incredibly relaxing in the evenings, especially since I can’t stand sitting and watching a movie if my hands aren’t being kept busy. I feel I have made great strides with what I have and finally took the plunge in purchasing some undyed but ready-to-spin excellent quality (read: super crazy next-to-your-skin soft!) It’s from a breed of sheep called Cormo:


I wanted to dye it before I started spinning any of it, and hemmed and hawed until I finally broke down and picked up a range of Rit dyes to practice with. After reading tons of websites, watched a mass of youtube videos, I decided I would attempt “crock pot” dyeing. This narrowed my search down so I focused only on those sites that offered tutorials on crock pot dyeing. Since they all said basically the same thing, with a little variation here and there, I formed a step by step game plan customized to me! I pulled about three to four ounces off the one pound roll: cormotop


Next is where I formed my own path. Since the wool should be soaked in a water/vinegar bath, and then more vinegar is added to the mix when it’s time to add the dye, I decided to do this all in the crock pot rather than a bowl, and have to transfer the dripping wet wool to the pot. I coiled it neatly in a single layer in the pot and added just enough water to cover, and probably too much vinegar (is there such thing as too much vinegar??) about 2/3 cup to the water: vinegarsoak


After soaking for about 45 minutes, my lovely assistant, Sweet Pea, selected three colors to use to dye the wool. She is five and a half, and has a great artistic eye and flare. So when she came up with Tangerine, Teal and Purple, I did not hesitate: selectedcolors


Donning gloves, I used the caps to add the dye to one third of the wool at a time. I was careful to try and make sure I added enough dye, but at the same time, I didn’t mind flecks and gaps of white where the dye didn’t touch. I just eye balled the thirds, and then splashed a little more vinegar over the three areas. I added a tab bit more water so the wool was completely immersed but not drowning: dyesadded


Do you see the light spots? I knew magic would happen in those little spaces. Not from experience, but rather from pure logic! I let the pot simmer for four loooooonnnnggg hours! and then I finally turned it off and allowed it to cool completely, overnight. The number one problem I read about time and again on all the greatly informative sites was to not touch it while it cools until completely cold to prevent the dreaded Felting. Indeed, this was the very last thing I wanted to happen, and I was terrified I would felt this incredibly gorgeous fleece, so I did as I was told! The next morning, when I looked into the pot, it looked like a muddy mess. Since I had read extensively, I knew not to panic and assume the worse, but I was still a bit taken back at how dark and mixed the remaining color in the pot was. Since I used Rit dye, I knew there was supposed to be quite a bit of dye left in the pot. I just didn’t like how ugly it was: cooled


But I could still see the separate colors, so I held my breath as I dumped the mess and started rinsing in cold water. I was surprised that once the first water was dumped, it ran pretty clear there after. The teal continued to need rinsing for quite some time, as is typical with blues. Finally, I wrung it all out, and it was ready to hang out to dry: wrungout


I loved the colors I saw! Since it was coiled when I added the dyes, it created a great pattern throughout the entire length. hungtodry


When it was completely dry (and yes, even in the Texas heat, it still took all day!) I divided it into little rolls I like to use when I spin. When I split the lengths of roving up, I got more and more excited about all the color variations in it! readytospin


It spun up like a dream! Soon, I had two bobbins of thick and thin singles, ready to be plied. I knew I wanted this to be a very special yarn for Sweet Pea, and since the wool was already going to be a “hand wash only” no matter what it was knit into, I decided to ply it with silk thread. I found some vintage 100% silk thread on ebay that I snapped up and when it finally came in, I could not wait to get started! I was a little disappointed that it was a thinner thread, so instead of just using the one color, I used all three that I had bought. Plying with the silk thread gave the yarn a bit of a boucle’ feel and look to it. It stayed so incredibly soft, and I am so happy with the end result!! I cannot wait to get it knit up for my Sweet Pea. She watched every step of the way, and is so excited to have watched “her” yarn come to life. She paid such close attention that it won’t surprise me if my next blog post is about the yarn SHE dyes and spins herself!

valeriesyarn2

Well, til next time dear readers, keep on keepin’ on. And smile. =^..^=

Jeweler’s Block

Jeweler’s Block

I like writing. I’ve never really had a deadline, like someone who writes for a living might have. Unless you count Blog hops, or even further back in history-writing assignments for school. But those aren’t for a living. I have just always kind of written whenever I felt like it, whenever thoughts came to mind that I felt I needed to preserve, to reflect upon at a later date, or to share amongst family and friends. This is a very similar method I take in which to create jewelry. I get a feeling, a thought, an inspiration, and I run to my Craft Room to turn the thought into a tangible piece of evidence that I do have a creative mind. I browse through my inventory and supplies, pairing up and combining colors, until I have a plan formulated. And then, I freeze. What if nobody likes my idea? What if I “waste” these beads, pairing it with that focal, stringing it with that wire, matching them to those beads?!
Yes, I actually use the word “waste”. It’s a curious word to use, but I can’t think of a word that better describes how I view a piece of jewelry that is unappealing to the eye, or that has been created when there is obviously a much better use for those particular beads.

I freeze. And I sit there, staring at my little pile of supplies and I toy with them, moving them about my desk, laying them out, lining them up. And that goes on for what seems like hours, until my time in my Craft Room is up, and I must go attend to some day to day life chore. I have a small stock pile pf luscious, semi-precious, amazingly gorgeous beads and rocks and oh my! But lately, every time I sit down, my mind goes blank. Please tell me that I am not the only person on earth who gets Jeweler’s Block!

I currently have three pieces on my desk, and hopefully I will be satisfied with the results enough to share them and send them along to their rightful owners. I promise I will make sure I take the time to let my Creative Muse run wild and free for awhile just to see what She can come up with all on her own. To see if what She creates something my customers would love to own. And hopefully, She will stay for tea. =^..^=