Category Archives: The Crafthopper

BSBP #8!!

BSBP #8!!

Whew! This post is LONG overdue! It has been crazy busy around here with shearing, lambing, and just plain old regular household and farming duties, that I haven’t had a chance til now to sit down and write about the upcoming 8th Annual Bead Soup Blog Party, hosted by the amazing and wonderful Lori Anderson of Pretty Things Blog!! Lori is such a strong, inspirational woman, and despite the hardships of slowly healing from devastating health problems, she still manages to trudge on! She has an amazingly supportive husband, and a wonderfully helpful, handsome young man of a son, and together with the support of her friends in the online community, she bravely faces her illness head on, and doesn’t let it change what makes Lori, well, LORI! Please take a moment with me, and send some warm thoughts out her way…
http://www.dreamstime.com/royalty-free-stock-photos-cherry-pie-ala-mode-image28116498

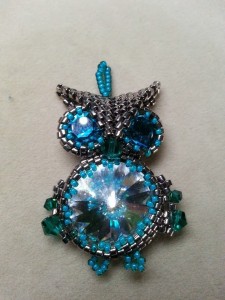
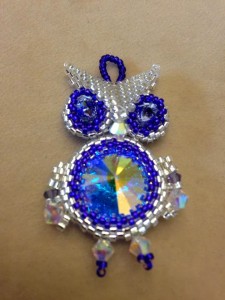
This is my third year participating in the BSBP, and I’m excited! I have been partnered with wonderful artist, Heather Richter of Desert Jewelry Designs. Heather creates all sorts of beautiful jewelry pieces, and is an awesome seed bead artist! I just love her cute little owls!!
owlowl2

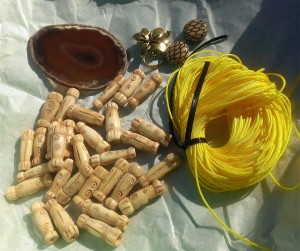
I may not work with seed beads much, if ever, but I was very excited to learn that Heather is also into mixed media. I hope she enjoys the soup I sent and cannot wait to see what she creates with it! Here’s the soup I received from Heather:
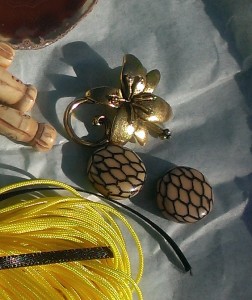
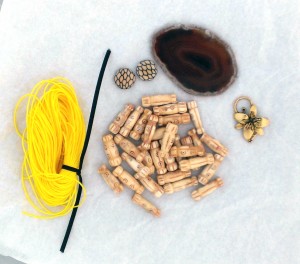
soup2focalsoupUntitled-1soup5

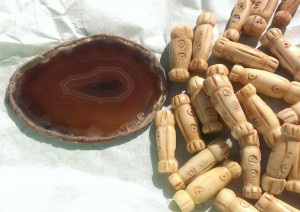
A sweet, natural agate slice, bone beads, brass flower toggle clasp, a pair of glass beads and beading cord! I knew immediately what I was going to do! I have already started working, and am looking forward to our reveal date of May 3rd! Make sure you check back then to see what I have come up with! Til then, keep calm, and enjoy life! =^..^=

Spring is in the Air!

Spring is in the Air!

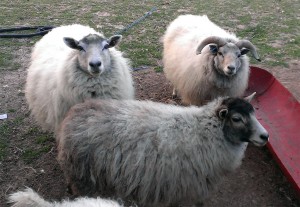
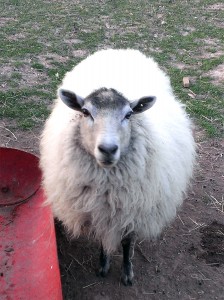
After relentless, unusually cold weather here in the ATX area, it is certainly feeling a lot more like Spring lately. As such, it’s getting to be that time of year again, yard work, barn and property maintenance, new fence building, and not to mention SHEARING season! I am pretty excited to shear this year, as everyone’s fleeces look pretty darn clean and free of those horrible burrs that they all acquired last year (and that I happen to be allergic to!).
sheepprecious

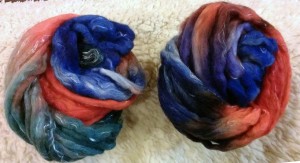
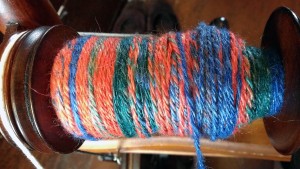
Recently, I have been dyeing fibers, experimenting with hand painting some fantastic roving I have that is a blend of merino, alpaca and tencel. It is a pin drafted roving, so it was a bit of a challenge as it is pretty thinned out (drafted). I think next time, I might just spin it, and then dye it. I spun it fine, and N-plied it-have I mentioned that I am addicted to N-plying?? Just when I thought spinning couldn’t be more relaxing-BAM! The soothing, gentle motion of N-plying enters my world. I will have to share a picture once I set the twist and make a skein. I love the colors. I was going for a bright, Spring time scheme.
handpaintedIMAG8131

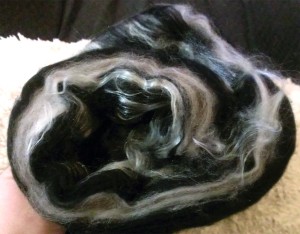
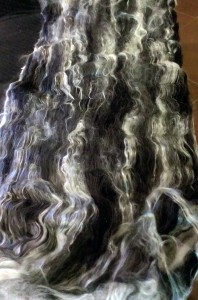
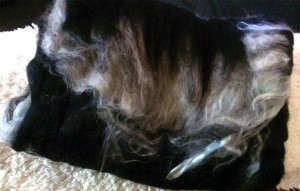
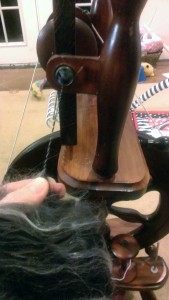
I’ve also been spinning up a gorgeous batt I bought from Seven Spirits Farm on Facebook. She created several art batts she named the “Downton Abby Batts” as each one was inspired by a character from the series. I bought “Robert”, a luxurious blend of merino, alpaca, bamboo, carbonized bamboo and tencel. Included in my package was a little baggie of “extras”- silk ribbon, silver beads and felted angora. Seriously, if you love fiber, check out Seven Spirits Farm on Facebook-there are several new rovings just in and a Yarn Club! I am so glad I was able to pick up a bit more fibery goodness! But I digress, back to the batt: OhEmGee. The feel of the batt in my hand while spinning was so amazing-light, airy, silky, lofty, and oh, so soft you want a bed-sized pile of it to roll around in. Now I understand my cats when they finagle their way into a back of fluff. I had never spun from a batt before, as I was always a little intimidated by them, especially one so full of such great fibers.  But once I got going, I really got the hang of it. This batt encompassed many firsts-I had never spun bamboo, carbonized bamboo or alpaca! I consider myself a fairly new spinner still, and I loved exploring these new fibers!
firstbatt2firstbatt3firstbatt

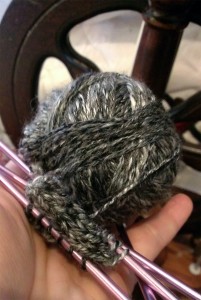
I spun as thin as I could, considering all the different fibers, and then yup, you guessed it, N-plied! The end result was a very tweed-y looking yarn that I just loved.
battspinningfirstbatt5

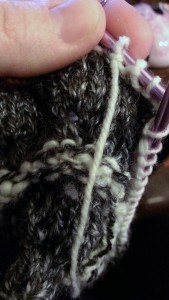
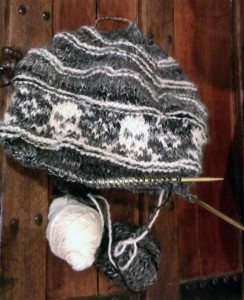
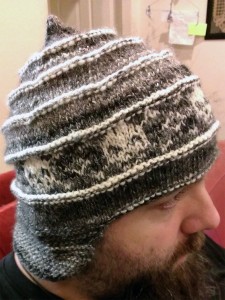
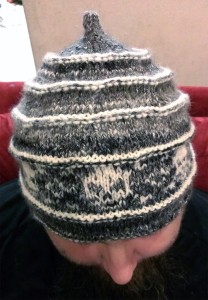
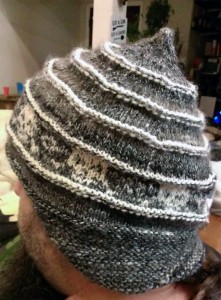
About the time I finished spinning half of the batt, and cast on to start a hat for the Muscle, I was invited to join a Facebook event: FB Knitting Winter Olympics. The goal was to knit a project during the 2014 Winter Olympics and finish it by the closing ceremony. I was very excited to participate and finished just in the nick of time. It was to be a surprise for the Muscle, but well, I was just too excited about it to not share. What do you think? Gold medal worthy?
IMAG7869timshat4timshat2timshat3timshat

On the jewelry front, I have a few sketches done, and beads laid out. I am excited and eager and just a little apprehensive to climb back into the jewelry making saddle again. After taking several months off from creating jewelry, I am more than ready to get going again, and see the fruits of my imagination come to life. I will save those for a new blog post, however, as it is quite late. Til next time, my friends, keep calm and craft on. =^..^=

Fun With Ice Dyeing!!

Fun With Ice Dyeing!!

One of the things I love is the personal touch custom coloring adds to anything I do. Recently, I tried my hand at a fun technique of dyeing fabric called Ice Dyeing. I followed the instructions that can be found on the Dharma Trading website, and in fact, my dyes and soda ash are from there as well. (Christmas present from The Muscle!) **Please note that I don’t give exact measurements for dyes because that is subjective and comes with practice!**

For my first attempt, I used one yard of white cotton velour that is 80% cotton, 20% polyester and a yard of an OLD thermal fabric that I have been traveling the world with for the better part of 24 years. I’m not sure what exactly its fabric content is, but it was a “natural” color, so I went with it. The first step was a soak in a soda wash solution of about one cup of soda ash per gallon of water, and it needs to be enough water that the fabric absorbs it, and is completely saturated and covered in it. The soda ash changes the pH of fiber reactive dyes and plant-based fibers so that the dye actually reacts with the fiber in such a way that a chemical bond is formed on a molecular level between the dye and the fabric. Nerdy enough for ya? Ha!

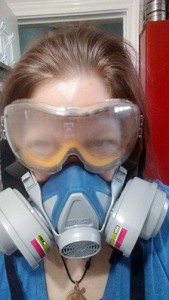
First things first, and that’s safety! Make sure you wear gloves, eye protection and dust mask when handling the chemicals!
safetyfirst

NOT a good look for me!

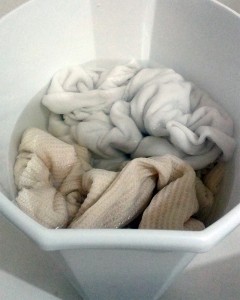
The soda ash is mixed with water in a plastic bucket (or in my case, small, unused trash can-2 cups in 2 gallons) and the fabric is added and left to soak for at least 30 minutes. These fabrics were washed first, to remove any factory greases or protective treatments that are often put on fabrics during the manufacturing process. I let it soak for an hour, as the baby decided he needed attention just when I was ready to move on to the next step. Fortunately, that doesn’t cause any problems with the process.
soaking

When the time was up, I simply pulled the fabrics out, squeezed them, and then arranged them on my rack. Now, the rack I ended up using is actually a shelf from one of those wire racks you can get at a big-box store. You know the ones I’m talking about? They have pole legs that you screw together, then snap the plastic parts onto the grooves at the level you want the shelf to be, then slide the shelf down the pole legs til it reaches the plastic stops? Yes, one of those. I have one that I needed an exceptionally tall shelf on, so I had an extra one. Other people have used “drying racks”, or even “cooling racks” that you use to cool baked goods after removing them from the oven. The point of the rack is to support the fabric up off the bottom of the tub or basin that you set it in with the ice and dye so that as the ice melts and soaks through the fabric, it has a place to drip and run off, rather than all pooling under the fabric, causing muddy colored fabric. Since I was dyeing in my Craft Room bathtub rather than smaller, plastic dish tubs, I took advantage of the size.
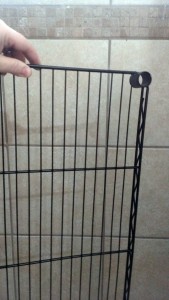
IMAG7836icedyed2

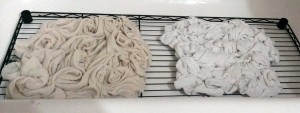
The thermal fabric is on the left, the cotton velour on the right. I arranged them in different bunched formations to get different effects. Next, The ice is piled on top. I used about 5lbs of ice (from a 10lb bag of ice) to each yard. Basically, you want every inch of the fabric to be covered with ice. Up north, some peeps have used snow right out of their backyard. I’m so jealous! When I win the lottery and move up north, that is exactly what I will be doing.
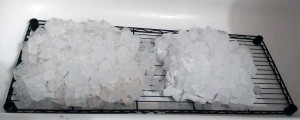
icedyed

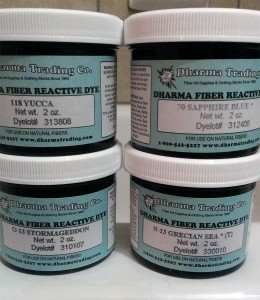
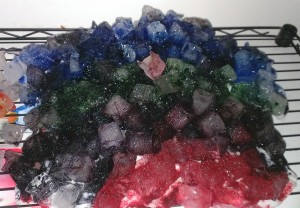
Next, you sprinkle on the dye(s). Select anywhere from 2-4 colors. If you’re feeling particularly adventurous, you can do far more than four colors, but remember, since water is involved, there will be color blending, and the more you have, the more you risk everything turning a muddy brown. This is when you don your respirator mask, goggles and gloves. I used a stainless steel spoon that is kept in my Craft Room at all times, and used exclusively for crafting. On the thermal, I used Raspberry, Black Cherry, Power Berry and Garibaldi. On the cotton velour, I used Yucca, Sapphire Blue, Stormageddon, and Grecian Sea.
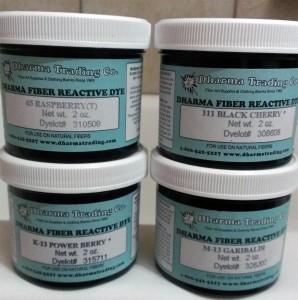
dyeddye2

I sprinkled perhaps a little too generously, but I wanted to make sure the colors stayed as bold as they could in the end.
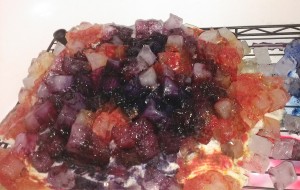
timetowaittimetowait2

Not the prettiest looking, but in person, I couldn’t stop staring at the colors. Now it’s time to wait. It must sit for 24 hours. That was the hardest part. Naturally, I checked on it the next morning, knowing full well it needed to continue sitting before the rinse and wash, but I also knew the ice would be all melted and would give me some clue of how awesome it was going to look at the end.
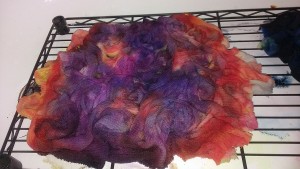
timetorinse2timetorinse

At last, 24 hours had past. Literally, I think it was to the MINUTE. I was so excited to see how the colors looked and kept my fingers and toes crossed that they stayed that bold. I donned gloves again for my protection, and rinsed in cold water until the water mostly ran clear.
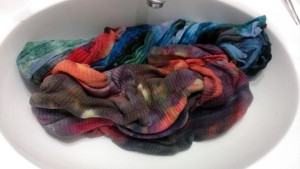
rinsing

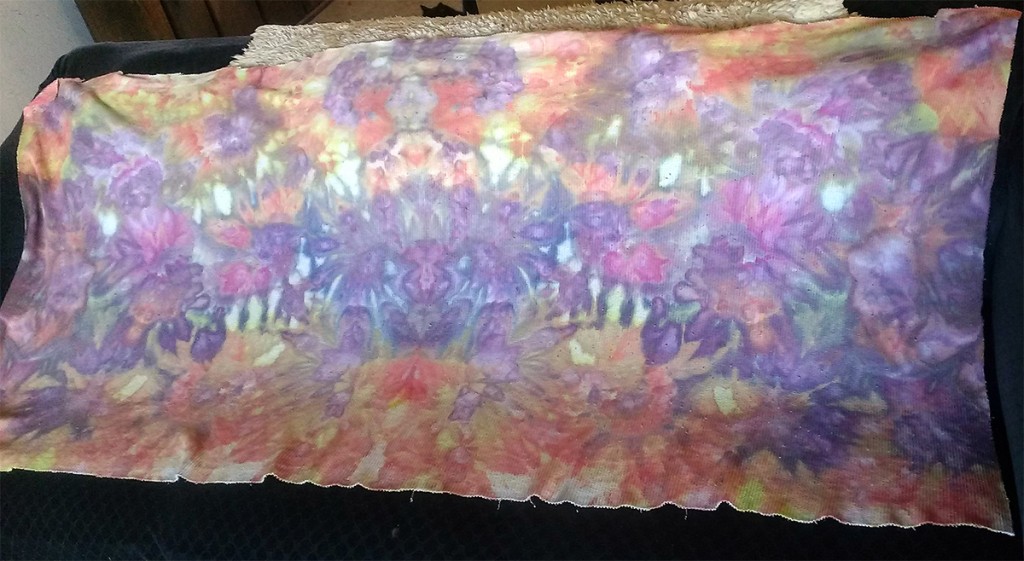
Then it was time for a washing machine wash. I didn’t have any “Professional Textile Detergent”, but I had read extensively on the internet on various blogs that many ice dyers use a drop of blue Dawn dishsoap for this part, so that is exactly what I did. Into a hot water wash, and double cold water rinse it went. Then I tumbled dry low, and when all was said and done, I was quite pleased with how this experiment came out.
firsticedye3

firsticedye

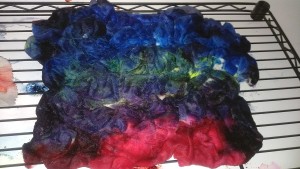
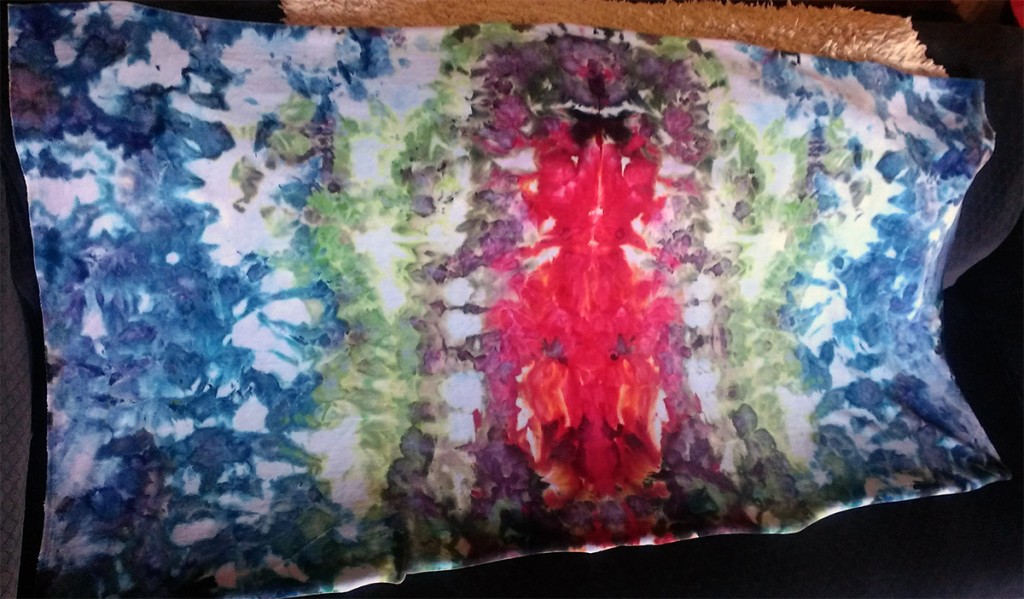
I kept my fabric folded in half and then bunched up, so it came out like an ink blot, especially the cotton velour. I absolutely LOVE the muted tones in the thermal fabric. I am willing to bet it has more than 20% polyester in it, causing the more muted colors, but that is fine by me. On the other hand, I am just thrilled with how bold the cotton velour turned out, and cannot WAIT to dye again. The ideas are welling up inside my head, and the possibilities are limitless. Stay tuned for more adventures in color. Til next time, Keep calm and Dye on! =^..^=

Grow Your Blog!

Grow Your Blog!

A very happy New Year, 2014 to you all!! I thought I would start out my new year with a blog hop that I happened to stumble upon in one of my Fiber Groups on Facebook. This blog hop, Grow Your Blog, is hosted by Vicki of 2 Bags Full and is intended to help connect bloggers from all walks of life all over the world. What a great idea! So without further ado, let’s begin, shall we?

grow

My name is Heather, and I am the writer, creator and editor-in-chief for The Crafthopper. I started this blog to share my adventures through the amazing world of art and handcrafts, with a special interest and focus on the ancient crafts of jewelry making and fiber arts. I am lucky that I share a passion for the arts with my children who are very content sitting by my side lost in their own creative journey as I test a new pattern, wire wrap a new stone, or spin a new yarn. With this blog, I am able to fulfill another passion of mine: writing. Writing has long been a way for me to express myself without interruption and a form of therapy for me, a safe place to share emotions, failures, triumphs. An outlet for the words that build up in my head and get lost along their way to my mouth. That said, I don’t share much in ways of private, personal life on this particular blog now, given that I have very limited time on any given day in which to do all the things I love. This blog allows me to write AND share my crafting fun and experiments.

Currently, I live out in the boonies of central Texas with my husband, our four children, two cats, two dogs, and a slew of fiber animals-llamas, sheep and angora goats, as well as a lovely flock of egg-providing hens and their roo. Three years ago, I quit my high stress job as a labor and delivery RN to stay home with our then three children. My husband, known as The Muscle, is a Renaissance man who usually surprises most people he meets: a tattooed, bearded, kilt-wearing metalhead computer geek who enjoys spending time in his homemade blacksmith shop, or shearing sheep, planting a garden, learning to knit, petting a spoiled llapaca (technically a huarizo, as they are referred to in South America-the offspring of cross breeding a llama and an alpaca), I could go on and on about the unexpected habits of my Other Half! Together, we get up to all sorts of shinanigans-I create jewelry, he builds a half horse power buffer so I can polish it quickly and almost effortlessly; I find a tool I need-he goes out in his woodworking area and produces it. We make a great team! The kids are just as “bad” as we are-the older two have interests spanning both my and The Muscle’s interests and then some, but even better, because to everything they do, they bring the freshness and resourcefulness found only in children that one tends to find slipping from them as logic roots in the brain and whimsy becomes more forgotten and less trusted…

Please take a gander all over my blog. You can find my contact info link at the top of every page, as well as a few other links that share a little more about who I am, what I do, why I do it. My hope for this blog hop is to not only gain new readers, but together with new readers, share in the incredibly positive energy that our shared love for All Things Crafting generates. Together, we can lift each other up and make our world a better place. And that much prettier.

Thank you, thank you Vicki, for the effort and energy you put into creating this blog hop. What a wonderful gift to share with your fellow artists and handcrafters! I look forward to seeing everyone’s blogs. =^..^=

 Please Click Here to see Vicki’s own post, and the Entire List Of Nearly 600 Participants!

Fiberific!

Fiberific!
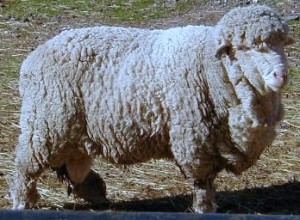
Cormo_sheep

Photo courtesy of Wikipedia

So, I’ve been spinning, spindling, and spinning some more lately. I find it so incredibly relaxing in the evenings, especially since I can’t stand sitting and watching a movie if my hands aren’t being kept busy. I feel I have made great strides with what I have and finally took the plunge in purchasing some undyed but ready-to-spin excellent quality (read: super crazy next-to-your-skin soft!) It’s from a breed of sheep called Cormo:


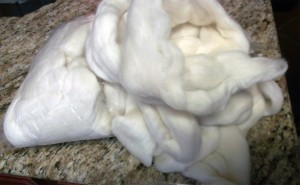
I wanted to dye it before I started spinning any of it, and hemmed and hawed until I finally broke down and picked up a range of Rit dyes to practice with. After reading tons of websites, watched a mass of youtube videos, I decided I would attempt “crock pot” dyeing. This narrowed my search down so I focused only on those sites that offered tutorials on crock pot dyeing. Since they all said basically the same thing, with a little variation here and there, I formed a step by step game plan customized to me! I pulled about three to four ounces off the one pound roll: cormotop


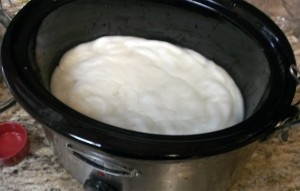
Next is where I formed my own path. Since the wool should be soaked in a water/vinegar bath, and then more vinegar is added to the mix when it’s time to add the dye, I decided to do this all in the crock pot rather than a bowl, and have to transfer the dripping wet wool to the pot. I coiled it neatly in a single layer in the pot and added just enough water to cover, and probably too much vinegar (is there such thing as too much vinegar??) about 2/3 cup to the water: vinegarsoak


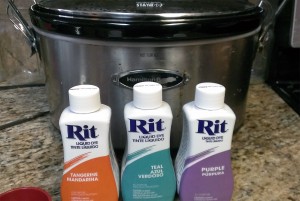
After soaking for about 45 minutes, my lovely assistant, Sweet Pea, selected three colors to use to dye the wool. She is five and a half, and has a great artistic eye and flare. So when she came up with Tangerine, Teal and Purple, I did not hesitate: selectedcolors


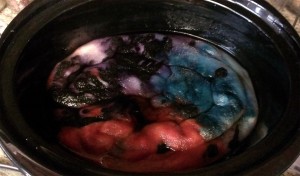
Donning gloves, I used the caps to add the dye to one third of the wool at a time. I was careful to try and make sure I added enough dye, but at the same time, I didn’t mind flecks and gaps of white where the dye didn’t touch. I just eye balled the thirds, and then splashed a little more vinegar over the three areas. I added a tab bit more water so the wool was completely immersed but not drowning: dyesadded


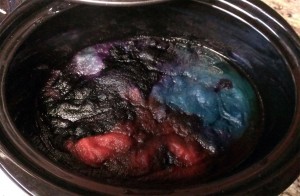
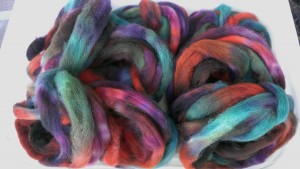
Do you see the light spots? I knew magic would happen in those little spaces. Not from experience, but rather from pure logic! I let the pot simmer for four loooooonnnnggg hours! and then I finally turned it off and allowed it to cool completely, overnight. The number one problem I read about time and again on all the greatly informative sites was to not touch it while it cools until completely cold to prevent the dreaded Felting. Indeed, this was the very last thing I wanted to happen, and I was terrified I would felt this incredibly gorgeous fleece, so I did as I was told! The next morning, when I looked into the pot, it looked like a muddy mess. Since I had read extensively, I knew not to panic and assume the worse, but I was still a bit taken back at how dark and mixed the remaining color in the pot was. Since I used Rit dye, I knew there was supposed to be quite a bit of dye left in the pot. I just didn’t like how ugly it was: cooled


But I could still see the separate colors, so I held my breath as I dumped the mess and started rinsing in cold water. I was surprised that once the first water was dumped, it ran pretty clear there after. The teal continued to need rinsing for quite some time, as is typical with blues. Finally, I wrung it all out, and it was ready to hang out to dry: wrungout


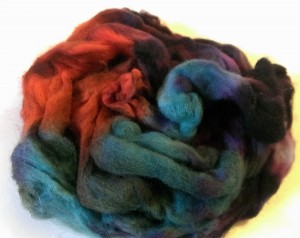
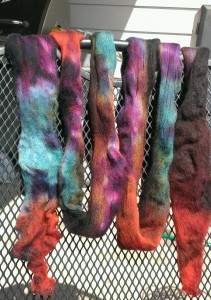
I loved the colors I saw! Since it was coiled when I added the dyes, it created a great pattern throughout the entire length. hungtodry


When it was completely dry (and yes, even in the Texas heat, it still took all day!) I divided it into little rolls I like to use when I spin. When I split the lengths of roving up, I got more and more excited about all the color variations in it! readytospin


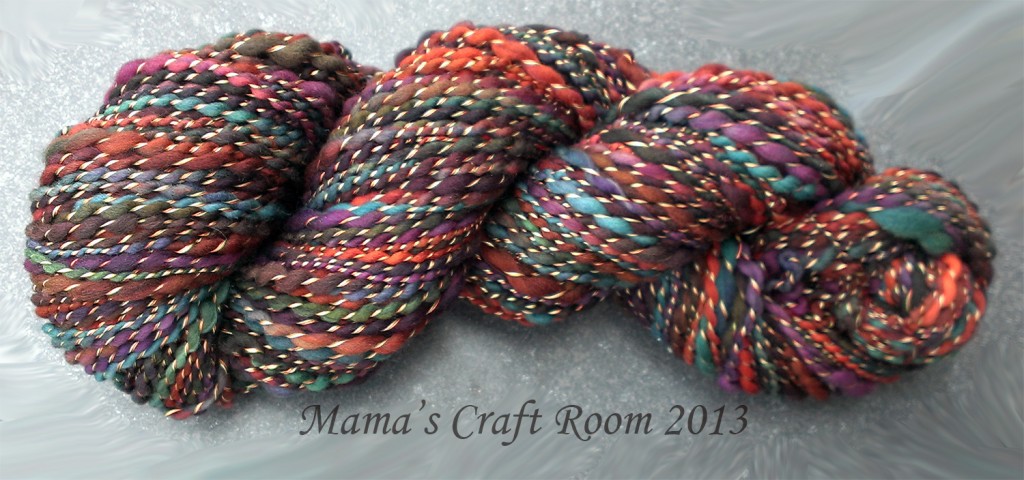
It spun up like a dream! Soon, I had two bobbins of thick and thin singles, ready to be plied. I knew I wanted this to be a very special yarn for Sweet Pea, and since the wool was already going to be a “hand wash only” no matter what it was knit into, I decided to ply it with silk thread. I found some vintage 100% silk thread on ebay that I snapped up and when it finally came in, I could not wait to get started! I was a little disappointed that it was a thinner thread, so instead of just using the one color, I used all three that I had bought. Plying with the silk thread gave the yarn a bit of a boucle’ feel and look to it. It stayed so incredibly soft, and I am so happy with the end result!! I cannot wait to get it knit up for my Sweet Pea. She watched every step of the way, and is so excited to have watched “her” yarn come to life. She paid such close attention that it won’t surprise me if my next blog post is about the yarn SHE dyes and spins herself!

valeriesyarn2

Well, til next time dear readers, keep on keepin’ on. And smile. =^..^=